Kitchen cabinet end panels cover unfinished cabinet sides, conceal assembly fasteners, and transform standard factory boxes into custom cabinetry. Exposed cabinet ends rarely feature matching wood stain or smooth factory paint. Therefore, installing dedicated kitchen cabinet end panels gives your entire kitchen run a polished, cohesive profile. Homeowners choose between thin wood skins, flush structural plywood panels, and decorative matching doors to finish exposed cabinet ends cleanly without breaking their remodeling budget.
What Are Kitchen Cabinet End Panels
The Purpose of End Panels
Most standard modular cabinets arrive from the factory with unfinished exterior sides. In fact, manufacturers use raw birch plywood or rough particleboard to build cabinet boxes. These surfaces show pocket holes, staples, and unpainted edges. In addition, standard face frames leave a recessed lip along the outer edge. Without a proper finish, these exposed flanks make an expensive kitchen look incomplete.
Quality end panels solve this cosmetic challenge immediately. Specifically, they cover raw cabinet flanks with factory-matched veneer or painted furniture-grade panels. Furthermore, end panels protect sensitive box joints from moisture spills and daily wear around busy work zones. If you are ordering new kitchen cabinet boxes, planning your exterior finish strategy early prevents costly site modifications later.
Standard End Panel Thickness Options
End panels generally fall into two primary thickness categories. First, thin wood skins measure one-quarter inch thick. These lightweight panels slip neatly into the recessed reveal behind the face frame lip. Consequently, they sit flush with the outer edge of the frame without altering box dimensions. They represent the fastest and most economical method to finish exposed sides.
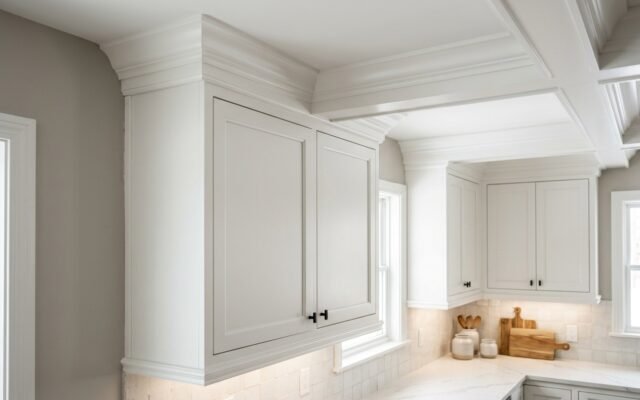
Second, heavy structural end panels measure one-half inch to three-quarter inch thick. Because these panels are rigid and flat, they replace or cover the recessed side completely. A three-quarter inch panel extends past the front face frame edge. As a result, it creates a substantial furniture look that mimics custom millwork. Builders often specify these thicker panels on exposed wall runs and freestanding islands.
Base vs Wall vs Tall Cabinet End Panels
End panel dimensions correspond directly to standard kitchen cabinet heights and depths. For instance, base cabinet panels measure 34.5 inches high and 24 inches deep. You install them directly on the outer flank of base units. Understanding standard kitchen base cabinet dimensions ensures you order panels with enough excess width for precise wall scribing.
Wall cabinet end panels accommodate upper box dimensions. Typically, upper cabinet panels measure 12 inches deep, matching standard wall boxes at 30, 36, or 42 inches tall. In contrast, tall pantry cabinets require full-height panels. These panels span 84 to 96 inches high and 24 inches deep. Because tall panels span such long lengths, they require careful handling to avoid bowing during transport.
Types of Kitchen Cabinet End Panels
Thin Wood Skin Panels
Thin wood skin panels represent the most budget-friendly solution for homeowners. Generally, these panels consist of three-ply one-quarter inch hardwood plywood faced with genuine factory veneer. Alternatively, painted cabinet lines use high-density fiberboard skins. You can browse options at Home Depot to compare stock skin finishes for common cabinet sizes.
These thin skins cost between $20 and $50 per panel. Because they are thin, installers cut them easily using a sharp utility knife or circular saw. You adhere them directly to the cabinet side using contact cement or fine pin nails. Since the skin nests inside the face frame lip, the finished edge sits completely flush with the cabinet front.
Decorative Matching Door Panels
Decorative matching door panels deliver the highest aesthetic appeal in custom kitchen design. Specifically, these panels are non-functional cabinet doors manufactured with the exact profile, rail width, and finish of your operating doors. Installing a false door on an exposed cabinet side creates visual rhythm and architectural depth.
This design option works exceptionally well on shaker kitchen cabinets where recessed center panels define the room style. Similarly, traditional raised panel doors and modern flat slab doors look balanced when repeated on exposed box ends. These panels cost between $60 and $160 each. However, the custom appearance they provide delivers outstanding return on investment.
Flush Plywood Finished End Panels
Flush plywood panels consist of three-quarter inch furniture-grade hardwood plywood finished smoothly on one or both faces. Cabinetmakers use these heavy panels when maximum rigidity is essential. For example, the exposed flank of a kitchen peninsula or freestanding island must endure impacts from barstools and daily movement. Thin skins can buckle under heavy kicks, while three-quarter inch plywood stays perfectly rigid.
In addition, flush panels provide reliable anchoring support for heavy stone countertops. When you install thick quartz or granite slabs, the cabinet framework must carry substantial downward loads. These panels typically cost between $50 and $120 each. Ultimately, they combine structural support with a clean, contemporary appearance.
Beadboard and Tongue-and-Groove Panels
Beadboard panels bring distinctive vintage character to cottage and farmhouse kitchen designs. These panels feature vertical grooves spaced approximately two inches apart across the face. As a result, the vertical lines draw the eye upward and add tactile warmth to plain cabinetry runs. You can explore how textured finishes enhance cottage layouts on beadboard kitchen cabinets.
Manufacturers produce beadboard panels in one-quarter inch and three-eighths inch thicknesses. Costs range from $30 to $70 per sheet. Because the tongue-and-groove pattern repeats continuously, overlapping seams between adjacent panels remain invisible. Therefore, beadboard serves as an ideal material for covering wide refrigerator surrounds and kitchen island backs.
How to Measure and Cut Cabinet End Panels
Measuring Base and Wall Box Depths
Accurate measurement prevents cutting errors on expensive prefinished panels. First, measure the exact depth of your cabinet box from the drywall to the front edge of the face frame. Do not assume the cabinet matches its factory spec sheet exactly. Slight variations in wall straightness affect the real depth measurement significantly.
Next, check the box height at both the front and rear corners. Floors often slope slightly. Taking diagonal measurements also confirms whether your box sits square. Reviewing professional guides on how to measure kitchen cabinets will help you identify wall discrepancies before making your first cut.
Scribing End Panels to Uneven Walls
Drywall surfaces are rarely straight, plumb, or square. If you push a factory-square wood panel directly against an uneven wall, unsightly gaps will appear along the rear seam. Therefore, professional carpenters always scribe end panels to match the unique contour of the wall surface.
To scribe a panel, hold the piece plumb against the cabinet side. Set a compass to the width of the largest wall gap. Run the compass point down the drywall while the pencil traces the curve onto the panel edge. Just like fitting custom kitchen cabinet filler strips, cutting along this scribed line ensures a tight fit against the plaster.
Cutting Finished Panels Without Chipping Veneer
Cutting finished hardwood veneer requires caution because high-speed saw teeth can splinter delicate surface fibers. First, apply painter tape directly over your cut line on both sides. The tape fibers hold the wood grain tight against saw blade pressure.
Second, score the line lightly with a utility knife along a straightedge. This severed surface fiber cannot tear out during cutting. Third, equip your saw with an 80-tooth carbide crosscut blade. For circular saws, ensure the good face points downward. Alternatively, track saws with splinter guards produce flawless cuts.
Step-by-Step Installation of End Panels
Dry-Fitting and Leveling
Before applying adhesive or driving fasteners, dry-fit the panel completely. Hold the trimmed panel against the cabinet box flank and clamp it lightly in place. Check vertical plumb using a four-foot level. Meanwhile, verify that the front edge aligns flush with the face frame or reveals the exact door setback you planned.
Furthermore, inspect the bottom edge along the floor. If your floor slopes, trim the bottom edge to keep the top level. Taking time during dry-fitting prevents misaligned seams later. You can review leveling techniques in our guide to kitchen cabinet installation.
Fastening Skin Panels
Installing one-quarter inch skin panels requires a steady hand and even adhesive coverage. First, wipe the cabinet box side clean of all dust and grease. Apply high-strength construction adhesive or contact cement across the box in an even S-pattern. Be sure to keep adhesive roughly two inches away from outer edges to prevent squeeze-out.
Next, press the skin firmly against the box side using uniform hand pressure. Use a wooden roller to remove trapped air pockets. Finally, secure the perimeter using 5/8-inch 23-gauge pin nails. Fire headless pins into natural grain lines where holes remain invisible.
Fastening Heavy Decorative Door Panels
Heavy three-quarter inch decorative doors require mechanical fasteners rather than surface adhesive alone. First, clamp the decorative door panel tightly against the cabinet side using protective bar clamps. You can check current prices on Amazon for quality parallel wood clamps that hold panels securely without denting soft finishes.
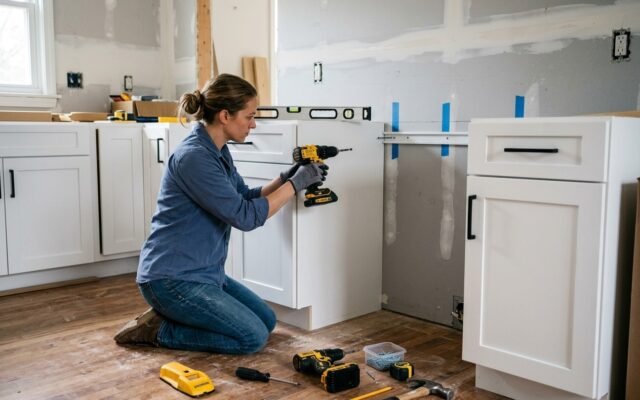
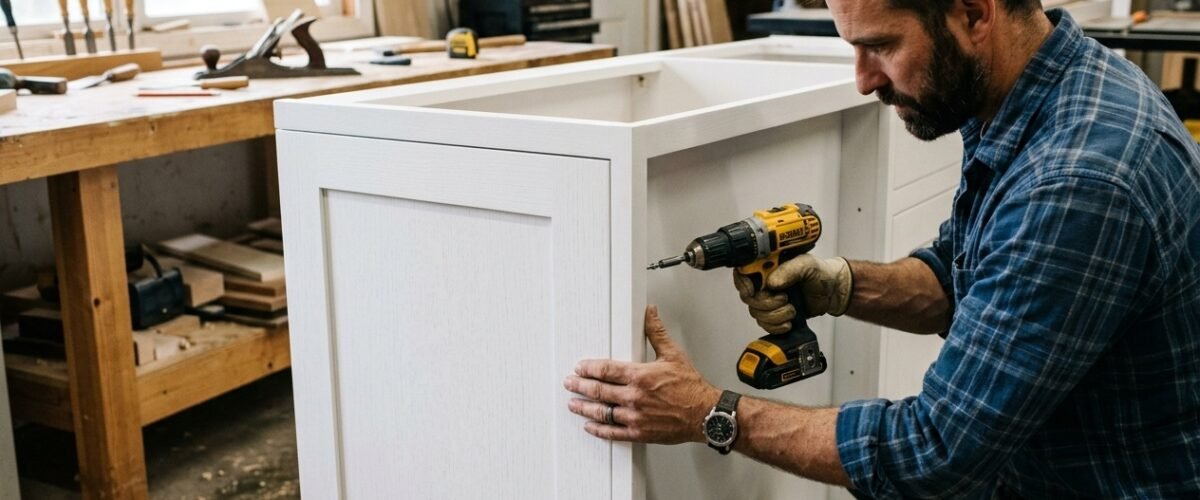
Second, open the cabinet door and locate your fastener positions inside the box. Drill pilot holes through the interior cabinet side wall using a countersink bit. Third, drive 1-1/4 inch cabinet screws from inside the box into the solid outer stiles of the decorative panel. Never drive screws into the thin center panel. Secure anchoring through the kitchen cabinet face frame ensures your decorative door stays solid forever.
Finishing Seams with Color-Matched Caulk
Even with careful scribing, microscopic hairline gaps can occur between the panel rear edge and drywall. Therefore, finishing the perimeter junction with color-matched acrylic caulk provides a clean, moisture-resistant barrier. Select a premium paintable latex caulk matched precisely to your wall paint or cabinet finish.
Cut the caulk nozzle at a 45-degree angle to create a one-sixteenth inch opening. Apply a smooth micro-bead along the joint in one stroke. Immediately smooth the bead using a damp cloth or finger dipped in clean water. Remove excess material to keep the caulk line invisible.
End Panels for Kitchen Islands and Peninsulas
Structural Support for Countertop Overhangs
Kitchen islands and peninsulas serve as bustling gathering spots in modern open-concept homes. When an island design includes a 10 to 12 inch breakfast bar seating overhang, the underlying structure must support heavy stone slabs. Solid granite and engineered quartz weigh between 18 and 25 pounds per square foot.
Consequently, thin one-quarter inch skins cannot provide structural support for heavy countertops. Builders instead install structural three-quarter inch end panels reinforced with solid hardwood corner posts. These thick panels transfer the heavy downward load directly into the floor joists. As a result, the island remains stable even when guests lean on the counter edge.
Extended End Panels with Integrated Toe Kicks
Standard base cabinet boxes feature a recessed notch along the bottom front called a toe kick. However, on exposed island ends, a recessed notch can look industrial. Extended end panels solve this visual problem by extending all the way down to the finished flooring.
These full-height panels conceal the toe kick notch entirely on the island ends. Therefore, they frame the island perimeter with the substantial proportions of a standalone furniture piece. When assembling modular or ready to assemble kitchen cabinets, ordering extended side panels elevates the finished aesthetic of your kitchen.
Wainscoting and Beadboard Island Wraps
Kitchen designers often turn plain island backs and sides into striking architectural centerpieces. Instead of installing separate flat panels, you can wrap the entire island perimeter in continuous wainscoting. Homeowners frequently explore matching panels on Wayfair to coordinate decorative trim with their dining furniture.
In addition, combining beadboard with base trim conceals all cabinet seams cleanly. This treatment adds rich texture that resists scuffs from barstool footrests. Ultimately, a custom-wrapped island ties the kitchen workspace together with surrounding living spaces.
End Panel Types Comparison Table
Comparing Costs, Thickness, and Installation Difficulty
Choosing the best end panel style depends on your remodeling budget, personal tool skills, and cabinet placement. The table below compares material thickness, expected price ranges, installation difficulty, and ideal applications for common end panel styles.
| Panel Type | Material Thickness | Cost Range | Installation Difficulty | Best Application |
| Quarter-Inch Skin Panel | 1/4 inch plywood or veneer | $20 to $50 | Beginner | Standard cabinet runs against walls |
| Decorative Door Panel | 3/4 inch solid wood or MDF | $60 to $160 | Intermediate | Exposed run ends and luxury kitchens |
| Flush Furniture Panel | 3/4 inch plywood | $50 to $120 | Intermediate | Island and peninsula ends |
| Beadboard Wainscot Panel | 1/4 to 3/8 inch MDF or wood | $30 to $70 | Beginner to Intermediate | Farmhouse and cottage kitchens |
After reviewing the table, consider where each panel type delivers the most value. For instance, using economical skins inside hidden runs saves money. Meanwhile, investing in decorative doors on high-visibility island ends creates stunning visual focal points throughout the kitchen.
FAQ
Are kitchen cabinet end panels necessary?
Yes, kitchen cabinet end panels are necessary whenever cabinet sides remain visible after installation. Factory cabinet boxes feature raw plywood, unfinished particleboard, and visible assembly joints on their flanks. In addition, these exposed sides lack moisture protection. Installing finished end panels covers unfinished surfaces, protects sensitive wood joints from humidity, and gives your cabinetry a complete furniture appearance.
What is the difference between an end panel and a skin?
The primary difference lies in thickness and structural function. A cabinet skin is a thin one-quarter inch veneer sheet glued over the existing box side to match face frame color. Conversely, a structural end panel measures one-half inch to three-quarter inch thick. These heavier panels provide structural stability, extend beyond the face frame, and can bear heavy countertop loads on island ends.
How do you attach a fake cabinet door to the end of a cabinet?
First, position the decorative door panel against the exterior cabinet box side and align the outer edges flush. Next, clamp the door securely in place with parallel bar clamps. Open the cabinet door and pre-drill pilot holes from inside the box through the side wall. Finally, drive 1-1/4 inch wood screws through the cabinet side into the thick outer frame of the door, taking care to avoid the thinner center panel.
Can you add end panels after countertop installation?
Yes, you can install end panels after countertops are in place. Thin one-quarter inch skins slide smoothly beneath existing countertop overhangs without issue. Similarly, flush panels can be trimmed to fit snugly under counter edges. However, installing end panels before countertop templating yields cleaner seams because stone fabricators can measure the exact finished cabinet dimensions accurately.