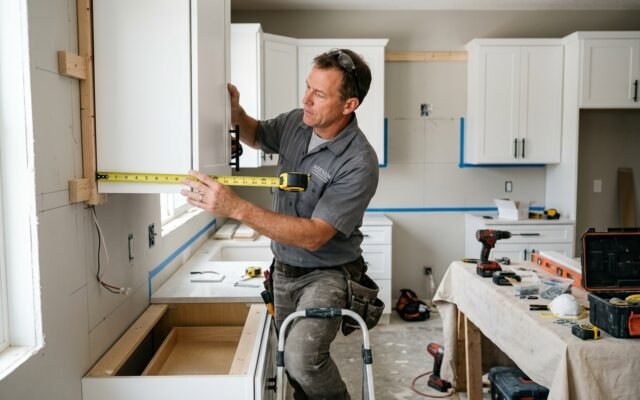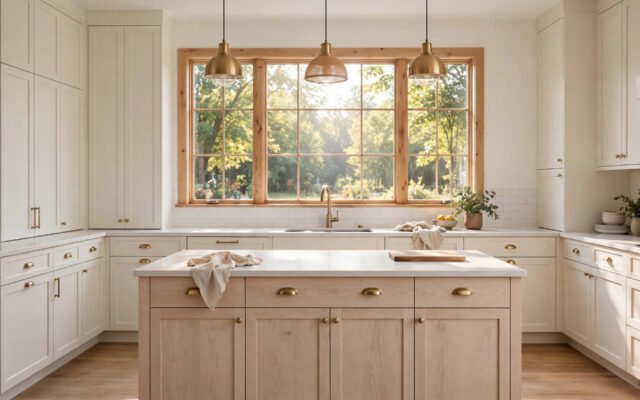
Unfinished kitchen cabinets arrive as raw, unsealed wood carcasses ready for custom staining, clear coating, or factory-grade spray painting. Because you purchase unfinished kitchen cabinets without paying for factory finish labor, homeowners save between 30 percent and 50 percent on upfront cabinet purchase costs. In addition, raw wood boxes let you match existing historical millwork or achieve designer stain colors that standard retail lines never provide. For homeowners willing to invest sweat equity into prep work, raw cabinetry delivers outstanding structural value and complete design flexibility.

What Are Unfinished Kitchen Cabinets
Raw Solid Wood Face Frames and Veneer Carcasses
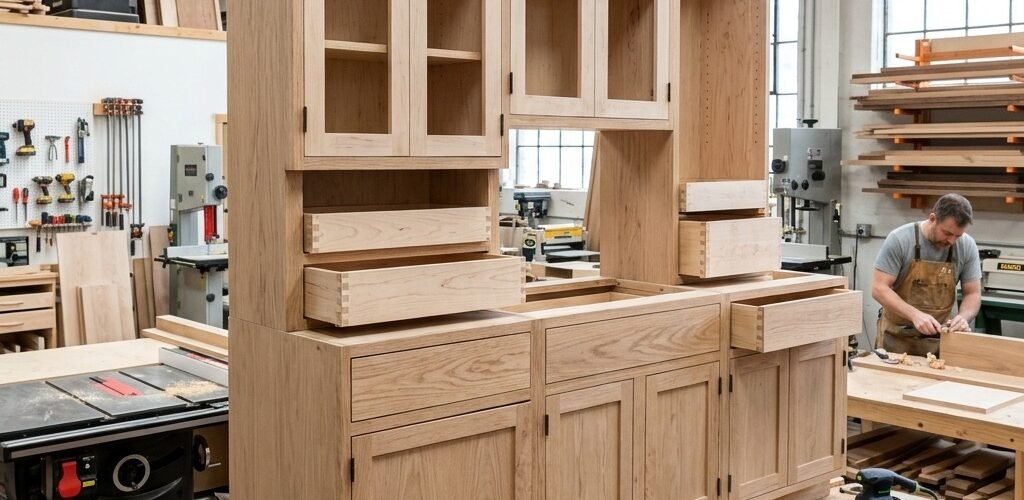
Unfinished kitchen cabinets consist of fully assembled or flat-pack casework built without protective clear coats, stains, or paint. The structural face frames use raw solid hardwoods like red oak, hard maple, or knotty pine. Meanwhile, the cabinet carcasses rely on wood veneer plywood or engineered furniture board. Unlike raw lumber boards, these cabinet components arrive sanded smooth from the manufacturer at roughly 120-grit quality.
However, factory handling and shipping inevitably create small surface scuffs and raised wood grain. Therefore, every raw unit requires thorough jobsite preparation before absorbing any finish. Choosing raw units allows you to inspect the structural joinery firsthand. You can examine pocket screws, mortise and tenon joints, and shelf dados without thick tinted lacquer hiding manufacturing flaws. For structural details, review our complete breakdown of kitchen cabinet boxes before ordering your units.
Cost Savings Compared to Prefinished Factory Cabinets
Purchasing raw cabinetry offers substantial budgetary relief for major home renovations. On average, factory finish lines add between 50 dollars and 120 dollars per linear foot to cabinet prices. In contrast, basic unfinished base units often sell for 70 dollars to 150 dollars per linear foot. Prefinished equivalents with conversion varnish frequently exceed 250 dollars to 400 dollars per linear foot.
Furthermore, standard 10-by-10 kitchen layouts require roughly twenty to twenty-five linear feet of cabinetry. As a result, opting for raw wood casework can trim your cabinet budget by 2,000 dollars to 4,500 dollars. Although you must still purchase finish materials, DIY supplies rarely exceed 250 dollars to 500 dollars. Consequently, your sweat equity generates tremendous net financial savings. When evaluating assembly options, compare raw units against factory built pre assembled cabinets to weigh total labor hours.
Complete Unfinished vs Prefinished Cost Comparison Table
Understanding the exact trade-offs helps you determine whether finishing your own casework fits your timeline. The following breakdown illustrates material costs, labor demands, and customization limits across standard kitchen projects.
| Feature | Unfinished Kitchen Cabinets | Prefinished Factory Cabinets |
|---|---|---|
| Average Box Cost (Per Linear Foot) | $70 to $160 | $220 to $500 |
| Finishing Supplies and Materials | $15 to $35 per linear foot | Included in base retail price |
| Total Average Project Cost (10×10) | $1,800 to $3,800 | $4,500 to $11,000 |
| Color and Sheen Customization | Unlimited custom stains and paints | Limited to standard factory palette |
| Required DIY Time Commitment | 25 to 50 hours of prep and coating | 0 hours finishing, direct installation |
| Long-Term Scratch Repairability | Easy to sand down and touch up | Difficult to match baked factory conversion |
In short, raw casework demands significant patience and workspace. However, it delivers unmatched control over your final aesthetic at a fraction of the cost. To explore core construction materials, read our analysis on MDF vs plywood cabinets before placing a custom order.
Best Wood Species for Unfinished Cabinetry
Red Oak and White Oak
Red oak and white oak represent the traditional standard for unfinished kitchen casework. Both oak species feature prominent open grain patterns and pronounced cathedrals. Because oak pores absorb pigment readily, oak accepts wiping stains exceptionally well without blotching. In particular, dark walnut stains and warm honey tones highlight oak grain rings beautifully.
In addition, oak provides tremendous mechanical hardness. Solid oak face frames easily resist dents from dropped cookware and pet claws. White oak also contains tyloses in its cellular pores, which provide natural water resistance. Nevertheless, open oak grain creates textured ridges that show through smooth paint. Therefore, choose oak when you want visible wood grain, but avoid it if you desire a sleek mirror paint finish.
Hard Maple and Soft Maple
Maple stands as the premier wood species for modern and transitional kitchen aesthetics. Hard maple and soft maple feature extremely tight, closed grain structures. As a result, sanded maple feels silky smooth and accepts high-solids cabinet enamels without grain telegraphing. Professional finishers consistently select paint-grade maple doors for crisp shaker cabinets.
However, staining raw maple requires careful technique. Because maple grain density varies unpredictably across individual boards, penetrating oil stains often produce blotchy dark shadows. To prevent uneven coloring, you must apply a pre-stain wood conditioner or use spray dye stains. Once properly sealed, maple provides exceptional durability and a luxurious satin feel.
Knotty Pine and Rustic Alder
Knotty pine and rustic alder provide ideal foundations for farmhouse designs, mountain cabins, and cottage aesthetics. Pine offers an economical entry point with warm amber undertones and distinctive dark knots. Similarly, rustic alder mimics the look of cherry at a much lower price point. Alder features a uniform texture that accepts medium stains gracefully.
Nevertheless, both pine and alder possess lower Janka hardness ratings than maple or oak. For instance, eastern white pine dents easily under blunt impact. In addition, the resinous sap in pine knots can bleed through light paint coats over time. Thus, you must seal pine knots with shellac primer before finishing. For classic rustic warmth, alder remains the superior choice among softer wood species.
Birch Plywood Boxes
While solid hardwoods dominate cabinet face frames and doors, cabinet box interiors rely on premium birch plywood. Multi-ply birch cores offer remarkable dimensional stability that resists warping in humid kitchen environments. Furthermore, cabinet makers choose birch because it holds mechanical fasteners and shelf pins securely without splitting.
In addition, birch veneer interiors provide a neutral, clean backdrop for your cookware. Most homeowners finish birch box interiors with two coats of clear waterborne polyurethane. This crystal clear protective film protects against water spills while allowing natural wood tones to shine. Consequently, birch plywood balances structural strength, weight, and affordability.
Step-by-Step Finishing Workflow for Raw Cabinets
Surface Prep and Progressive Sanding
Flawless cabinet finishing depends entirely on patient surface preparation. Even brand new unfinished cabinets possess minor machine marks, cross-grain scratches, and raised fibers from manufacturing planers. First, inspect all surfaces under angled work lights to identify factory defects. Then, begin progressive sanding using a random orbital sander and fresh sandpaper disks.
Start with 120-grit sandpaper to remove mill glaze and level flush joints. Next, transition to 150-grit paper to erase preliminary scratch patterns. Finally, finish with 180-grit abrasive paper to leave the wood pores receptive to stain. Always sand cabinet face frames and door rails parallel with the wood grain. After sanding, vacuum all dust and wipe surfaces thoroughly with a tack cloth.
Pre-Stain Conditioners and Grain Sealers
Applying stain directly onto bare wood often results in disappointing blotches. Soft species like pine, alder, and birch absorb liquid stain unevenly due to irregular grain density. Therefore, applying a solvent-based or waterborne pre-stain wood conditioner is an indispensable preparatory step. The conditioner penetrates deep pores and regulates pigment absorption across the entire surface.
Apply the conditioner liberally with a foam brush or clean lint-free cloth. Allow the liquid to penetrate for ten to fifteen minutes before wiping away excess residue. Afterward, apply your selected stain within the manufacturer specified recoat window. Taking this simple step ensures rich, uniform color depth across every drawer front and cabinet side panel.
Applying Oil-Based Stains vs Water-Based Dyes
Homeowners can choose between traditional oil-based wiping stains and modern waterborne dye solutions. Traditional oil stains dry slowly, which gives you plenty of time to wipe off excess color and blend lap marks. Because mineral spirits evaporate gently, oil stains offer forgiving application characteristics for beginner DIYers. You can easily check current prices on Amazon for popular penetrating wood stains and quality HVLP sprayers.
On the other hand, water-based stains and aniline dyes offer zero solvent fumes and dry quickly. In addition, waterborne dyes provide vibrant color clarity without muddying natural wood grain. However, water stains inevitably raise wood grain fibers on raw lumber. Consequently, you must lightly de-whisker the surface with 320-grit abrasive pads after the initial water coat dries.
Protective Clear Topcoats and Conversion Varnishes
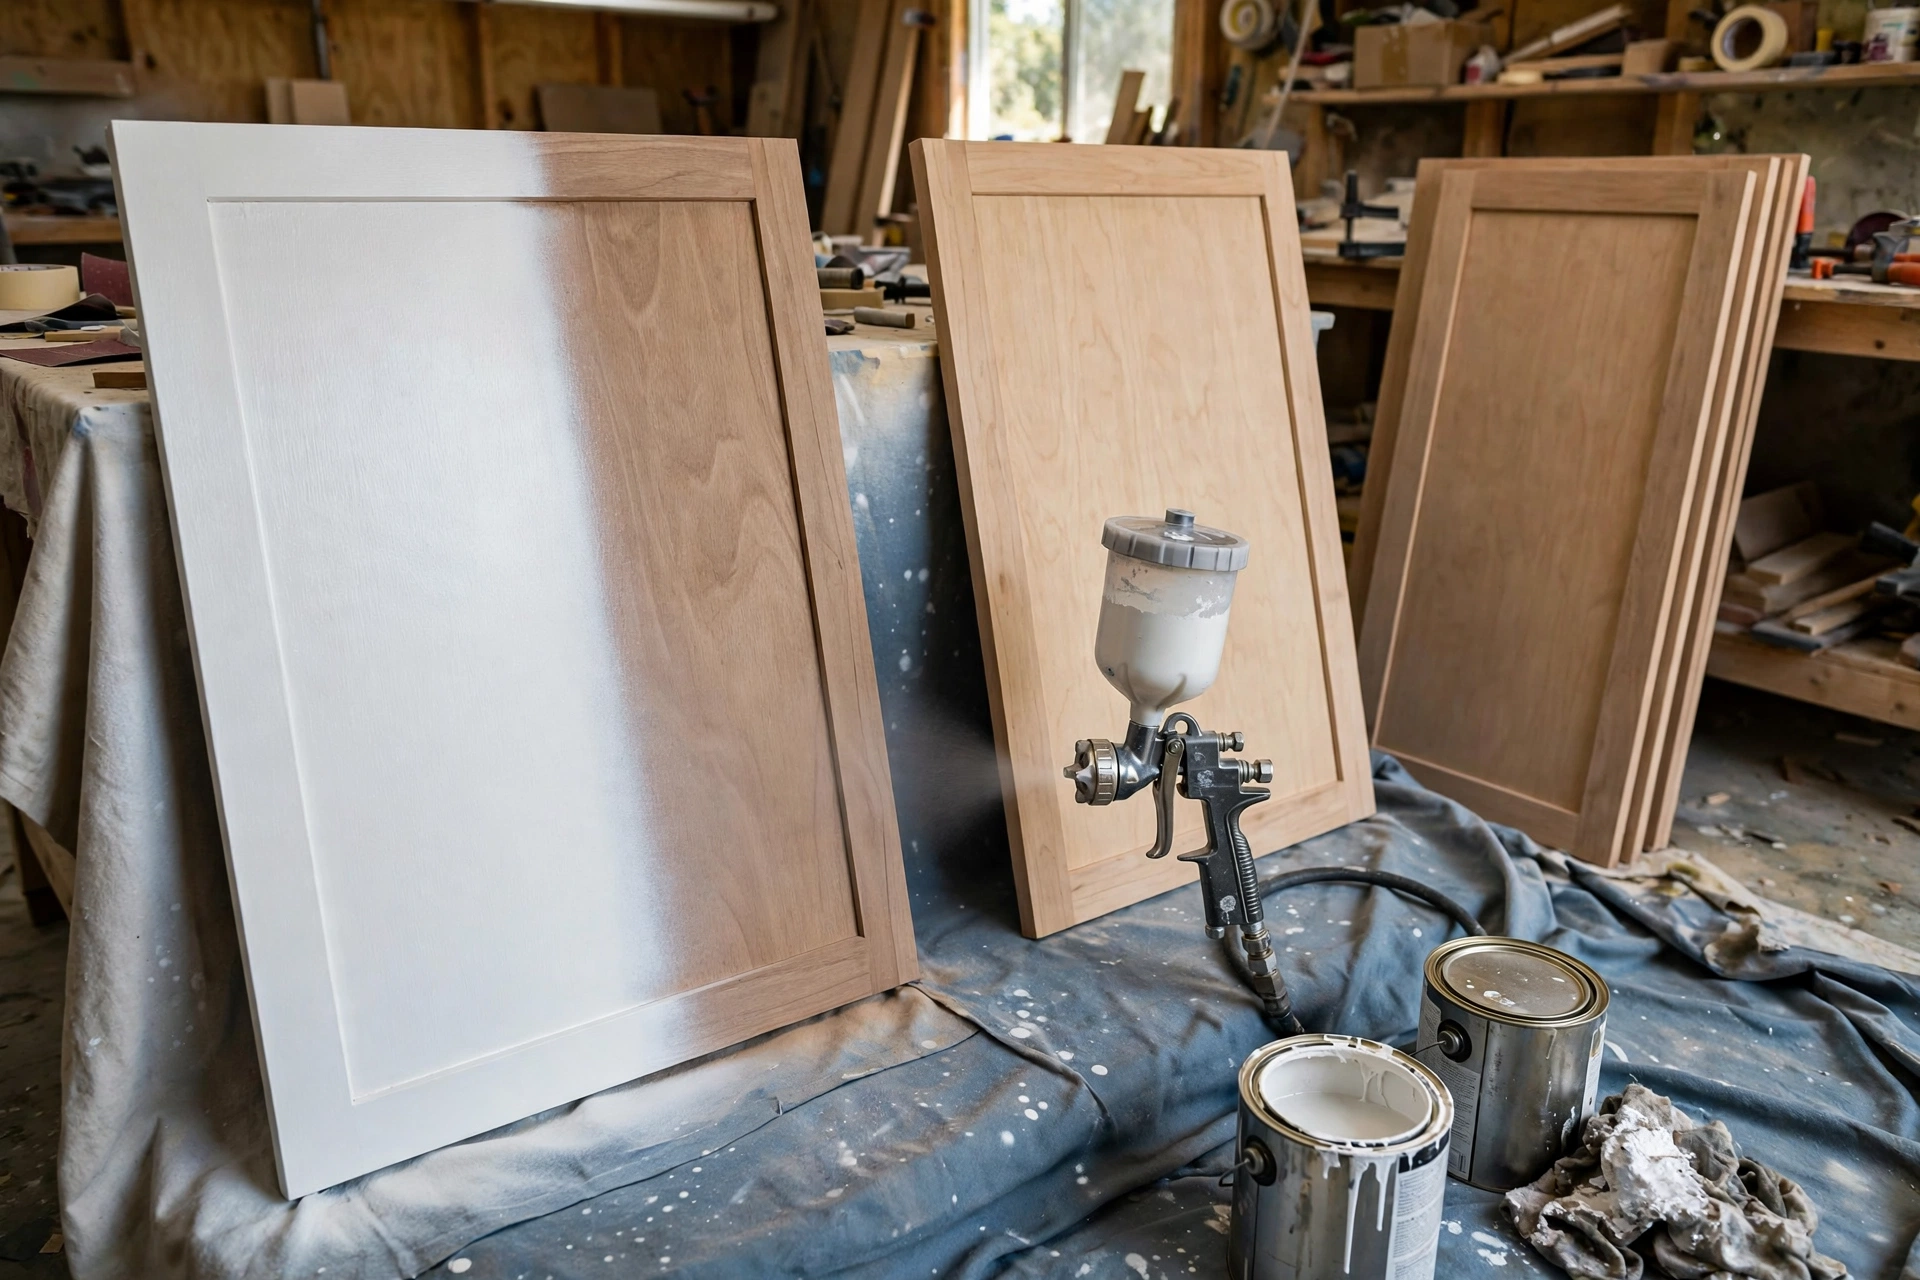
A bare stain coat provides vibrant color but zero physical protection against kitchen grease, moisture, and cleaning chemicals. Therefore, you must seal your cabinetry with a durable, non-yellowing protective topcoat. Oil-based polyurethane offers classic warmth and high abrasion resistance. However, oil poly ambers noticeably over time, which can alter white or cool gray base colors.
Alternatively, waterborne acrylic polyurethanes dry crystal clear and emit low odor during indoor application. For ultimate commercial durability, many professional woodworkers spray two-part conversion varnishes or catalyzed lacquers. These catalyzed formulas cure chemically to form an impenetrable barrier against heat, steam, and acidic spills. Apply at least three thin coats, scuff sanding lightly between each layer.
Where to Buy Quality Unfinished Kitchen Cabinets
Big-Box Retailers and Stock Lines
Big-box home improvement centers provide the most accessible option for buying unfinished cabinetry. Retailers stock standard raw oak and composite base units directly on store shelves for immediate jobsite pickup. For budget conscious shoppers, you can browse unfinished cabinets at Home Depot to evaluate standard stock inventory and dimensions.
These retail units typically feature solid oak face frames paired with particleboard or engineered plywood carcasses. While budget friendly, stock dimensions remain strictly limited to three-inch increments. In addition, stock retail cabinets generally include standard drawer glides rather than soft-close hardware. Nevertheless, for rental units, laundry rooms, or tight budgets, big-box raw lines offer dependable utility.
Factory-Direct Online Distributors
Online cabinet suppliers represent a rapidly growing source for high-grade unfinished cabinetry. Factory-direct distributors build semi-custom raw cabinets with all-plywood box construction and solid maple doors. Furthermore, online retailers frequently provide premium upgrades, including dovetailed hardwood drawer boxes, under-mount soft-close glides, and concealed euro hinges.
Because online manufacturers operate with low warehouse overhead, their prices remain competitive with big-box stock units. Once your cabinets arrive, you can complete the aesthetic transformation by choosing modern pulls and decorative knobs. You can conveniently shop hardware accents on Wayfair to pair designer handles with your custom finished cabinetry.
Local Custom Millwork and Cabinet Shops
Partnering with a regional cabinetmaker offers the highest level of craftsmanship and architectural customization. Local woodworkers can build raw cabinet carcasses tailored to your exact kitchen dimensions down to the sixteenth of an inch. This custom approach eliminates clumsy filler strips around irregular walls or tricky ceiling soffits.
Moreover, local custom shops let you specify specialty wood species like black walnut, rift-sawn white oak, or cherry. You receive completely assembled, sanded raw boxes ready for your chosen finish schedule. Although local custom millwork costs more than mass-produced retail stock, finishing the units yourself still saves thousands in painter labor fees.
Common DIY Mistakes When Finishing Raw Cabinets
Skipping the Pre-Stain Wood Conditioner on Pine and Alder
The most common DIY finishing error is applying dark penetrating stain directly onto bare softwood. Soft woods like pine and alder feature uneven cellular density that drinks in liquid stain erratically. As a result, end grain and softer growth rings turn nearly black while denser areas stay light. This unsightly, blotchy finish is permanent and nearly impossible to sand away completely.
Always take twenty minutes to apply a pre-stain conditioner before staining. The conditioner fills thirsty wood pores evenly, ensuring smooth, predictable color absorption. In addition, test your complete stain and clear coat process on scrap offcuts from your cabinet delivery. Testing first prevents costly refinishing mistakes on your visible cabinet doors.
Applying Finish Without Removing Hardware and Drawer Fronts
Amateur painters frequently attempt to cut corners by finishing cabinets while doors and hardware remain attached. This lazy shortcut produces sloppy paint drips, clogged hinge mechanisms, and uneven coverage along door edges. Furthermore, brushing around mounted hinges leaves visible lap marks that scream amateur DIY quality.
Instead, remove every door, drawer face, and hinge before applying finishes. Label each door with numbered painter tape so you can reinstall hardware in its exact original location. Lay doors flat on raised painter pyramids or workbenches during application. Finishing flat components horizontally prevents finish sagging, drips, and runs.
Rushing Recoat Windows in Humid Environments
Rushing the drying schedule between finish coats causes severe adhesion failure and hazy surfaces. Chemical topcoats require adequate time for volatile solvents to evaporate and polymers to crosslink. When you apply clear coat over tacky, semi-dry stain, you trap escaping moisture beneath the protective film. Consequently, the finish may turn milky white, blister, or peel off under normal kitchen use.
Always respect the temperature and humidity guidelines printed on your finish cans. In humid weather, double the recommended drying time between coats. Lightly scuff sand each cured coat with 320-grit paper, vacuum off dust, and verify the surface feels completely dry before applying subsequent layers.
What to Do With Unfinished Cabinets: Paint, Stain, Open Shelves, and Two-Tone Layouts
Buying unfinished is only half the decision. The other half is what finish goes on the boxes, whether any cabinets stay open, and whether the kitchen mixes wood and paint. These choices decide how the finished kitchen looks and how much work the finishing takes.
Cabinet Stain Kitchen Projects: Staining Unfinished Cabinets
A cabinet stain kitchen project means staining the raw wood so the grain shows through. Stain works best on oak, maple, and birch, and it needs a pre-stain conditioner on pine and alder so the color does not go blotchy. Test the stain on a spare door first, because the same stain looks different on each species and under kitchen lighting.
Paint Grade Cabinet Doors and Painted Kitchen Cabinet Doors
Paint grade cabinet doors are made from wood or MDF that takes paint well, usually poplar or MDF, and they hide the grain under the paint. Painted kitchen cabinet doors need a stain-blocking primer, two coats of cabinet enamel, and light sanding between coats. Paint costs more in time than stain because of the primer and the extra coats, but it hides grain and knots completely and gives a smooth, uniform color.
Cabinets Without Doors and Open Kitchen Base Cabinets No Doors
Cabinets without doors are used for display and daily-use storage, and open kitchen base cabinets no doors work the same way at floor level. An open base cabinet suits cookbooks, baskets, and drying racks beside the sink, but it shows dust and clutter, so it is best for items you use every day rather than long-term storage.
Unfinished Pantry Cabinets and Unfinished Base Cabinets With Drawers
Unfinished pantry cabinets are tall units you finish to match the rest of the kitchen, and they are worth staining or painting in place so the color matches the run beside them. Unfinished base cabinets with drawers need the drawer fronts finished on both faces, because drawer fronts show more than doors do. See our Unfinished Kitchen Base Cabinets guide for what to paint and what to leave alone.
Wood and Painted Kitchen Cabinets: Two-Tone Layouts
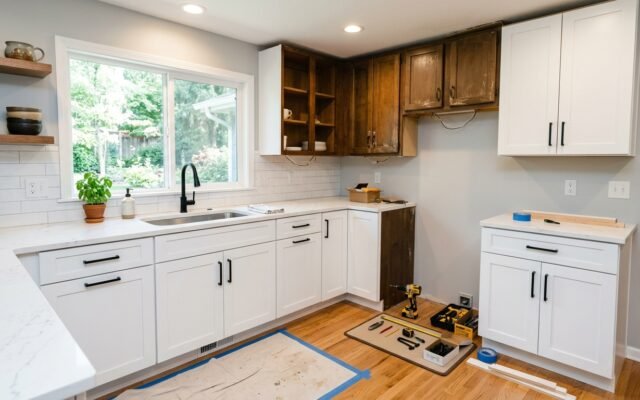
Wood and painted kitchen cabinets mixed in one kitchen is the two-tone look, and the most common version is wood upper cabinets painted lower cabinets: stained wood uppers with painted base cabinets below. It works because the wood warms the upper half while the painted lowers hide marks at floor level. See our Two Tone Kitchen Cabinets guide for the rules that keep a two-tone kitchen from looking mismatched.
Frequently Asked Questions About Unfinished Kitchen Cabinets
How much money do you save finishing kitchen cabinets yourself?
Homeowners generally save between 30 percent and 50 percent compared to prefinished equivalents. On a standard twenty linear foot kitchen, DIY finishing saves between 1,500 dollars and 4,000 dollars in factory labor charges.
What is the best wood species for unfinished kitchen cabinets?
Hard maple is the premier choice for smooth spray painted finishes because of its tight, closed grain. For rich stained finishes, red oak and white oak provide superior durability and deep pigment absorption.
Is it cheaper to paint or stain unfinished cabinets?
Staining raw cabinets is generally cheaper because penetrating wipe-on stains require fewer coats than high-build paint systems. Quality spray paint demands dedicated primer, multiple enamel coats, and extensive sanding prep.
Do unfinished kitchen cabinets need sanding before staining?
Yes, all unfinished cabinets require light progressive sanding from 120-grit through 180-grit before finishing. Sanding removes factory planer glaze, shipping scuffs, and raised wood fibers that otherwise cause blotchy coloration.
How long does it take to finish an entire kitchen of raw cabinets?
Finishing an average kitchen takes between 25 and 45 total labor hours spread across two weekends. Curing times between prep, stain, and multiple topcoats dictate the overall multi-day project timeline.
Can you leave unfinished cabinets without doors?
Yes. Cabinets without doors, including open kitchen base cabinets no doors, work for display and daily-use storage like cookbooks and baskets. They show dust and clutter, so they suit items you use every day, not long-term storage.
What is the best two-tone combination for unfinished cabinets?
The most reliable two-tone combination is wood upper cabinets with painted lower cabinets. Stain the uppers so the grain shows, paint the lowers in a solid color, and keep the hardware and countertop the same across both so the kitchen reads as one design.

Related Unfinished Cabinet Guides
For base cabinets specifically, see Unfinished Kitchen Base Cabinets: What You Get, What to Paint, and What to Avoid. For islands, see our Unfinished Kitchen Island guide, and for wood species and box materials, see Wood Kitchen Cabinets and MDF vs Plywood Cabinets.