Kitchen Sink With No Window: 9 Ideas That Fix the Light and the View
A sink under a window gets 2 things free: daylight and something to look at. A sink on a blank wall gets neither, and the wall above it is the most stared-at 36 inches in the house. You stand there 30 to 60 minutes a day washing, rinsing, and prepping, facing a flat surface. The fix is not 1 idea. It is 2 ideas working together: 1 that adds light and 1 that gives you a view. This list ranks 9 ideas on what each one actually delivers for a standard 36-inch sink run: lumens added, cost band, and splash risk. Cost bands are the author’s bands: $ is under $150 in materials, $$ is $150 to $600, $$$ is over $600 or needs a pro. Only 3 of the 9 ideas add light. The other 6 fix the view. Pick 1 from each group and the wall stops feeling like a compromise.
The Light and View Budget: 9 Ideas Compared
This table is the whole article in 1 place. Lumens are computed for a 36-inch (3-foot) sink run from the verified under-cabinet range of 200 to 400 lumens per linear foot. A mirror adds 0 lumens: it reflects the room’s light, it does not make any. Splash risk is high, medium, or low based on what sits directly above the water.
| # | Idea | Lumens added | Cost band | Splash risk | Fixes light or view |
|---|---|---|---|---|---|
| 1 | Full-height backsplash | 0 | $$ | Low | View |
| 2 | Under-cabinet LED strips | 600-1,200 | $ | Low | Light |
| 3 | Sconce pair | 400-800 | $$ | Low | Light |
| 4 | Mirror above the sink | 0 (reflects) | $ | Medium | View |
| 5 | Open shelf, 12 in deep | 0 | $ | Medium | View |
| 6 | Framed art under glass | 0 | $ | Medium | View |
| 7 | Glass-front wall cabinets | 150-300 | $$ | Low | Both |
| 8 | Pass-through opening | 0 (borrows daylight) | $$$ | Low | Both |
| 9 | Move the sink to an island | 0 (new position) | $$$ | Low | Both |
Read the table this way: if your sink wall is dark, start with idea 2. If it is bright but blank, start with idea 1 or 4. If you can do 2 ideas, pair 2 with 4: the strip gives you 600 to 1,200 lumens of task light, and the mirror gives you depth and reflected light for under $150 in materials. The rest of this article works the list in order, with the measurement that makes each idea work and the mistake that makes it fail.
1. Run the Backsplash to the Ceiling: 24 Square Feet That End the Blank Wall
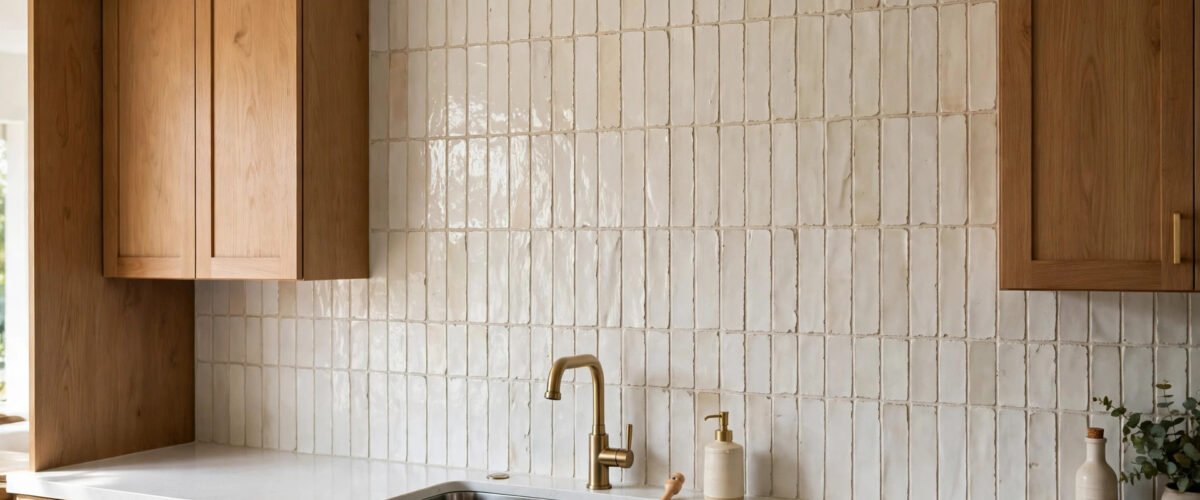
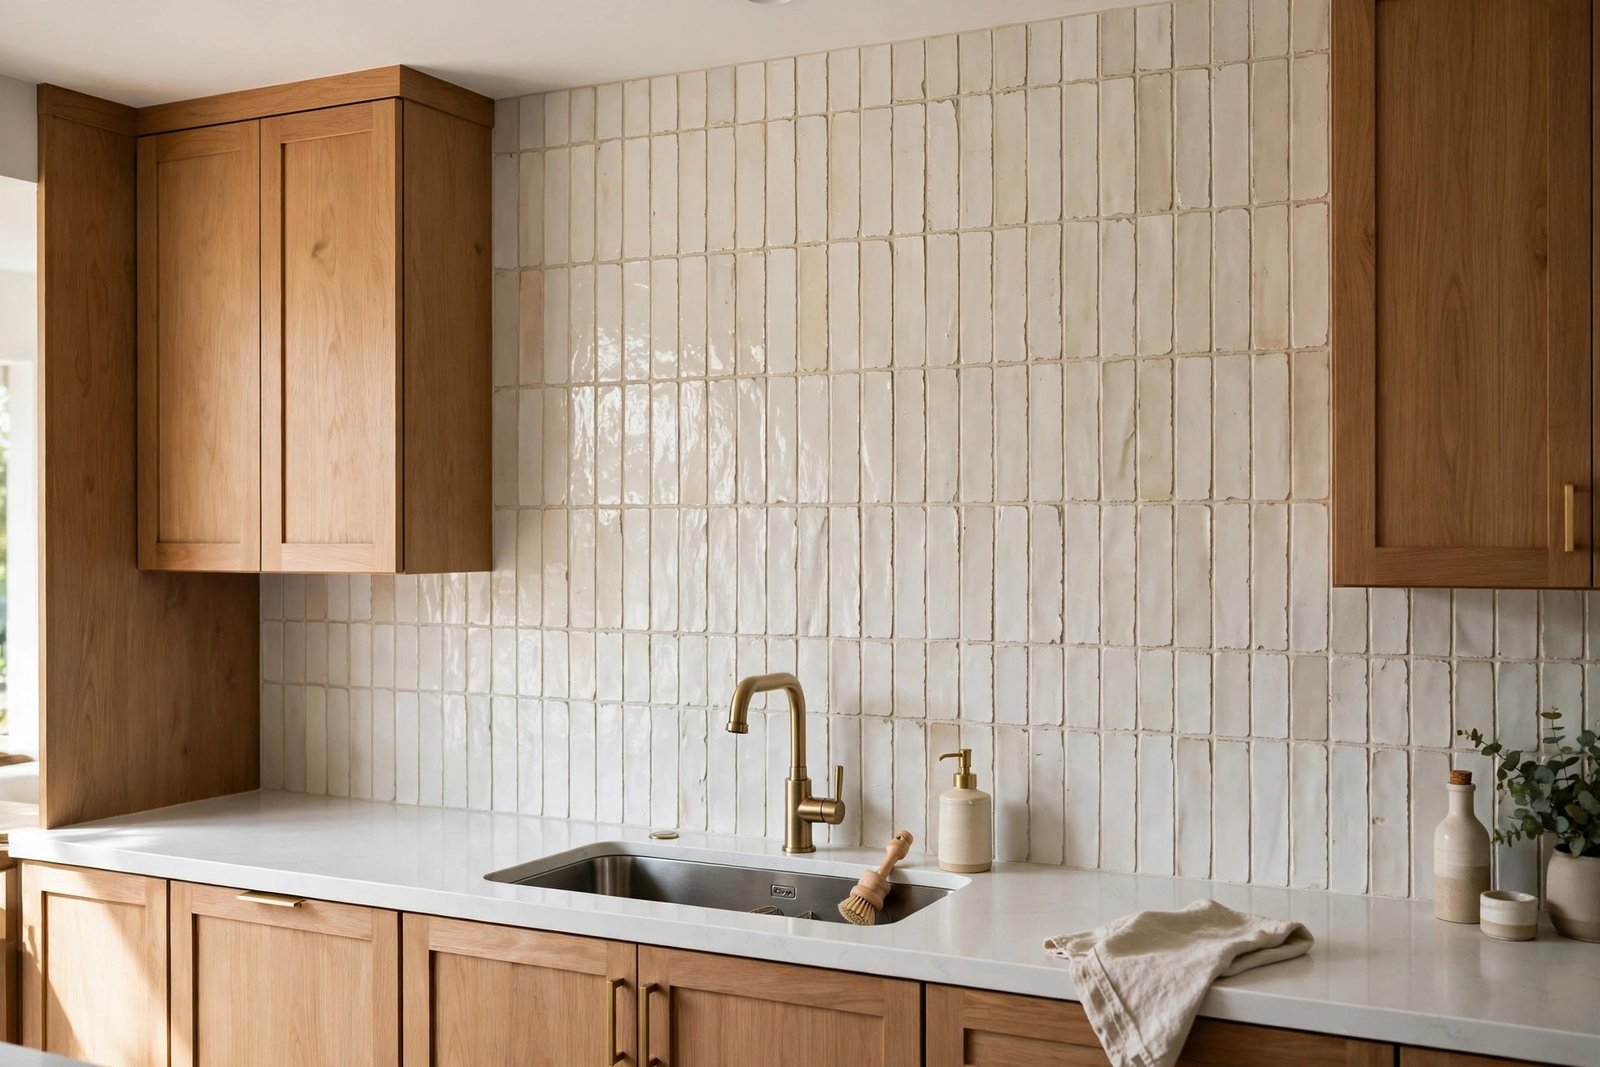
A standard backsplash is 18 inches tall over a 36-inch sink run, which is 6 square feet of tile and 18 square feet of painted wall above it. Run the tile to the ceiling and the same 36-inch run becomes 24 square feet of tile: 4 times the coverage, 0 square feet of blank wall. That is the whole idea. Tile handles daily splashing without marking, which paint does not, so the wall above a windowless sink is the 1 place in the kitchen where full-height tile earns its keep. Cost band is $$: 24 square feet of tile plus setting materials, against 6 square feet for a standard splash. The catch is grout. Use a grout sealer on the 24 inches directly above the faucet, and re-seal it every 12 months, or the grout darkens where the water hits it. Handmade-look tile hides uneven grout lines better than flat subway tile, and it reads as art on its own, which is the point when there is no window to look at. If you already have a standard splash, extending it to the ceiling is a 1-day job with no plumbing touched.
2. Add Under-Cabinet LED Strips: 600 to 1,200 Lumens for $20 to $100 per Foot
This is the highest-impact idea on the list, and the cheapest light per lumen. Task lighting at the counter needs 200 to 400 lumens per linear foot, so a 3-foot sink run needs 600 to 1,200 lumens. A plug-in LED strip delivers that for $8 to $12 per foot in materials, or $20 to $100 per linear foot installed. Mount the strip toward the front third of the cabinet underside, not the back: front mounting throws light onto the sink and your hands instead of onto the wall. Pick 3000K to 4000K color temperature and a CRI of 90 or higher, so food and dishes read true and the light does not feel clinical. Below 150 lumens per foot, the light reads as decoration, not task light. The failure mode is buying a short bar for a long run: a 12-inch bar at 150 total lumens leaves the ends of a 36-inch sink in shadow. Size the strip to the full 36 inches. For the full lighting picture, the kitchen cabinet lighting guide covers the rest of the room.
3. Hang a Sconce Pair: 2 Lights, 24 Inches Apart, at Eye Level
When there is no wall cabinet above the sink, 2 sconces do the job the strip cannot: they put light on the wall and on your face, not just on the counter. Space them 24 inches apart, centered on the 36-inch sink run, so each one sits 6 inches in from the edge of the run. Mount them at eye level, about 60 inches from the floor, so the light washes the wall without shining in your eyes. Cost band is $$: 2 fixtures plus wiring, and a hardwired pair needs an electrician if there is no existing junction box on that wall. Pick shades that throw light up and down, not just down, or the wall above the sconce stays dark and the blank-wall problem survives. Sconces pair well with idea 1: the tile reflects the sconce light back into the room, which is why a full-height backsplash plus sconces reads brighter than either one alone. The Department of Energy notes that directional LED task lighting can cut kitchen lighting energy use by 30 to 50 percent compared with ceiling fixtures alone, because you light only the zone you use.
4. Hang a Mirror Above the Sink: 24 Inches Wide Over a 36-Inch Base
A mirror is the closest substitute for a window, because it gives you depth and reflected light instead of a flat wall. Size it by the 2/3 rule: a 24-inch mirror over a 36-inch sink base. Full width looks like a bathroom, and half width looks like an afterthought. Hang the bottom edge 6 inches above the backsplash so splashes hit tile, not the mirror frame, and center it on the faucet, not on the wall. Cost band is $: a 24-inch mirror and 2 hangers. Splash risk is medium: a mirror above a sink collects water spots daily, so wipe it when you wipe the counter or the spots set. Pick a frame in the same metal as your faucet, and skip an unframed mirror: the raw edge chips the first time a pot hits it. A mirror with a slight antiqued finish hides spots better than a brand-new one, and it reads warmer in a kitchen. Do not hang a mirror where it reflects the range hood or the trash can. Stand at the sink and check what the mirror shows before you drill.
5. Fit 1 Open Shelf: 12 Inches Deep, 18 Inches Above the Counter
One open shelf above the sink gives you a view and storage in the same 12 inches of depth. Mount it 18 inches above the counter: low enough to reach without a step stool, high enough that a tall faucet and a stockpot clear it. A 12-inch-deep shelf matches a standard wall cabinet depth, so it lines up with the cabinets on either side. Cost band is $: 1 board, 2 brackets, and screws into studs. Splash risk is medium, so what you put on the shelf matters: everyday dishes and glasses get splashed and need a rinse, while plants, a small framed print, and closed jars do not. Put the daily-use items on the shelf only if you accept rinsing them. The shelf fails when it is loaded with 15 items: it reads as clutter, not a view. Keep it to 5 to 7 objects, with 1 tall item at each end to frame the sink. For shelf sizing and weight limits across the kitchen, the kitchen cabinet shelf guide lists the standard sizes.
6. Hang Framed Art Under Glass: 1 Large Piece, Not 5 Small Ones
One oversized piece of art, 24 inches wide or more, creates a focal point the way a window would. Five small pictures create clutter and make the missing window more obvious. Pick a landscape, botanical print, or coastal scene: something with depth, so the eye has somewhere to go. Frame it under glass, not open, because an unglazed print above a sink absorbs steam and spots within weeks. Cost band is $: 1 frame and 1 print. Splash risk is medium: glass wipes clean, but the frame bottom sits in the splash zone, so seal the frame back with tape or pick a metal frame that does not swell. Hang it so the center sits at eye level, about 60 inches from the floor. If the art is wider than 24 inches, it needs 2 hangers into studs, not 1 picture hook, or it drifts crooked within a month. This is the fastest idea on the list: 30 minutes, no tools beyond a drill and a level.
7. Fit Glass-Front Wall Cabinets: 150 to 300 Lumens With the Light Inside
Wall cabinets above a sink solve the blank wall and the storage problem at once, and glass fronts solve the darkness problem the cabinets create. Standard practice puts the bottom of a wall cabinet 24 inches above the countertop, which leaves a 24-inch band of wall between the counter and the cabinet. Fit glass-front doors on those cabinets and add an interior LED strip, and the cabinet becomes a light box: about 150 to 300 lumens of warm light washing down onto the sink. Cost band is $$: 2 glass-front doors, or 2 new wall cabinets if none exist. Splash risk is low: the glass is 24 inches above the water. The catch is what is inside: glass fronts show everything, so the contents need to look intentional. Put matching glasses and white dishes in the sink cabinets, and move the mismatched mugs elsewhere. For door and glass options, the glass-front kitchen cabinets guide covers the styles.
8. Cut a 48-Inch Pass-Through: Borrow the Next Room’s Light and View
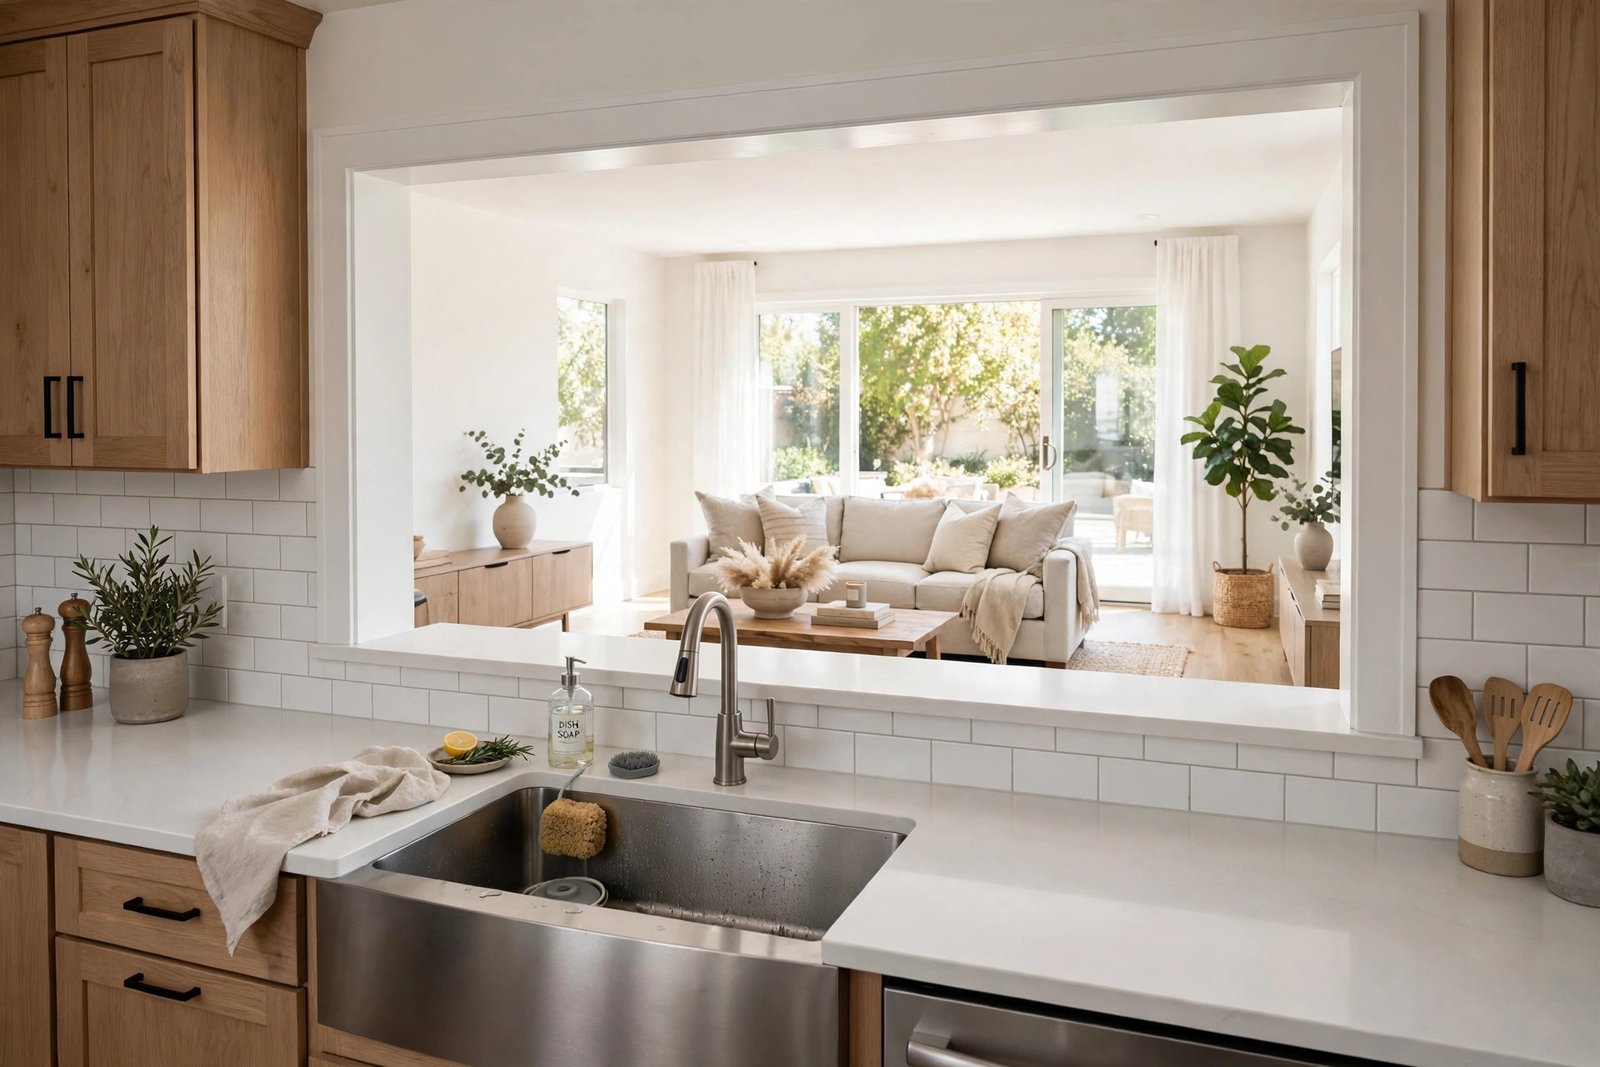
If the sink wall backs onto a living room, dining room, or covered porch, a pass-through opening does what no fixture can: it gives you real daylight and a real view. Cut a 48-inch-wide opening with the sill at counter height, 36 inches from the floor, and the counter runs through the opening as a serving ledge. The sink stays where it is, the plumbing stays untouched, and the wall stops being a wall. Cost band is $$$: cutting an opening needs a check that the wall is not load-bearing, and a load-bearing wall needs a header beam and a pro. If the wall is load-bearing, the beam alone can add $1,000 or more to the job, so confirm the structure before you commit. The opening also needs a finished sill that handles water: stone or quartz, not painted wood. This is the only idea on the list that changes the floor plan, and it is the only one that fixes both the light and the view permanently. If your sink wall backs onto a bedroom or bathroom, skip it: the view is not worth the trade.
9. Move the Sink to the Island or Peninsula: Keep the Dishwasher Within 36 Inches
Moving the sink off the blank wall and onto an island or peninsula is the last resort, and the most complete fix. On an island you face the room while you work, and the light comes from the room’s windows and pendants instead of from a wall fixture. On a peninsula you get the same facing-the-room benefit in a kitchen too small for an island. Cost band is $$$: a new drain run, a new vent, and a plumber, plus the countertop cut for the new sink. The failure mode is distance: the sink moves away from the dishwasher and the range, and every load of dishes travels farther. Keep the dishwasher within 36 inches of the new sink position, or the walk gets old within a week. Also check the base cabinet: a sink needs a 36-inch sink base or a 30-inch base for a small bowl, and an island built from standard 24-inch-deep base cabinets fits a sink base without modification. If you are already planning a remodel, this is the time to move the sink. As a standalone job, ideas 1 through 8 cost less and disrupt less. For the island side of this decision, the kitchen peninsula guide covers peninsula layouts, and the farmhouse sink base cabinet guide covers the base sizes.
Pick Your Fix in 3 Questions
Answer these in order. The combination you land on is your fix.
- Do you own the home, or rent? Renters: pick ideas 2, 4, 5, and 6. Nothing here drills into structure beyond 2 screw holes, and everything comes down when you leave. Owners: all 9 are open.
- What is the budget? Under $150: idea 2 (strip) plus idea 4 (mirror) is the best pair on the list, at 600 to 1,200 lumens plus a view. $150 to $600: add idea 1 (full-height tile) or idea 7 (glass fronts). Over $600: idea 8 (pass-through) or idea 9 (move the sink).
- Is the wall blank, or is there a cabinet above the sink? Cabinet above: use idea 2, the strip under it, and skip the sconces. No cabinet: use idea 3, the sconce pair, and skip the strip. Blank wall with no cabinet and no budget: idea 4 (mirror) plus idea 6 (art) fills the wall for under $150.
If you can only do 1 idea, do idea 2. Light is the problem that makes the sink unpleasant to use, and 600 to 1,200 lumens of task light fixes the use of the sink even if the view stays blank.
A 36-Inch Sink Wall, Worked Start to Finish
Take a 36-inch sink run on a blank wall in a rented home, with a $200 budget. Step 1: the tree says renters, under $150 in materials per idea, blank wall with no cabinet. Step 2: pick idea 2, a 36-inch LED strip at 300 lumens per foot, which delivers 900 lumens for about $24 to $36 in strip material. Step 3: pick idea 4, a 24-inch mirror at the 2/3 rule, centered on the faucet with the bottom edge 6 inches above the backsplash. Step 4: total materials land under $150, install time is about 2 hours, and the wall now has 900 lumens of task light plus a mirror that reflects the room’s daylight. Step 5: the renter keeps the strip and the mirror when they move, because both come down with 4 screws. The same wall with a $600 budget adds idea 1, full-height tile, and the tile stays for the next tenant. The math is the same in both cases: 1 light idea plus 1 view idea, sized to a 36-inch run.
4 Mistakes That Cost Real Money
Mistake 1: an underpowered strip. A 12-inch bar at 150 total lumens over a 36-inch sink leaves the ends dark. The fix is a second bar or a full-length strip: $24 to $36 in strip material, or $60 to $300 installed for the run. Buy the strip by lumens per foot, 200 to 400, not by total lumens on the box.
Mistake 2: a mirror that is too small or too big. A 12-inch mirror over a 36-inch base looks lost, and a 36-inch mirror looks like a bathroom. The fix is a new mirror at the 2/3 rule, 24 inches: $30 to $80 for the mirror, plus 2 new holes to patch. Measure the base before you order.
Mistake 3: open art with no glass. An unglazed print above a sink absorbs steam and spots within weeks, and it cannot be cleaned. The fix is reframing under glass or replacing the print: $40 to $120. Frame under glass the first time.
Mistake 4: a shelf loaded with daily dishes. Plates and glasses on an open shelf above a sink get splashed every time you run the water, and they need a rinse before use. The fix is moving daily items into a closed cabinet and keeping the shelf to display: 0 dollars, 20 minutes, and the shelf stops being a chore. If you want the shelf for storage, fit a glass-front cabinet instead, idea 7.
The 10-Minute Checklist Before You Buy Anything
Do this before you order a mirror, a strip, or a tile. It takes 10 minutes and a tape measure.
- Measure the sink base width in inches: ____. Your mirror and art width is 2/3 of this number.
- Measure the wall width in inches: ____. Your shelf and backsplash width cannot exceed this.
- Measure counter to ceiling in inches: ____. Full-height tile needs this number to order the right square footage.
- Check for a junction box or outlet on the sink wall: yes / no. No box means sconces need an electrician.
- Check what the mirror would reflect: ____. If it reflects the range hood or the trash can, pick art instead.
- Check the wall behind the sink: load-bearing / not load-bearing / unknown. Unknown means ask a pro before cutting a pass-through.
- Count the hours of daylight the room gets: ____. Under 3 hours means you need idea 2, the strip, before any view idea.
7 Questions About a Kitchen Sink With No Window, Answered
Do I need a window above my kitchen sink?
No. A sink does not need to be on an outside wall, and a sink on an interior wall or island works the same way for plumbing. What it needs is task light at 200 to 400 lumens per linear foot and something to look at, which is what the 9 ideas in this article provide.
How many lumens do I need above a windowless sink?
600 to 1,200 lumens across a 36-inch run, from a strip or bar rated at 200 to 400 lumens per linear foot. Below 150 lumens per foot the light reads as decoration. Pick 3000K to 4000K color temperature and a CRI of 90 or higher.
What size mirror goes above a kitchen sink?
Two-thirds the width of the sink base: a 24-inch mirror over a 36-inch base. Hang the bottom edge 6 inches above the backsplash and center it on the faucet. A full-width mirror looks like a bathroom, and a half-width mirror looks lost.
Can I put open shelves above a kitchen sink?
Yes, 1 shelf 12 inches deep mounted 18 inches above the counter. Keep it to 5 to 7 display objects, not daily dishes, because the shelf sits in the splash zone and daily items need a rinse before use.
Is a sink in the island better than a sink with no window?
It fixes the view, because you face the room instead of a wall, but it costs more than any wall fix: a new drain run, a new vent, and a plumber. Keep the dishwasher within 36 inches of the new sink position or the walk gets old fast.
Will a windowless sink hurt my home’s resale value?
Not on its own. Buyers notice a dark, blank sink wall, not the absence of a window. A lit, finished sink wall with a full-height backsplash or a mirror reads as a design choice, and it photographs better than a bare wall.
What is the cheapest fix for a sink with no window?
A plug-in LED strip plus a mirror, both under $150 in materials. The strip gives you 600 to 1,200 lumens of task light, the mirror gives you depth and reflected light, and both install in about 2 hours with no pro needed.