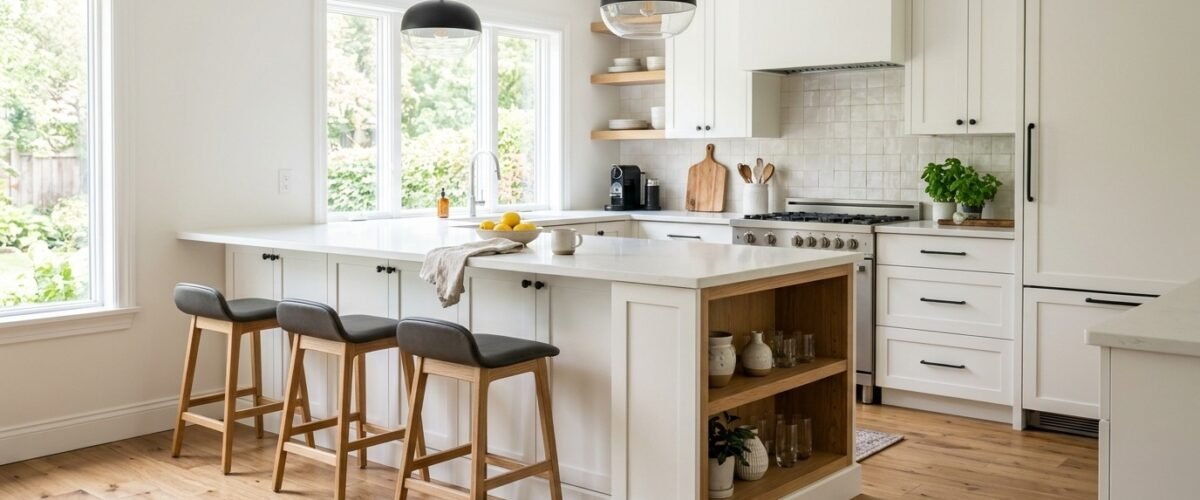
A kitchen peninsula provides the prep space, casual seating. Also, storage of an island while connecting right to your main wall cabinets. In fact, a peninsula saves 20 to 30 square feet of floor space. This is because it eliminates a second walkway aisle. buyers with narrow kitchen footprints frequently choose peninsulas to separate cooking zones from dining areas.
Also, a well-planned kitchen peninsula creates an efficient work triangle while expanding your base cabinet storage options. In this builder guide, we review standard sizes, seating overhang math, corner cabinet fixes. Also, total install costs. That way, you can design a peninsula layout that balances everyday function with enduring resale value.
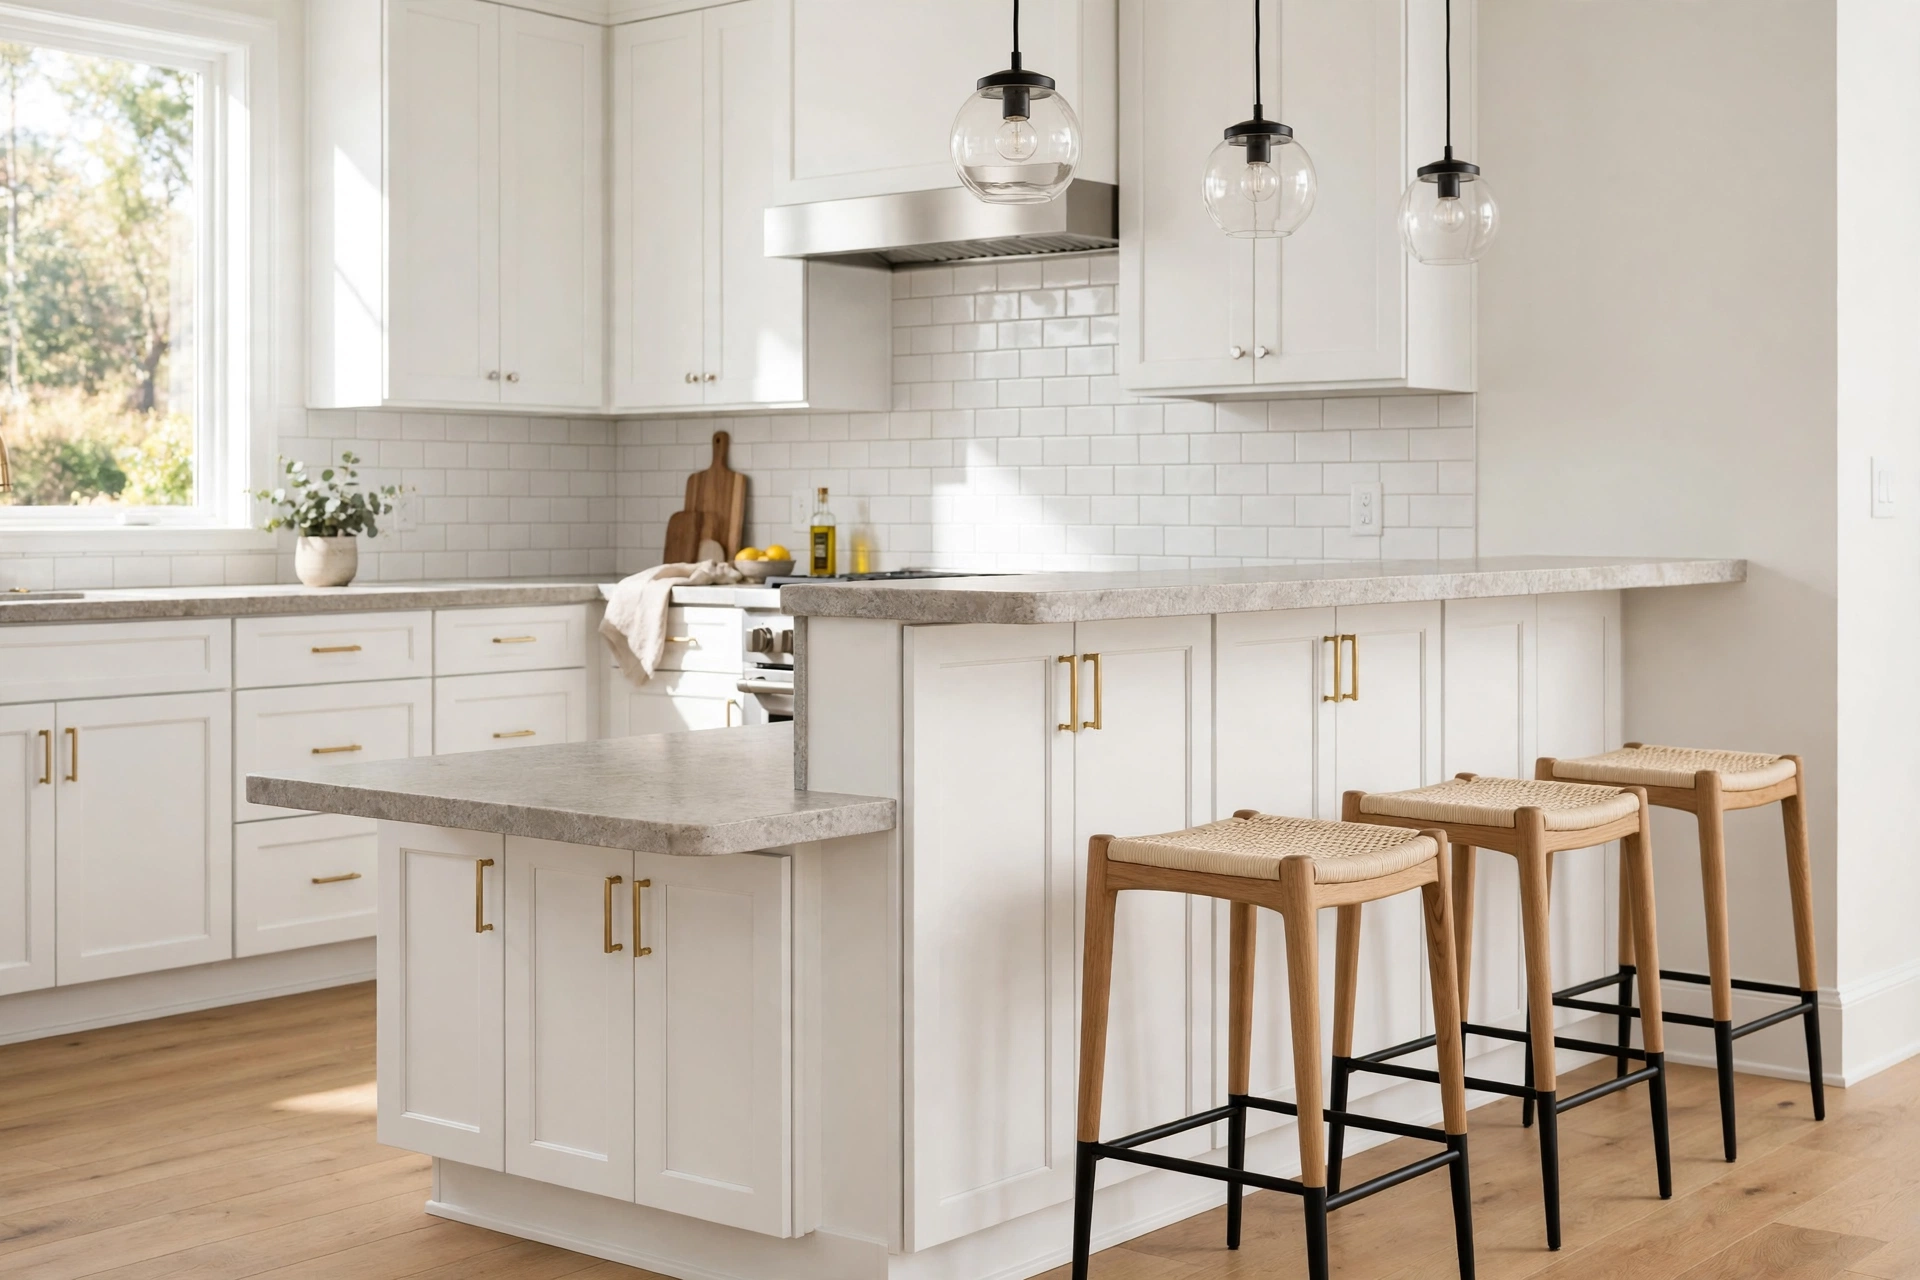
Kitchen Peninsula vs Kitchen Island: Key Differences
Floor Plan and Clearance rules
First, room sizes dictate whether your kitchen layout favors a peninsula or a free island. A free island requires 36 to 48 inches of open walkway clearance on all four sides. Yet, a kitchen peninsula connects to an existing wall or cabinet line, needing clearance on only three sides.
As a result, a peninsula fits into kitchens under 13 feet wide. Here, an island would choke traffic. By anchoring one end against a wall, you reclaim precious floor space for dining tables or living room fine wood. For layout spacing rules, check our guide on kitchen cabinet layout ideas.
Plumbing and power Routing Efficiency
Next, work install is much simpler and cheaper inside a kitchen peninsula than inside an island. Because a peninsula touches an outer or inner wall, wire pros can pull wire right through existing wall studs. Plumbers can run supply lines and drain pipes through standard base cabinet floor plates without cutting concrete.
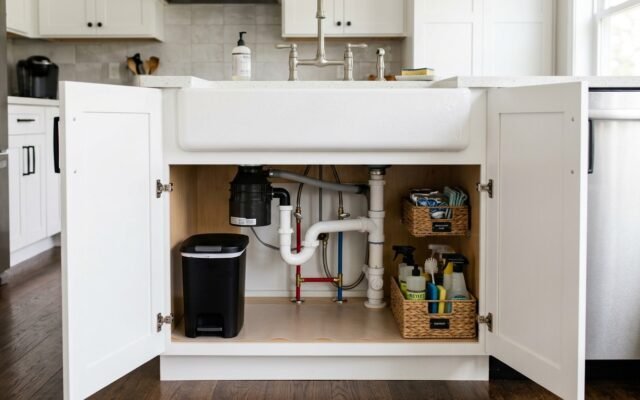
Yet, adding a sink or cooktop to a free island requires trenching concrete slabs or opening finished basement ceilings. In fact, plumbing an island sink often requires costly island loop vents to prevent sewer gas siphonage. With a peninsula, standard wall venting through the roof remains fully intact. For plumbing details, see our guide on sink and base cabinet options.
Traffic Flow and Room Division
Then, peninsulas act as practical design barriers between the kitchen and nearby living rooms. A peninsula creates a clear boundary that keeps dinner guests and kids out of the hot cooking zone. Yet, the open counter overhang allows seated guests to converse quick with the cook.
Also, this setup works very well in open-concept great rooms where buyers desire partial spatial separation. The base cabinet run defines the kitchen zone without blocking real sightlines or window daylight. Thus, your home feels wide while keeping kitchen prep clutter out of direct living room sight.
Peninsula vs Island Comparison Table
Below is our builder comparison table outlining key differences between kitchen peninsulas and free island kitchen islands:
| Feature Category | Kitchen Peninsula | free island Kitchen Island | builder Verdict |
|---|---|---|---|
| Required Kitchen Width | 10 to 12 Feet Minimum | 13 to 15 Feet Minimum | Peninsulas fit narrower home layouts |
| Aisle Clearances | Clearance needed on 3 sides | Clearance needed on all 4 sides | Peninsula saves 25 to 35 square feet |
| Plumbing Rough-In Cost | $400 to $900 (standard wall) | $1,200 to $2,800 (floor trenching) | Peninsula cuts plumbing labor in half |
| power Routing | Simple stud cavity feeds | Underfloor conduit required | Peninsulas reduce wire pull complexity |
| Seating space | 2 to 4 Counter Stools | 3 to 6 Counter Stools | Islands accommodate more seating sides |
| Average Base Cost | $2,200 to $5,500 | $3,500 to $8,500 | Peninsulas offer higher budget efficiency |
Also, remember that custom waterfall counters or specialized drawer pull-outs increase total project pricing. For general cabinet budgeting, review our breakdown on kitchen base cabinets cost.
Standard sizes and Sizing for Peninsula Base Cabinets
Ideal Length and Depth specs
First, standard kitchen peninsula base cabinets measure 34 and half inches tall from finished floor to top rail. When you add a standard one-and-half-inch counter slab, the finished work surface sits at exactly 36 inches. This standard height ensures seamless alignment with the rest of your kitchen perimeter counters.
Also, standard peninsula runs feature 24-inch deep base cabinets as their core sturdy foundation. When planning the length, builders recommend a peninsula span between six and ten feet. A peninsula shorter than five feet feels cramped. Meanwhile, a run exceeding ten feet forces cooks to walk long detours around the counter.
counter Overhang and Seating Ergonomics
Next, planning easy knee space requires precise counter overhang math. Standard counter height of 36 inches pairs with 24-inch seat-height barstools. For ergonomic seating comfort, the National Kitchen and Bath Association recommends a minimum knee overhang of 12 to 15 inches.
In fact, a 24-inch base cabinet paired with a 12-inch overhang produces a 36-inch wide finished stone counter. If you prefer deeper 15-inch knee clearance, the finished top measures 39 inches wide. Also, allow 24 inches of counter width per seated person so elbows do not bump during meals.
Walkway Clearances and Traffic Buffers
Then, maintaining enough walkway width at the peninsula opening is essential for home safety. The entry aisle between the peninsula end panel and opposing walls or cabinets must measure at least 36 inches. In households with multiple cooks, expanding this aisle to forty-two or 48 inches prevents traffic jams.
Also, check door swings of nearby units before fixing your peninsula length. For example, check your fridge door swing. Ensure the open door clears the peninsula corner by at least 15 inches. For size benchmarks, read our guide on kitchen base cabinet sizes.
Support Brackets and support Math
Finally, heavy stone counters require sturdy support brackets beneath seating overhangs. Standard three-cm granite and quartz slabs can safely support up to ten inches without steel reinforcement. Yet, when your peninsula overhang reaches 12, 15, or 18 inches, hidden support brackets are mandatory.
Thus, builders install flat steel support brackets spaced every 16 to 24 inches along the cabinet top rails. These heavy steel plates bolt right into the cabinet walls and sit flush beneath the stone slab. As a result, your stone remains fully supported without needing bulky wooden corbels that bump guests’ knees.
Popular Kitchen Peninsula Layout
L-Shaped Kitchen with Peninsula Return
First, the L-shaped layout with a peninsula extension is one of the most popular home designs. In this setup, two right-angle cabinet walls form the main L shape. Also, the peninsula extends off one leg into the living room. This creates an open, welcoming layout that connects seamlessly with dining areas.
In fact, this layout provides excellent counter space between the cooking range and the peninsula prep zone. You can prep vegetables on the peninsula while chatting with family members sitting on counter stools. For box layout ideas, see our guide on kitchen cabinet boxes.
U-Shaped Kitchen Peninsula for Maximum Storage
Next, a U-shaped kitchen with a peninsula delivers the highest counter surface area per square foot. Three connected counter runs enclose the cook in an ergonomic culinary cockpit where every unit is two steps away. The third leg of the U shape functions as the peninsula, dividing the kitchen from nearby rooms.
Also, this layout maximizes lower cabinet storage by wrapping steady base boxes around three walls. You can position your sink on the perimeter wall, your range on the center wall. Also, your prep zone on the peninsula. That way, cooking workflow proceeds in a smooth, logical sequence.
G-Shaped Kitchen Peninsula Layout
Then, the G-shaped kitchen layout adds a fourth peninsula leg to a full U-shaped room. This design is common in wide custom homes where buyers desire set breakfast counters without sacrificing cabinet runs. The partial fourth wall creates a semi-enclosed cooking environment with abundant upper and lower cabinets.
Yet, G-shaped kitchens require careful corner planning to avoid trapped clearance zones. buyers must ensure the entryway opening into the kitchen measures at least 36 to forty inches wide. setting corner pull-out racks ensures that both blind corners remain fully usable.
Peninsula with Raised Bar vs one-level Counter
Finally, you must choose between a flush one-level counter and a tiered two-level raised bar. A one-level 36-inch counter provides an expansive, uninterrupted surface that makes smaller kitchens feel much larger. Also, a wide flat counter accommodates large baking projects, buffet serving platters. Also, casual dining.
Yet, a raised 42-inch bar features a six-inch backsplash step that hides sink clutter from the dining room. A raised bar pairs with taller 30-inch barstools, creating a distinct pub-style atmosphere. Yet, two-tier counters divide usable counter space into two narrower strips. In fact, this can reduce baking prep work.
Corner fixes and Base Cabinet Selection for Peninsulas
Blind Corner Base Cabinets with sliding Pull-Outs
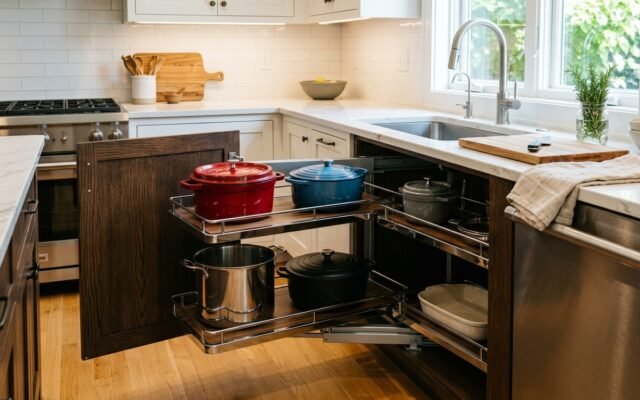
First. Here, the peninsula joins the right-angle wall run, an enclosed corner space is created. If you install standard stationary shelving inside this blind corner, reaching stored pots requires crawling on your knees. Thus, skilled kitchen designers specify sliding blind corner pull-outs.
In fact, these heavy-duty chrome racks feature two-stage sliding shelves that pivot outward through the cabinet door opening. When you pull the front shelf forward, the hidden rear basket slides smoothly into view. This design eliminates dead space and holds up to eighty pounds of cookware smoothly. For corner comparisons, read our guide on corner sink cabinet fixes.
Back-to-Back Shallow cabinets on Peninsula Backs
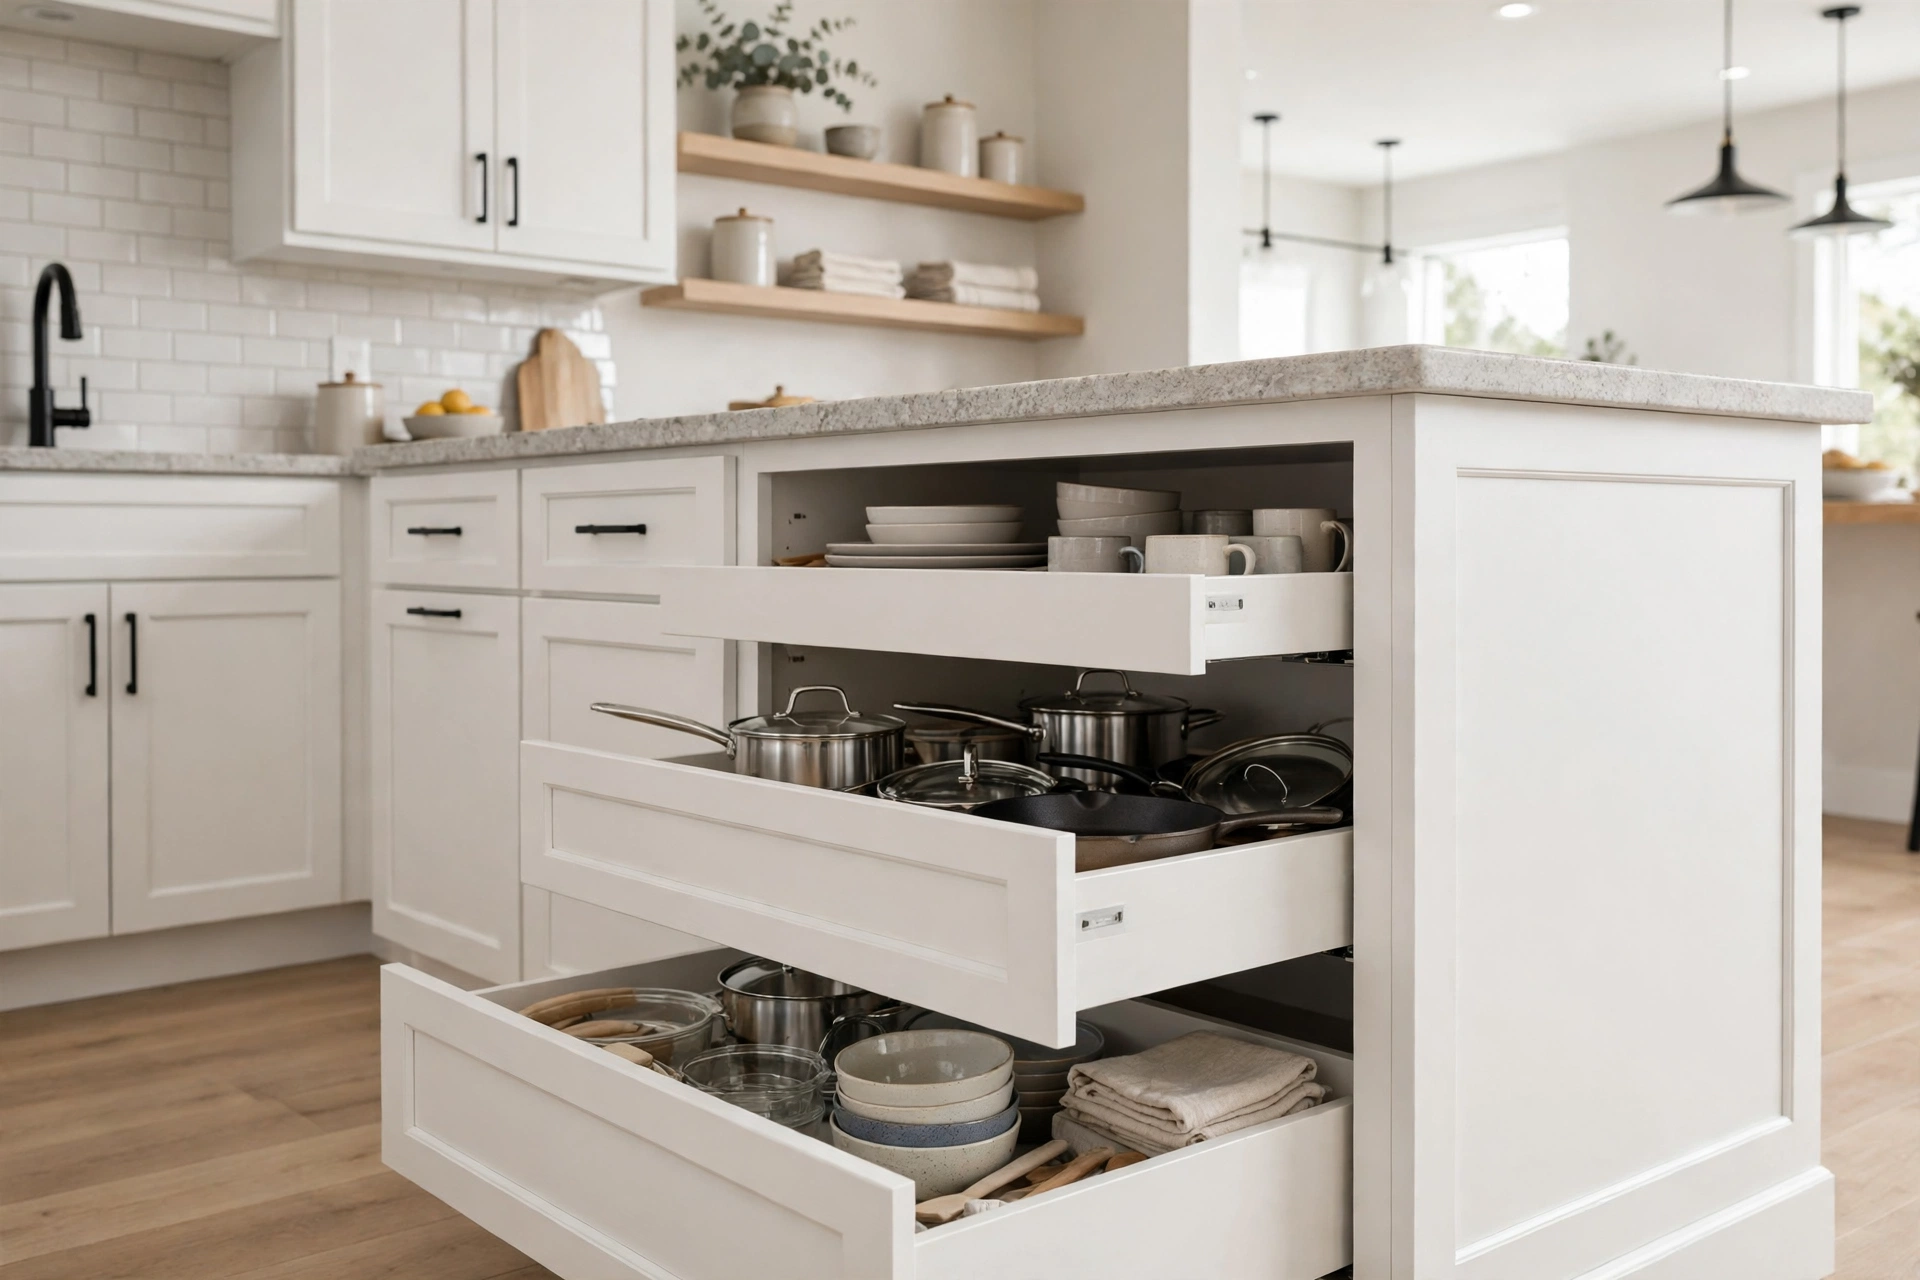
Next, you can dramatically expand peninsula functionality by setting shallow cabinets under the back counter. Do not leave the peninsula back as plain drywall. Instead, builders install 12-inch or 15-inch deep base boxes. These rear-facing cabinets sit back-to-back with the main 24-inch kitchen boxes.
Also, these shallow cabinets open toward the dining room, providing ideal storage for table linens, fine china. Also, board games. Pair 24-inch front boxes with 12-inch rear boxes. This creates a 36-inch base that supports a 42-inch counter with ease. For shallow box specs, review our guide on 18 deep base cabinets.
End-of-Run accent Finished Panels and Wainscotting
Then, the exposed end of a kitchen peninsula is highly visible from living and dining rooms. Standard cabinet boxes feature raw plywood or particle board sides that must never be left exposed. Thus, pros install accent end panels that match your cabinet door style and finish.
In fact, you can install a 3/4-inch flush fine wood end panel with matching recessed rails and stiles. Alternatively, wrapping the peninsula back and sides in painted beadboard or shiplap creates a charming cottage aesthetic. Completing the base with matching shoe molding ensures a high-end built-in look. For molding cuts, check our tutorial on kitchen cabinet trim molding.
Outlets and Code-Required Peninsula Receptacles
Finally, power safety codes require set power outlets on all kitchen peninsulas. Under the National power Code Section 210.52(C)(2), peninsulas must have at least one receptacle outlet. Modern code updates allow pop-up outlets installed right into the counter or mounted on cabinet end panels.
Also, pop-up outlets feature water-resistant seals and sit flush with the quartz slab when closed. When tapped, the power column rises smoothly to reveal standard outlets and USB charging ports. This provides convenient power for blenders, slow cookers. Also, laptops without dangling extension cords across walkways.
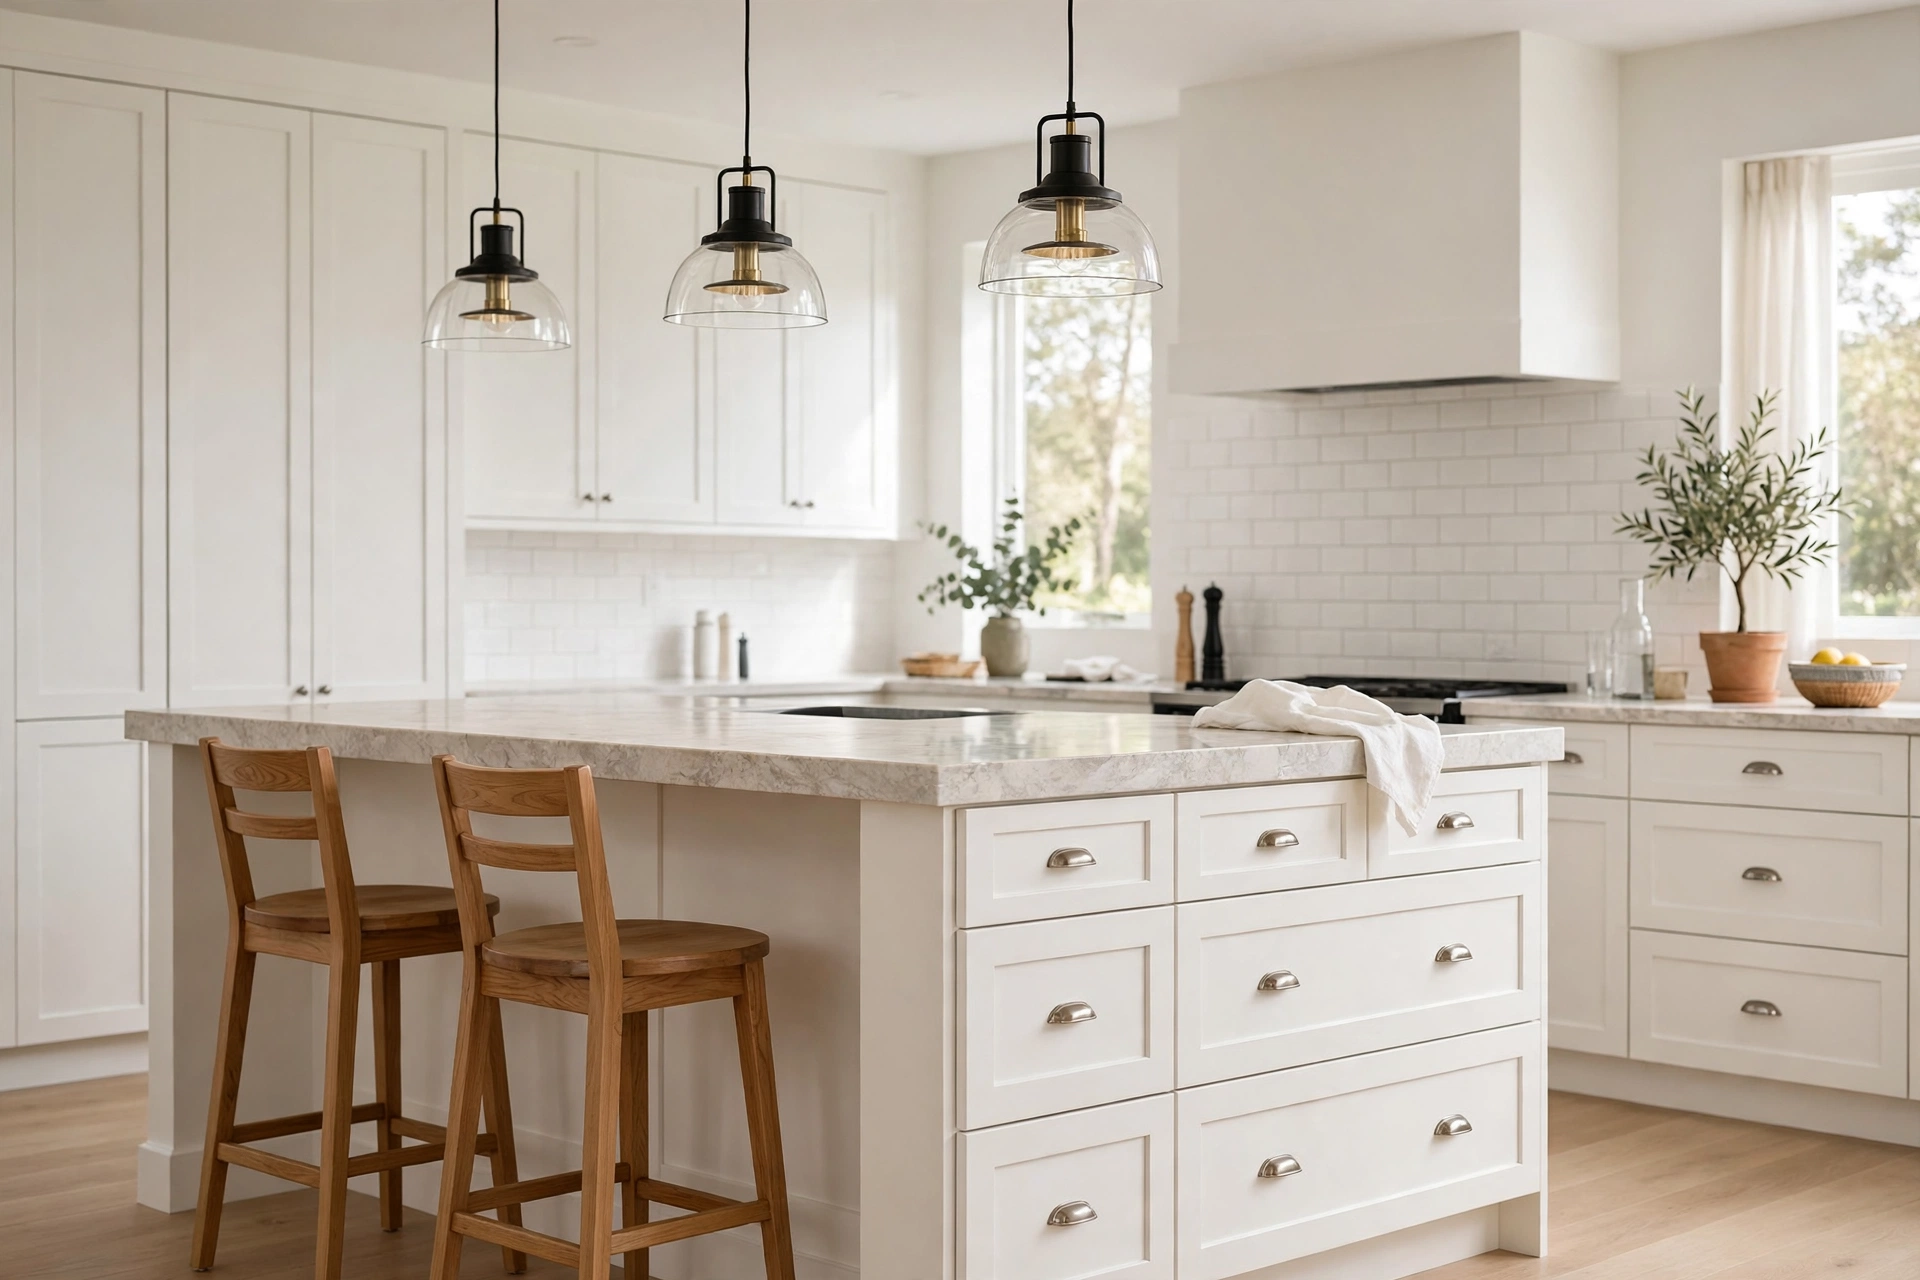
unit and Fixture Integration in Peninsula Runs
setting Sinks and Dishwashers in a Peninsula
First, place your main sink or prep sink in the peninsula. This lets you face the room while washing dishes. In this layout, place the dishwasher immediately next to the sink base cabinet. This adjacency allows the dishwasher drain hose to loop high inside the sink cabinet without crossing under drawers.
Also, ensure that the open dishwasher door does not block the main kitchen walkway. An open dishwasher door protrudes 24 to twenty-seven inches into the aisle. By placing the dishwasher on the kitchen side of the peninsula, the main walkway remains fully clear for foot traffic.
Cooktops on Peninsulas and airflow Options
Next, setting a gas or induction cooktop on a peninsula creates an engaging chef presentation zone. Yet, venting cooking steam and grease requires specialized equipment. This is because there is no wall behind the range. buyers can install a ceiling-mounted island range hood or a telescoping downdraft vent.
In fact, telescoping downdraft vents retract flat into the counter behind the cooktop when not in use. When cooking starts, the slim vent rises 8 to 10 inches above the counter. Then, it pulls grease vapors down through cabinet ducting. This preserves open sightlines across your living room while maintaining powerful kitchen airflow.
lower-box Beverage Coolers and Microwave Drawers
Finally, peninsulas are prime real estate for luxury lower-box units. setting a 24-inch wine cooler or beverage fridge facing the dining room keeps guests from crowding the cooking zone. Guests can grab cold drinks without walking past the hot stove.
Also, microwave drawer cabinets install seamlessly into 24-inch or 30-inch peninsula base boxes. The motorized drawer opens smoothly at waist height. Also, this lets safe lifting of hot soup bowls. This eliminates dangerous reaching over hot cooktops and clears microwave clutter from your upper wall cabinets.
Cost Breakdown and Budget Planning for a Kitchen Peninsula
Base Cabinet and Hardware Expenses
First, cabinets represent 30 to 40 percent of your total peninsula budget. An eight-foot peninsula typically requires three base cabinets, such as a 30-inch drawer base, a 30-inch sink base. Also, a 24-inch trash pull-out. Semi-custom plywood boxes with soft-close hardware cost between 12 hundred and 28 hundred dollars.
Custom accent door panels add extra style to the back and sides. Expect an extra $300 to $600 for matching trim. Investing in all-plywood cabinet boxes ensures the peninsula withstands heavy counter weights and daily kick bumps. For hardware options, see our guide on kitchen cabinet drawers.
counter Fabrication and Support Expenses
Also, consider your counter edge profile carefully when finalizing your kitchen peninsula order. Standard eased and beveled edges resist chipping from heavy belt buckles and stool bumps. Yet, accent ogee edges collect cooking crumbs and require frequent cleaning along seating bars.
Next, stone counter fabrication and install represent another significant cost tier. A three-foot by eight-foot peninsula slab equals 24 square feet of stone surface. Popular quartz and granite options range from sixty to one hundred and twenty dollars per square foot installed.
Thus, counter parts and labor average 15 hundred to 28 hundred dollars. Also, factor in $200 to $400 for steel brackets. In fact, these hidden brackets are vital if your overhang exceeds 10 inches. Edge profiles like eased edges are standard. Meanwhile, intricate mitered waterfall edges add eight hundred to 15 hundred dollars.
power and Plumbing Trade Labor
Finally, hiring licensed trades ensures your peninsula meets all local building codes. wire pros charge between three hundred and six hundred dollars to wire code-required GFCI outlets and pop-up receptacles. If your peninsula includes an lower-box beverage cooler or microwave drawer, add two hundred dollars for set twenty-amp circuits.
Also, plumbing a sink and dishwasher costs $400 to $900. Specifically, this covers drain and supply line hookups. Because the peninsula connects to an existing wall, plumbing costs remain far lower than trenching concrete for a free island. In total, a complete peninsula build averages 30-five hundred to seven thousand dollars.
Peninsula Seating, Barstools. Also, Lighting Design
Stool Height Selection: Counter Height vs Bar Height
First, matching your barstool height to your finished counter elevation prevents uncomfortable seating posture. Standard one-level peninsulas sit at 36 inches tall. Thus, they require 24-inch to 26-inch seat-height stools. This combination provides nine to 12 inches of clear legroom between the seat cushion and the stone underside.
Yet, tiered peninsulas with raised 42-inch bars require 30-inch bar-height stools. Purchasing bar-height stools for a 36-inch counter causes diners’ knees to hit the quartz slab painfully. Always measure your finished counter height before ordering stools online.
Spacing and Stool Clearance Guidelines
Next, calculating proper stool spacing ensures family members can dine with ease without bumping shoulders. As a universal rule, allow 24 inches of counter width for standard armless stools. If you choose wide swivel stools with padded armrests, expand your spacing to 28 or 30 inches per seat.
Also, provide 36 inches of open floor clearance behind pushed-out stools so others can walk behind seated guests. In tight dining areas, choose backless stools. That way, they tuck fully beneath the 12-inch overhang when not in use.
Pendant Lighting Spacing and Ceiling Junctions
Then, lighting your kitchen peninsula requires balanced pendant light fixture placement. As a general rule, hang two or three pendant lights. Space them 24 to 30 inches apart along the counter center. The bottom of the pendant shades should hang 30 to 36 inches above the finished counter surface.
Also, keep pendant lights at least 6 inches inward from the counter edges. That way, guests do not bump their heads when standing up. For an eight-foot peninsula, two larger 12-inch pendants or three eight-inch pendants produce balanced visual balance and even light distribution.
Dimmer Controls and lower-box Task Lighting
Finally, setting layered lighting controls adds tremendous functionality and mood to your kitchen peninsula. Wire pendant lights to a set wall dimmer switch. That way, you can adjust lighting from bright tasks to a soft glow.
Also, install warm-white LED tape lighting hidden beneath the stone overhang facing the stool seating zone. This lower-box accent lighting highlights rich accent wood panels and lights the floor walkway softly at night. Thus, your peninsula changes smoothly from a busy morning prep station to an inviting evening entertainment bar.
Frequently Asked Questions About Kitchen Peninsulas
What is the minimum walkway space needed next to a kitchen peninsula?
First, building codes and NKBA guidelines recommend a minimum walkway width of 36 inches at the peninsula opening. For busy households with multiple family cooks, expanding this walkway to forty-two or 48 inches ensures smooth, easy traffic flow.
How far can a quartz counter overhang a peninsula without supports?
Next, standard three-cm quartz slabs can safely overhang up to ten inches without steel brackets. If your overhang measures 12, 15, or 18 inches, install steel brackets. Space these hidden supports every 16 to 24 inches along the cabinet rails.
Is a kitchen peninsula cheaper to build than a kitchen island?
Also, yes, a kitchen peninsula is generally 20 to 35 percent cheaper to build than an island. Because a peninsula anchors to a wall, wire pros and plumbers run utilities quick without costly floor trenching or concrete cutting.
Can you add a peninsula to an existing kitchen without replacing all cabinets?
Finally, yes, you can add a peninsula to existing cabinets by matching face frame styles and paint finishes. Many buyers order matching semi-custom base boxes. Then, they install one steady new counter across the entire run for a clean look.
Editorial Note: This guide was researched and written by David Miller, founder of Kitchen Base Cabinets, and reviewed by Editorial Lead Marcus Vance. Prices are typical national ranges, not quotes — confirm locally before you buy.