Building your own kitchen cabinets is a two-day job for a first-timer and a
one-day job for a pro. This guide builds a 10-foot run of five base boxes
for $533 to $655 in materials, with a full cutlist, the joinery choices that
fit your tools, and a time budget for each step. Skill level: confident
beginner with a table saw. If you own no saw at all, read the ready-to-assemble
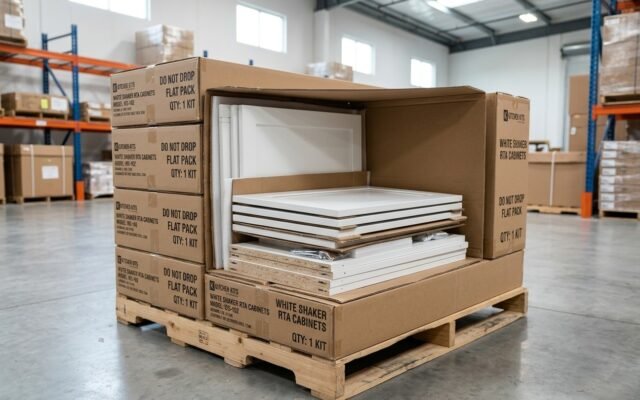
kitchen cabinets guide first and
compare the cost before you buy tools.
What You Will Need: 7 Tools and $533 to $655 in Materials
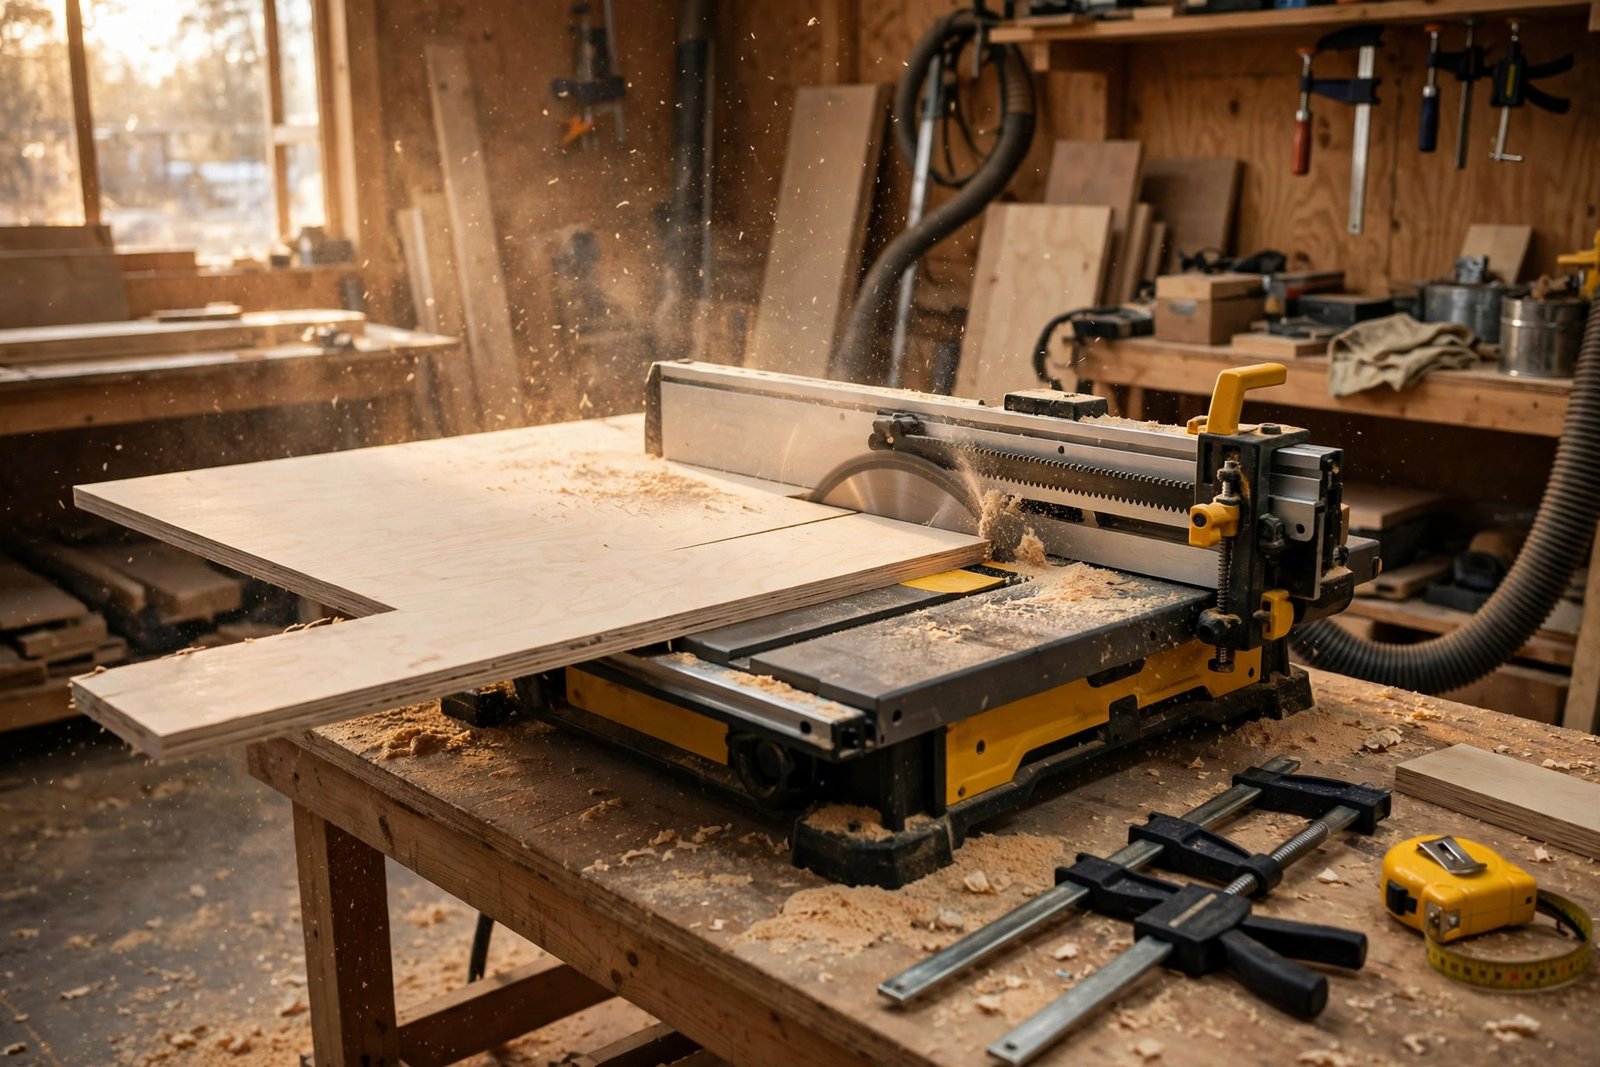
Seven tools and six sheets of plywood build the whole run. Buy the plywood
first and check every sheet for flatness before you load it: a bowed sheet
makes a box that never sits square.
Tools
| Tool | Model | Price |
|---|---|---|
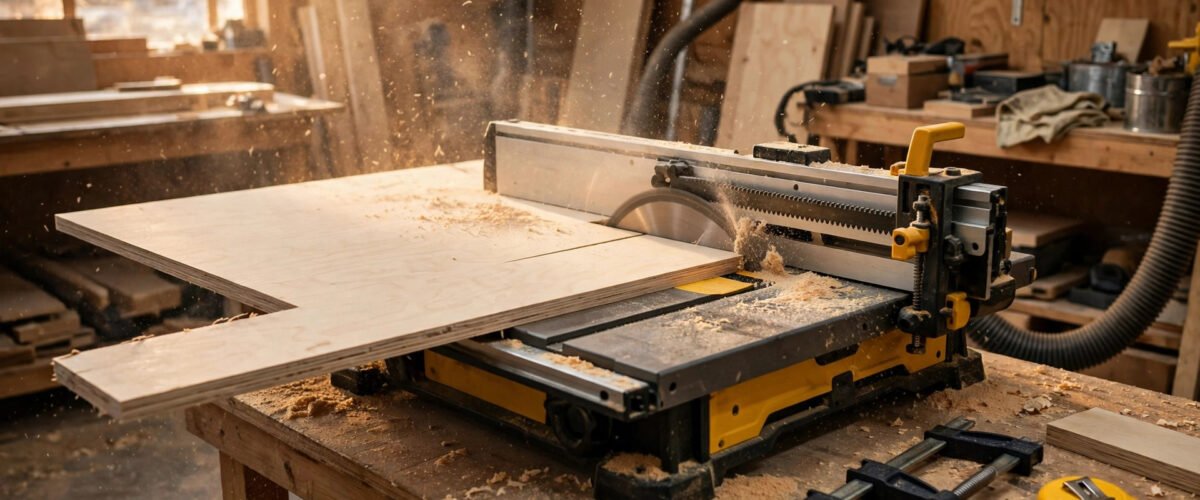
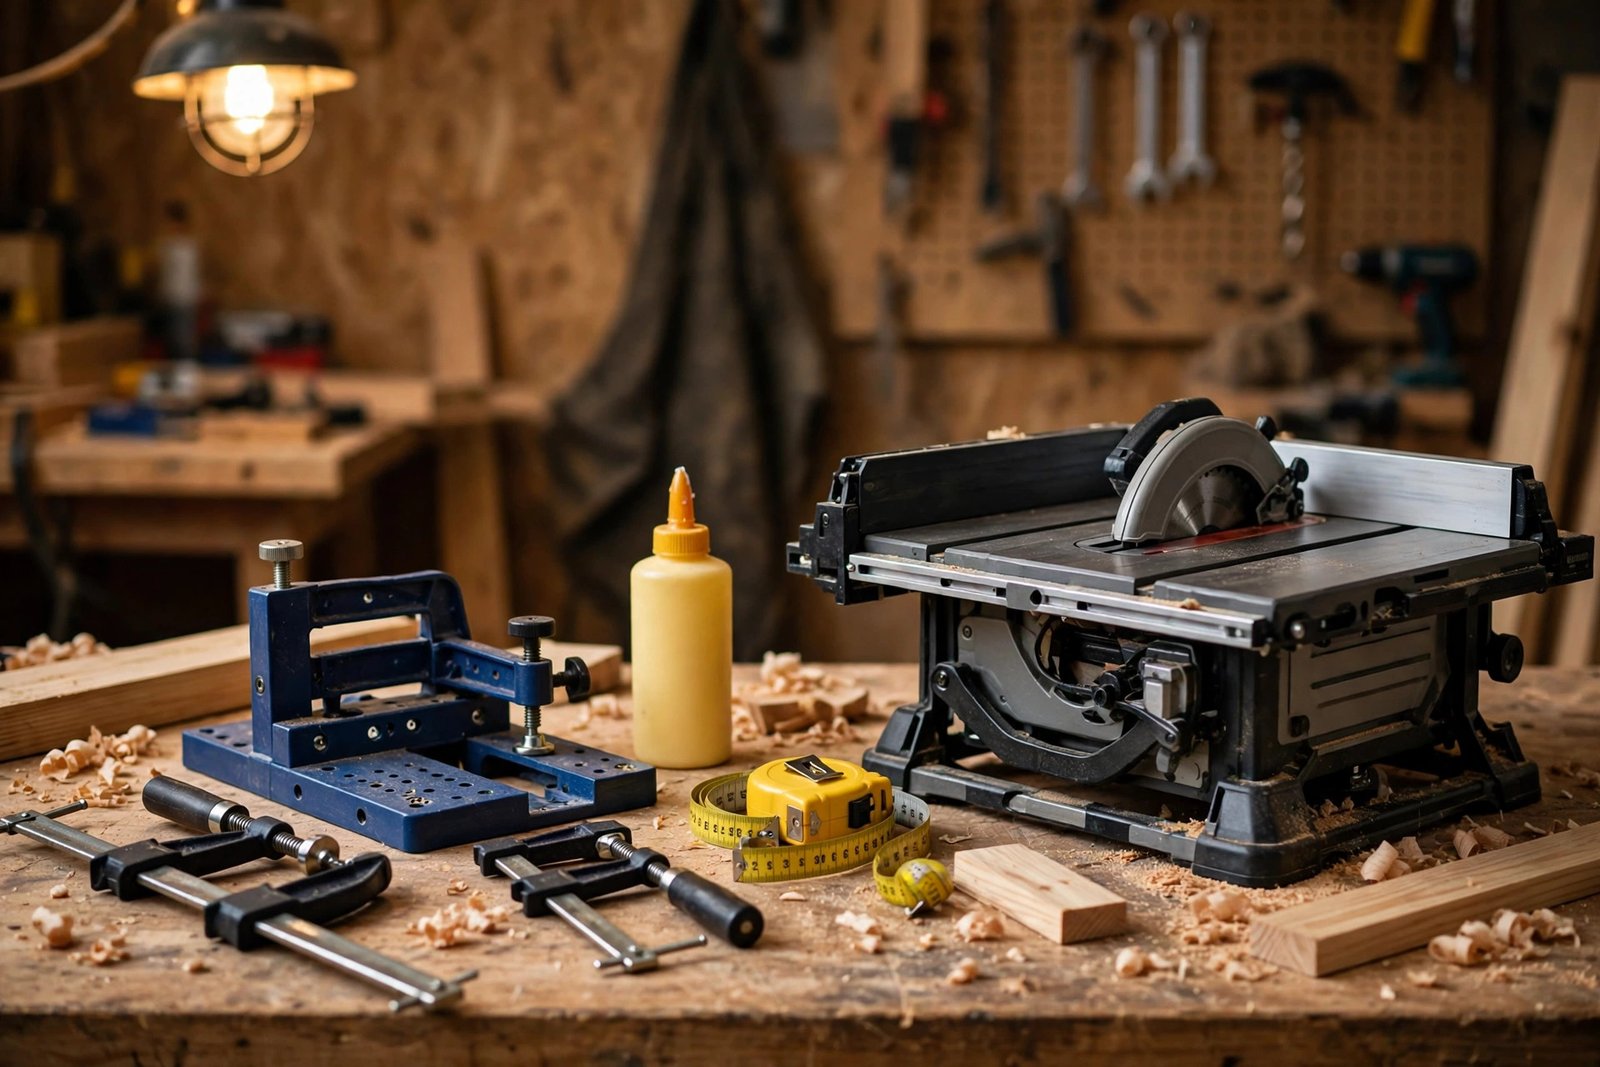
| Table saw | DeWalt DWE7491RS 10-in jobsite saw with rolling stand | $599-$699 |
| Pocket-hole jig | Kreg K5 ($129.99) or Kreg 310 ($21) | $21-$130 |
| Router with 3/4-in straight bit | Borrow or rent if you do not own one | Borrow or rent |
| Drill/driver | Any 18V drill/driver | Owned |
| 4 bar clamps, 24-in | Any brand | Owned or borrow |
| Tape measure, speed square, pencil | Basic set | Owned |
| Random orbit sander, 120 and 220 grit | Any brand | Owned |
Materials (10-ft run, 5 boxes)
| Material | Quantity | Cost |
|---|---|---|
| 3/4-in birch plywood, 4×8 | 4 sheets | $240-$320 |
| 1/2-in birch plywood, 4×8 | 2 sheets | $90-$130 |
| 2x4x8 studs (toe base) | 3 | $11-$13 |
| 1x2x8 ft S4S poplar, 4-pack | 2 packs | $85 |
| Blum Tandem 563H 21-in slides | 4 pairs | $90 |
| Titebond III wood glue, 16 oz | 1 bottle | $10 |
| 1-1/4 in coarse-thread pocket screws | 1 box | $7 |
| Total materials | $533-$655 |
A note on the plywood: 3/4-inch plywood actually measures 23/32 inch thick,
and a 4×8 sheet weighs 60 to 70 pounds. Buy birch, not CDX, for boxes. The
$60 to $80 per sheet range is for PureBond birch at a home center; a lumber
yard charges $74 to $89 for the same thickness with a better core. Check the
kitchen cabinet plywood guide for the grade
differences before you buy.
Step 1: Break Down 6 Sheets of Plywood in 2 Hours
Action: cut all six sheets into cabinet parts before you assemble anything.
Detail: work from the cutlist below. Cut the sides first, then the bottoms,
then the stretchers, then the doors. Label every part with a pencil as you
cut it: “Box 1 left side”, “Box 1 right side”, and so on. Unlabeled parts
get mixed up by the third box. Check: every part measures within 1/16 inch
of the cutlist, and opposite sides match. Time: 2 hours for a first-timer,
1 hour for a pro.
Cutlist: 5 boxes, each 24 in wide x 31 in tall x 23-1/4 in deep
| Part | Size (in) | Qty | From |
|---|---|---|---|
| Sides | 23-1/4 x 31 | 10 | 2 sheets 3/4-in (6 sides per sheet) |
| Bottoms | 22-1/2 x 23-1/4 | 5 | 1 sheet 3/4-in |
| Stretchers | 4 x 22-1/2 | 10 | Same sheet as bottoms |
| Doors, flat panel | 22 x 30 | 5 | 1 sheet 3/4-in |
| Backs | 24 x 31 | 5 | 1 sheet 1/2-in |
| Drawer boxes | sides 20 x 10, front/back 20-3/8 x 10, bottom 20-3/8 x 20 | 4 | 1 sheet 1/2-in |
| Toe base rails | 120 x 3-1/2 | 2 | 2×4 studs |
| Face frame stiles | 1-1/2 x 31 | 10 | 1×2 poplar |
| Face frame rails | 1-1/2 x 21 | 10 | 1×2 poplar |
Six sides come from one sheet: cut 31-inch strips across the 96-inch
length, three strips per sheet, then cut each 31 x 48-inch strip into two
23-1/4-inch sides. The carcass is 31 inches tall. The toe base adds 3-1/2
inches. The countertop adds 1-1/2 inches. That totals 36 inches, which is
standard counter height. A standard base cabinet is 34-1/2 inches tall
before the countertop, and 24 inches deep.
- Rip the first sheet into three 31-inch strips and cut 6 sides.
- Rip the second sheet the same way and cut 4 more sides.
- Cut 5 bottoms and 10 stretchers from the third sheet.
- Cut 5 flat-panel doors from the fourth sheet.
- Cut 5 backs from the first 1/2-inch sheet and 4 drawer boxes from the second.
- Label every part before you move on.
Step 2: Cut the Joinery in 60 Minutes
Action: cut the joints that hold each box together. Detail: cut a 3/4-inch
wide dado, 1/2 inch deep, across each side panel where the bottom sits.
Drill pocket holes on the inside faces of the sides for the stretchers: two
holes per joint, 1-1/4 inch coarse-thread screws for 3/4-inch plywood.
Check: the bottom sits flat in the dado with no rocking, and the pocket
holes are on the inside faces only. Time: 60 minutes for a first-timer,
30 minutes for a pro.
The dado carries the load. The pocket screws hold the box square while the
glue dries. Neither one works alone: a dado with no screws racks when you
move the box, and screws with no dado pull out of plywood edge grain over
time. If you own no router, skip the dado and use two pocket screws per
joint plus glue, but do not skip the glue. Glue is what makes a pocket-hole
joint last. The kitchen cabinet boxes guide
explains why plywood holds screws better than particleboard, which matters
here: every screw in this build goes into plywood edge or face, never into
particleboard.
- Set the router depth to 1/2 inch and cut the bottom dado in all 10 sides.
- Drill the 32mm system holes in the sides if you want adjustable shelves.
- Drill pocket holes on the inside faces for the stretchers.
- Dry-fit one box completely before you glue anything.
Step 3: Assemble 5 Boxes in 2 Hours
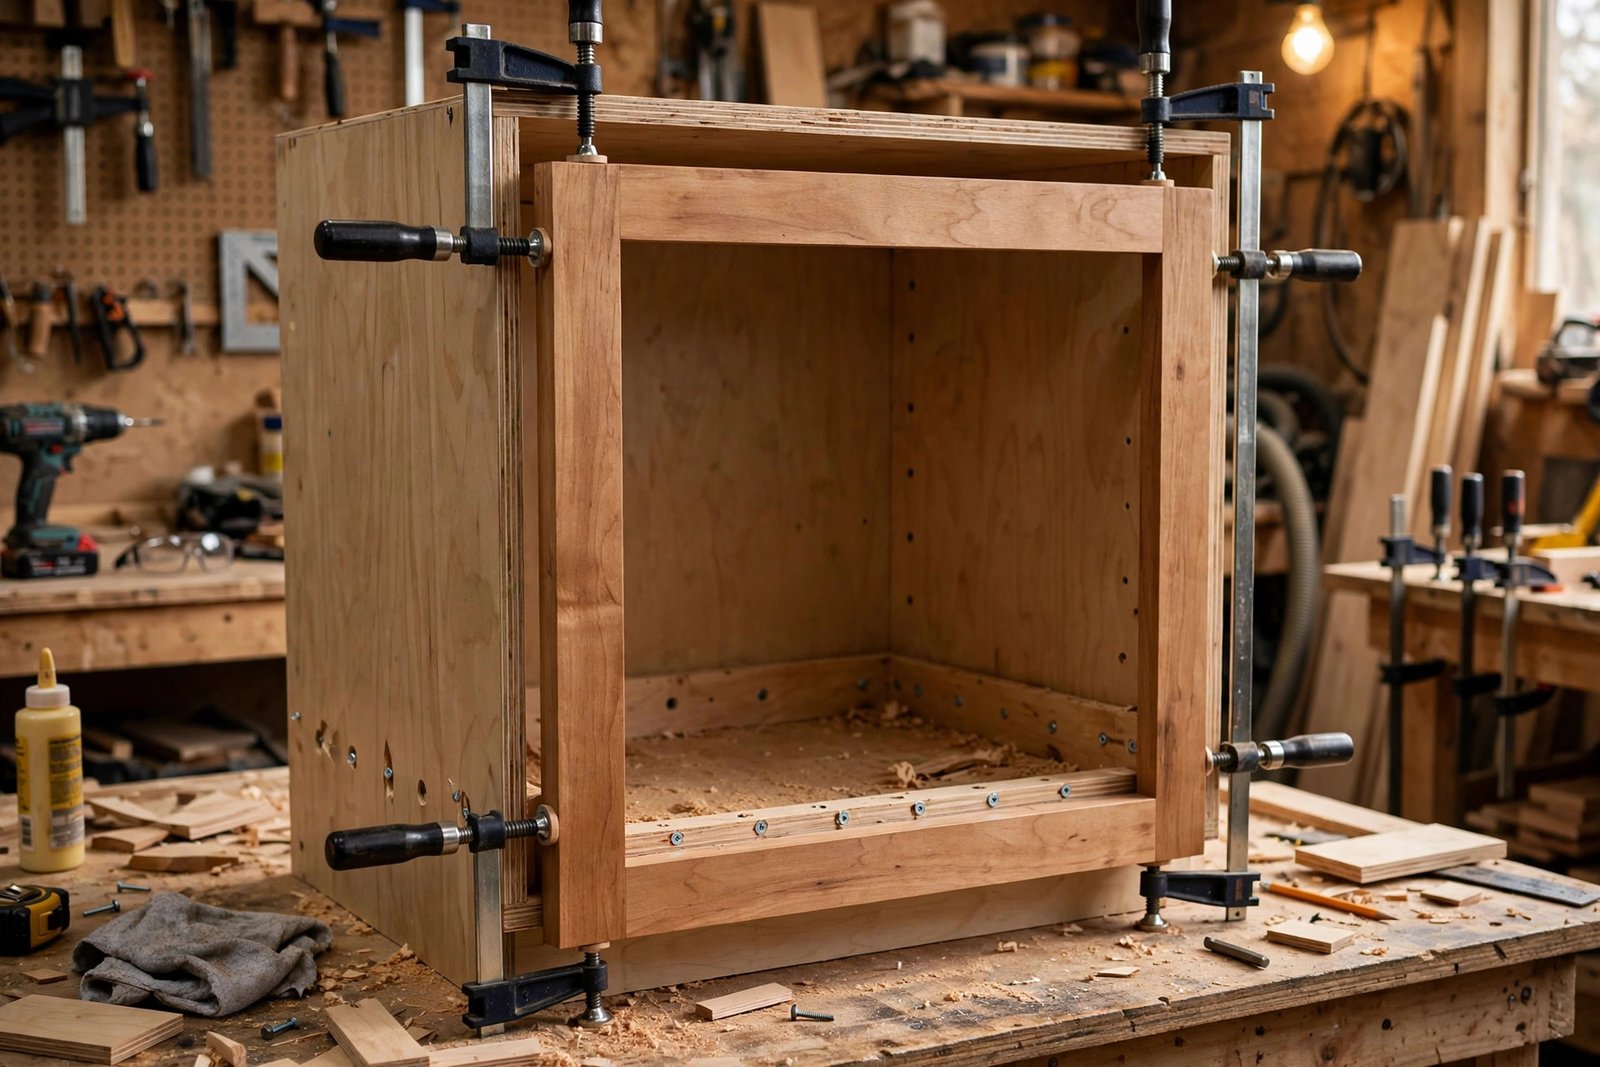
Action: glue and screw the five boxes square. Detail: spread glue in the
dadoes, set the bottom into the dados, drive the pocket screws into the
stretchers, then clamp the box and check the diagonals. The two diagonal
measurements must match within 1/16 inch. If they do not, the box is out of
square and the doors will never hang straight. Check: diagonals match,
every corner is 90 degrees, and the box sits flat on the bench with no
rocking. Time: 2 hours for a first-timer, 1 hour for a pro.
Work one box at a time. Glue sets in about 30 minutes, so you cannot
assemble all five boxes at once and square them later. Clamp each box,
check the diagonals, and leave it clamped while you start the next one.
Screw the 1/2-inch back onto the box after the glue sets: the back is what
keeps the box square permanently, and it is also what you screw through to
anchor the cabinet to the wall. A 1/2-inch back holds a wall anchor. A
1/4-inch back does not.
- Glue the bottom into the dados of one side panel.
- Fit the second side, drive the pocket screws, and clamp.
- Measure both diagonals and adjust until they match within 1/16 inch.
- Screw the back on after the glue sets, then move to the next box.
Step 4: Build and Fit 5 Face Frames in 90 Minutes
Action: build a solid wood frame for the front of each box. Detail: cut
stiles 1-1/2 inches wide by 31 inches tall, two per box. Cut rails 1-1/2
inches wide by 21 inches long, two per box. Join them with pocket holes and
glue, then glue and clamp the frame to the front of the box. The frame
covers the plywood edges and gives the hinges and drawer slides a solid
surface to mount on. Check: the frame is flush with the box sides on the
outside, and the opening measures 21 inches wide for the drawer and door. Time: 90 minutes for a first-timer, 45 minutes for a pro.
Poplar is the right wood for painted face frames: it is cheap, stable, and
takes paint without grain showing through. Use maple if you plan to stain.
Cut the stiles a hair long and trim them flush with a flush-trim router bit
or a hand plane after the glue dries. A frame that stands proud of the box
by 1/16 inch catches every passing hip. The kitchen cabinet face
frame guide covers the sizing rules for
overlay doors, which decide how wide your stiles need to be.
- Cut 10 stiles at 1-1/2 x 31 in and 10 rails at 1-1/2 x 21 in.
- Drill pocket holes on the back faces of the rails.
- Assemble each frame with glue and screws, then check it for square.
- Glue and clamp each frame to its box, flush on the outside edges.
Step 5: Build 4 Drawers and Hang 5 Doors in 4 Hours
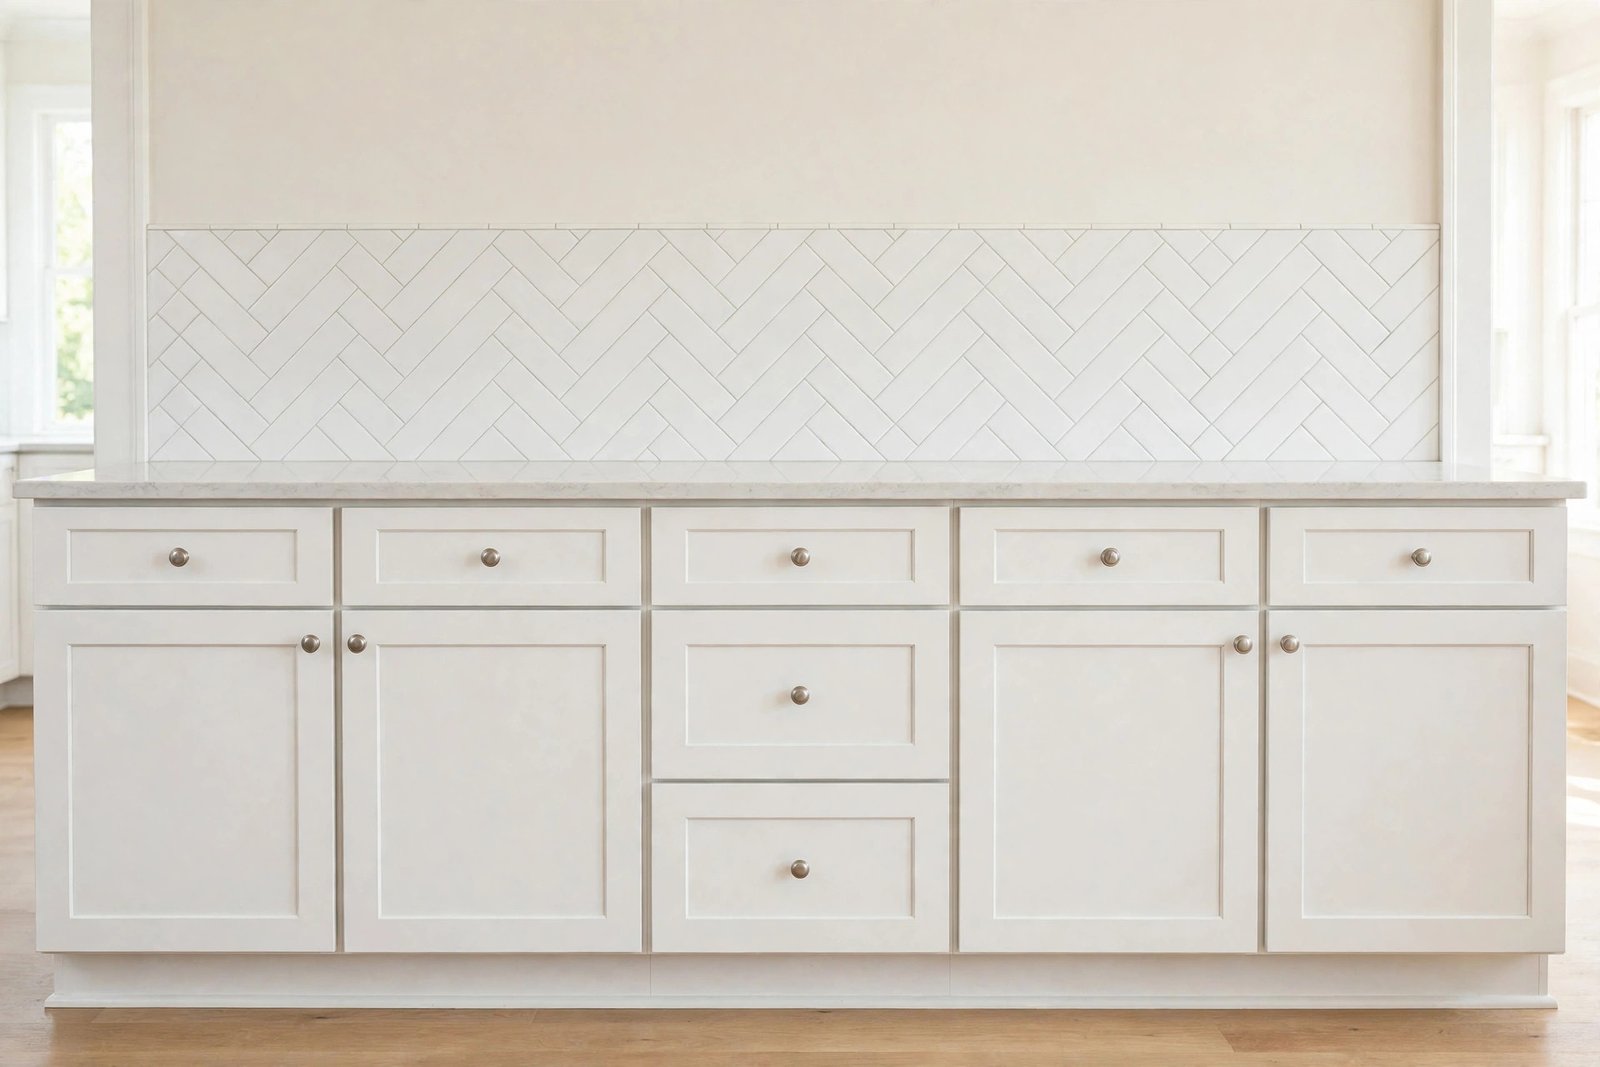
Action: build the drawer boxes, fit the slides, and hang the doors. Detail:
build each drawer box from 1/2-inch plywood: two sides 20 x 10 inches, a
front and back 20-3/8 x 10 inches, and a bottom 20-3/8 x 20 inches. The box
is 20-3/8 inches wide because the 21-inch opening minus 5/8 inch for the
undermount slides leaves that much room. Join the corners with glue and
pocket screws. Mount a pair of Blum Tandem 563H 21-inch
slides in each drawer base: the slides are rated 90 pounds dynamic, which
covers a drawer full of pots. Hang the flat-panel doors on concealed hinges
with a 1/2-inch overlay. Check: every drawer slides full extension without
rubbing, every door closes with an even 1/8-inch gap on all sides. Time: 4
hours for a first-timer, 2 hours for a pro.
Drawers first, doors second. A drawer that rubs is fixed by adjusting the
slide locking devices. A door that rubs is fixed by adjusting the hinges.
Do both adjustments before you paint or stain: paint locks a misaligned
door in place and hides the gap until the first humid week. Test every
drawer with 20 pounds of weight in it before you call the step done. An
empty drawer always slides fine. A loaded drawer is the real test.
- Assemble 4 drawer boxes with glue and pocket screws.
- Mount the Tandem slides in the drawer bases, level and parallel.
- Fit each drawer box and test it with 20 lb of weight inside.
- Hang the 5 doors on concealed hinges and set the 1/8-in gaps.
Step 6: Build the Toe Base and Set the Run in 2 Hours
Action: build one long toe base, level it, and set the five boxes on it.
Detail: build the toe base from three 2×4 studs: two long rails 120 inches
by 3-1/2 inches high, with cross pieces under every box joint so the
countertop weight transfers straight to the floor. Level the toe base with
shims until it is level in both directions, then set the boxes on it and
screw them together through the sides. Anchor the run to the wall studs
through the 1/2-inch backs. Check: the run is level across all five boxes,
the boxes are screwed together with no gaps, and the run does not move when
you push it. Time: 2 hours for a first-timer, 1 hour for a pro.
Do not skip the toe base and set the boxes on the floor. The toe base does
three jobs: it levels the run on an uneven floor, it carries the countertop
load to the floor, and it sets the 3-1/2-inch recess that keeps your toes
from hitting the cabinet. Screw the boxes together before you anchor them
to the wall. A run that is screwed together acts as one 10-foot cabinet. A
run that is only anchored acts as five loose boxes. The installing kitchen
cabinets guide covers the leveling and
scribing sequence for the finished run.
- Build the toe base from three 2×4 studs with cross pieces under each joint.
- Level the toe base with shims in both directions.
- Set the five boxes on the base and screw them together through the sides.
- Anchor the run to the wall studs through the 1/2-in backs.
When Pocket Holes Are Not Enough: 3 Joinery Choices
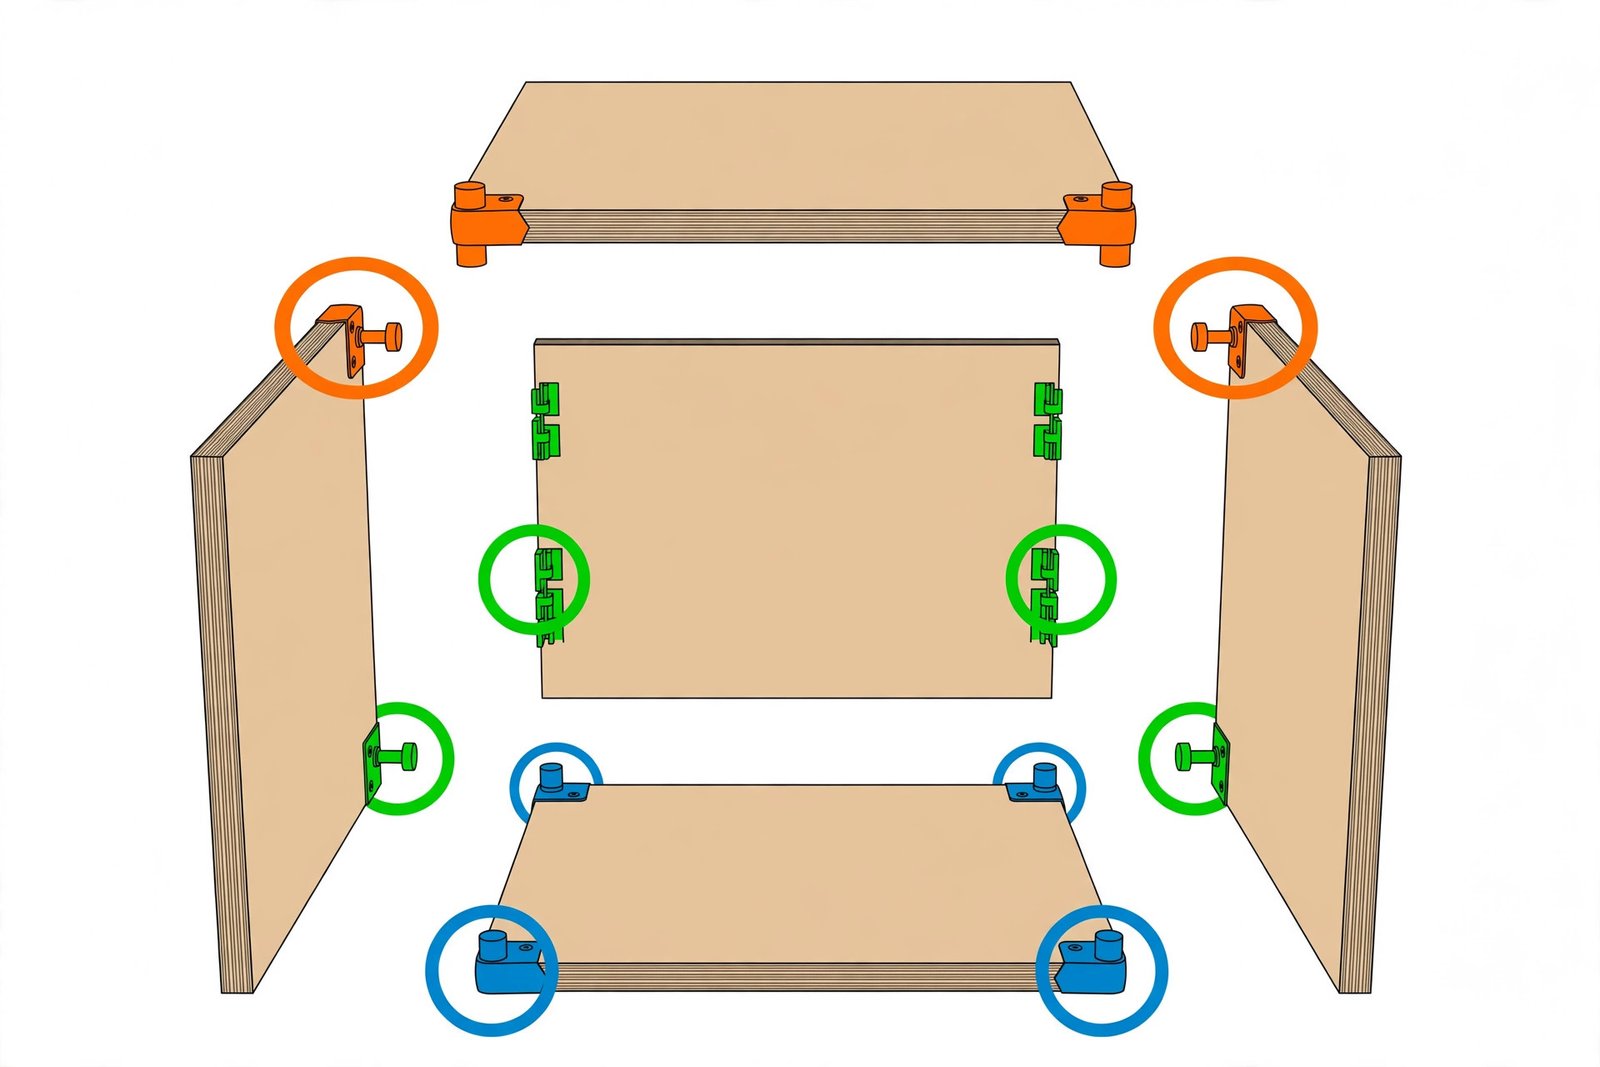
Three joints cover every cabinet in this build. Pick by the tools you own
and the load the joint carries.
Pocket holes and screws. Cost: $21 for a Kreg 310 jig, $129.99 for a
Kreg K5. Time: about 2 minutes per joint. Strength: strong enough for face
frames, stretchers, and drawer boxes when glued. Pick this if you own no
router and this is your first build. Do not pick it for the bottom dado:
screws alone in plywood edge grain loosen over time.
Dado joints. Cost: $0 if you own a router and a 3/4-inch straight bit.
Time: about 5 minutes per joint including setup. Strength: the strongest
box joint here, because the bottom sits in a slot instead of hanging on
screws. Pick this for the box bottoms and for any shelf that carries dishes.
Do not pick it if you have never used a router: a dado cut 1/8 inch too
deep weakens the side panel.
Dowel joints. Cost: a dowel jig runs about the same as a pocket-hole
jig. Time: about 4 minutes per joint. Strength: strong and invisible, good
for drawer boxes. Pick this for drawer boxes that get daily hard use. Do
not pick it for the carcass: dowels are slow to align across five boxes,
and a misaligned dowel splits the panel.
If you want the strongest drawer boxes and you own no joinery tools at all,
buy dovetail boxes at $45 to $90 each instead of building them. A bought
dovetail box costs less than the jig you would need to cut one.
5 Mistakes That Cost Real Money (and the Fix for Each)
Five mistakes cause most DIY cabinet failures. All five are cheap to prevent
and expensive to fix after the glue dries.
- Box out of square. The doors will not hang straight and the drawers
bind. Cause: the diagonals were never checked. Fix: loosen the clamps,
re-square, and re-glue before the glue sets. Cost if caught late: one new
side panel from your spare sheet plus 1 hour of rework. - Dado cut too deep. A dado deeper than 1/2 inch into 3/4-inch plywood
leaves 1/4 inch of wood holding the bottom. Cause: the router depth was
never checked on scrap first. Fix: glue a shim strip into the dado or
rebuild the side. Cost: 30 minutes plus an offcut shim. - Plywood with voids at a screw line. The screw strips and the joint
has no grip. Cause: the sheet was never inspected. Fix: move the screw
1 inch and add glue. Cost: 15 minutes. Check every sheet for voids before
you cut it, not after. - Face frame gaps. The joints show a visible seam after paint. Cause:
the rails were cut 1/16 inch short. Fix: fill, sand, and repaint the seam.
Cost: about $10 in filler plus 1 hour. - Back too thin to anchor. A 1/4-inch back flexes and the wall screws
pull out. Cause: the wrong sheet was used for backs. Fix: add a 1/2-inch
nailer strip across the top of each box. Cost: about $15 in lumber plus
1 hour. Use 1/2-inch plywood for backs from the start.
Time and Cost Budget: $53 to $66 per Linear Foot in Materials
Here is the full budget for the 10-foot run, and the comparison against
buying stock cabinets.
| Item | DIY materials | Stock comparison |
|---|---|---|
| 10-ft run, 5 base boxes | $533-$655 | $800-$1,800 installed (RTA stock) |
| Cost per linear foot | $53-$66 materials only | $80-$180 installed |
| Semi-custom, same run | n/a | $2,000-$3,000 installed |
| Custom, same run | n/a | $5,000-$12,000 installed |
DIY materials run $53 to $66 per linear foot. Stock RTA cabinets run $80 to
$180 per linear foot installed. Semi-custom lines run $200 to $300 per
linear foot installed. Custom cabinets run $500 to $1,200 per linear foot.
The DIY saving is real but it is not free: you pay with 12 to 13 hours of
your time across two days, plus $729 to $829 in tools if you own no saw or
jig. The tools pay for themselves on the second kitchen. The time does not
come back.
Time budget
| Step | First-timer | Pro |
|---|---|---|
| 1. Break down 6 sheets | 2 hours | 1 hour |
| 2. Cut the joinery | 1 hour | 30 min |
| 3. Assemble 5 boxes | 2 hours | 1 hour |
| 4. Build and fit 5 face frames | 90 min | 45 min |
| 5. Build 4 drawers, hang 5 doors | 4 hours | 2 hours |
| 6. Toe base and set the run | 2 hours | 1 hour |
| Total build time | 12 to 13 hours | About 6 hours |
Finishing is a separate day: sanding, priming, and two coats of paint add
6 to 8 hours spread over two days for drying. Do not count finishing in
the build time. A pro finishes in about 6 hours because the cuts are
planned before the saw starts. A first-timer spends the extra hours
measuring twice, dry-fitting, and fixing the one box that came out 1/16
inch off. That is normal. Budget two days and you will finish in two days.
Kitchen Cabinet Woodworking Questions: 7 Answers
What plywood is best for cabinet boxes?
Birch plywood at 3/4 inch thick, grade B-2 or better, from a lumber yard if
you can get it. Home-center birch works for painted boxes if you inspect
each sheet for voids. Baltic birch at 18mm is the premium option at $70 to
$110 per sheet.
Can I build cabinets with just a circular saw?
Yes, with a straightedge guide clamped to the sheet. It is slower than a
table saw and the cuts need more cleanup, but the boxes come out the same.
Budget an extra hour for the breakdown step and check every cut with a
square.
What is the 32mm system?
It is a hole-spacing standard for adjustable shelves and hardware: holes
drilled on 32mm centers down the inside of the carcass sides. A shelf pin
fits any hole, so shelves move without new drilling. Drill the holes before
you assemble the box.
Are pocket-hole joints strong enough for cabinets?
Yes for face frames, stretchers, and drawer boxes when glued. No for the
box bottom, which needs a dado to carry the load. A pocket-hole joint
without glue loosens over time. With glue, it outlasts the cabinet.
Should I paint or stain plywood cabinets?
Paint if the plywood is birch with a thin face veneer: paint hides the
veneer and the seams. Stain only if the face veneer is thick enough to sand
without breaking through, which usually means lumber-yard plywood, not
home-center stock.
Can I build frameless cabinets with this method?
Yes, with two changes: skip the face frame, and use 3/4-inch edge banding
on every exposed plywood edge. Frameless boxes need concealed hinges made
for frameless cabinets, and the drawer slides mount directly to the box
sides.
What do I do with the gap between the last cabinet and the wall?
Fill it with a filler strip. Measure the gap, cut a strip of matching
plywood or poplar, scribe it to the wall, and screw it to the last box. A
gap under 3 inches takes a plain strip. Read the cabinet filler
guide for the scribing steps.