Installing kitchen cabinets successfully depends entirely on finding your floor high spot and snapping one dead-level benchmark line. Even minor subfloor dips or bowed wall studs can pull cabinet face frames out of square. When boxes sit out of alignment, drawers bind, doors sag, and costly stone counters crack under rough stress.
Following a systematic builder sequence makes installing kitchen cabinets simple for dedicated DIY buyers. In this step-by-step tutorial, we cover laser leveling, stud anchoring, face frame clamping, and scribing wavy walls. That way, your new cabinets look beautiful, operate smoothly, and last for decades.
Essential Tools and Parts for Installing Kitchen Cabinets
Critical Measurement and Leveling Tools
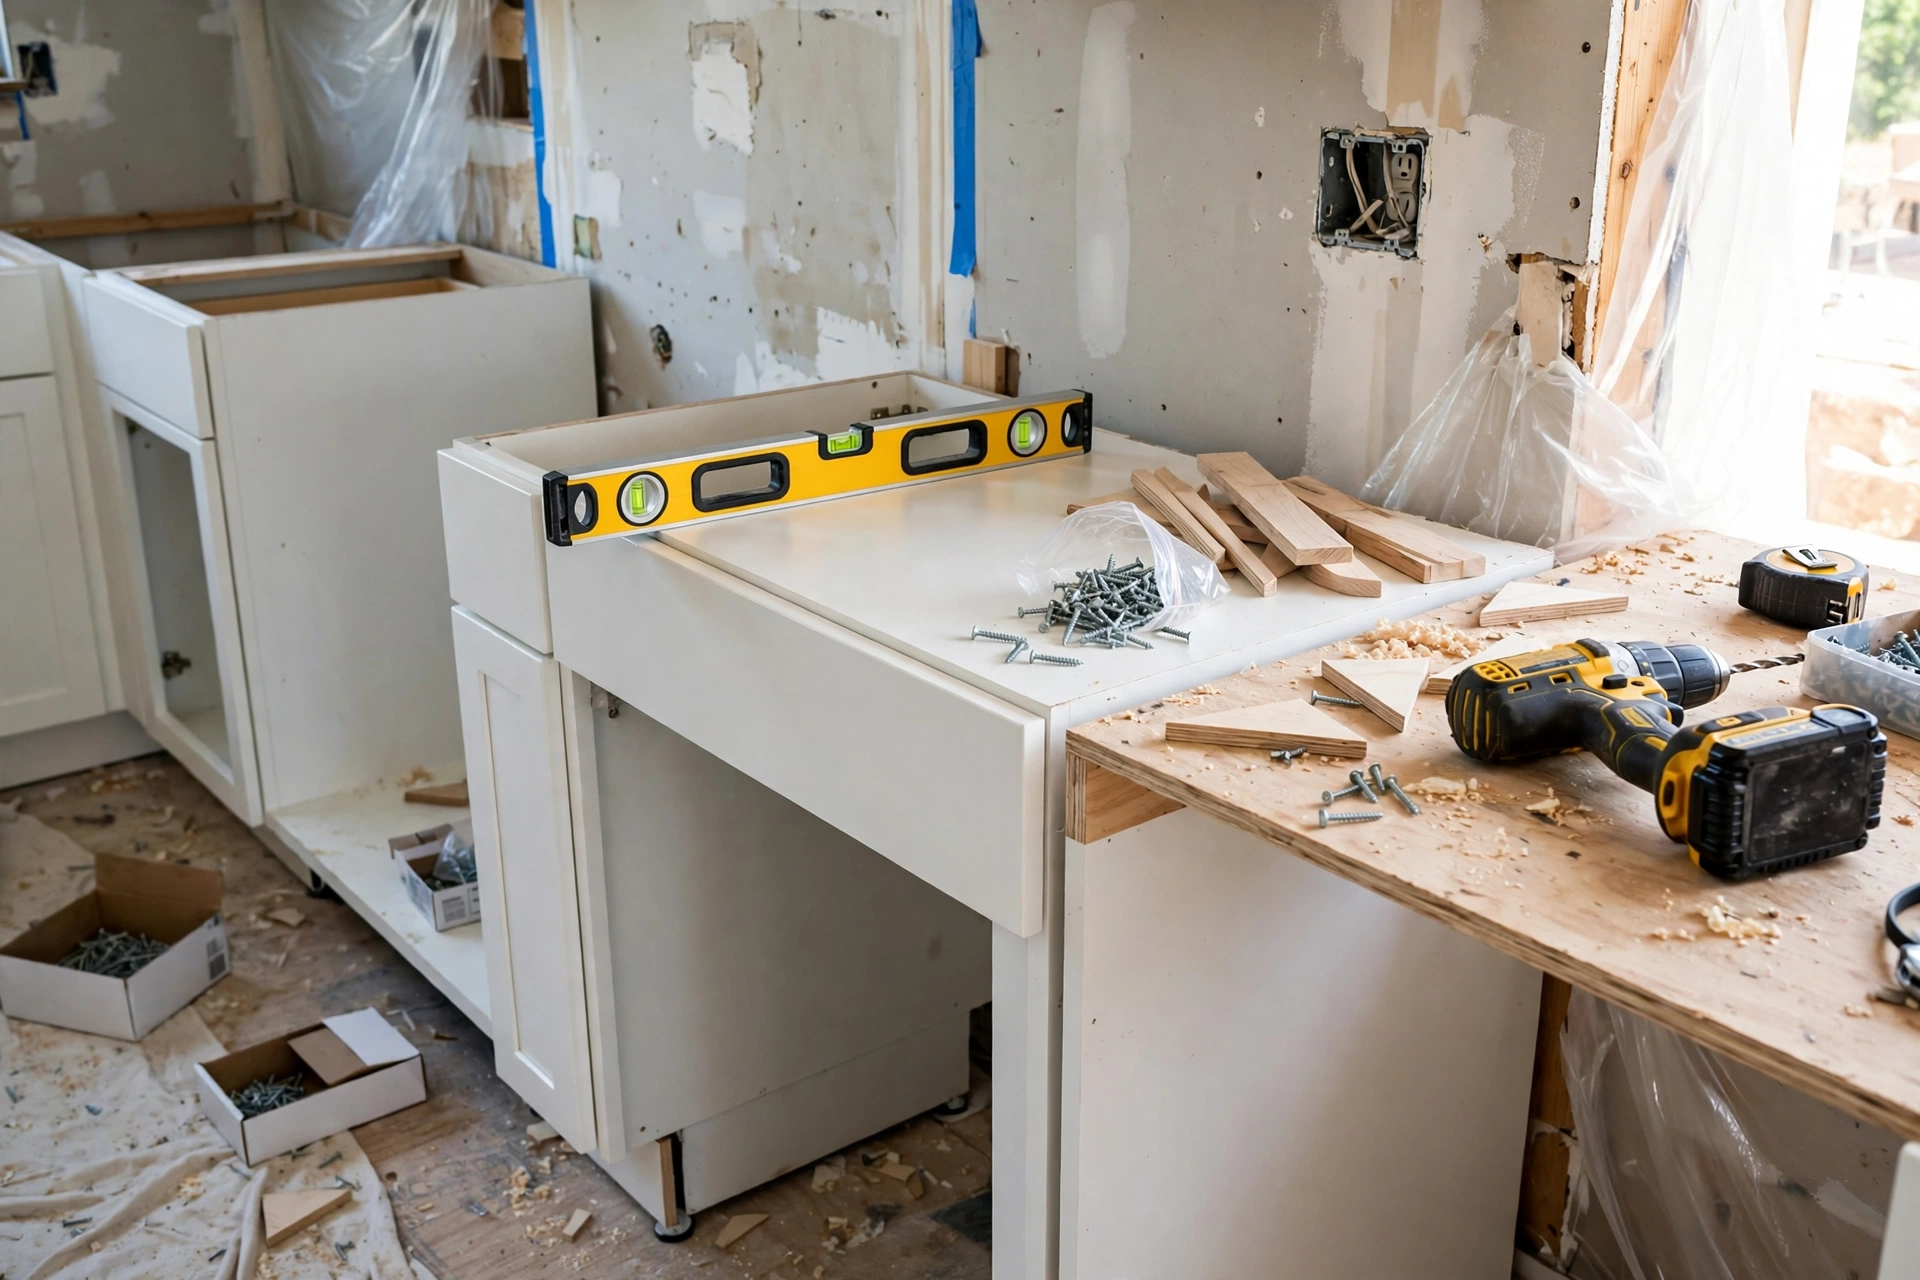
Precision leveling equipment is the most critical asset for installing kitchen cabinets. You need a four-foot or six-foot pro spirit level, as two-foot levels cannot span across multiple cabinet runs. An auto-leveling cross-line laser mounted on an adjustable tripod projects level benchmark lines across the entire room.
Keep a heavy-duty 25-foot tape measure and a digital stud finder close at hand. A grade stud finder locates framing centers through double layers of drywall or historic plaster. For layout planning fundamentals, check our resource on kitchen cabinet layout ideas.
Screws and Hardware Specs
You must use sturdy screws designed specifically for cabinet loads. Never use brittle black drywall screws to hang cabinets, as drywall screw heads snap off quickly under heavy dishware weights. Choose tough steel two-and-half-inch or three-inch cabinet screws featuring built-in washer heads and star-drive heads.
Keep 1.25-inch trim head screws ready for joining adjacent face frames together. For shimming, buy high-density cedar or composite shims that resist crushing under heavy granite counters. For shimming and supports, see our guide on cabinet brackets.
Power Tools and Safety Gear
Having the right power tools on your workbench dramatically speeds up your install timeline. A reliable 18-volt cordless drill driver and a matching impact driver form your core fastening setup. Use the drill driver with a pair of countersink bits to bore pilot holes through solid hardwood face frames.
Use a jigsaw or circular saw equipped with a fine-finish carbide blade to cut plumbing holes and scribe filler strips. Wear ANSI-approved eye protection and work gloves when handling heavy plywood boxes. To review box durability, read our guide on wood kitchen cabinets.
Install Tools and Parts Checklist Table
Below is our builder checklist of essential tools, screws, and parts required for pro cabinet install:
| Tool or Wood | Recommended Specification | Main Function | Builder Tip |
|---|---|---|---|
| Cross-Line Laser | Self-leveling red or green beam | Projects 360-degree room datum | Set up in room center on stable tripod |
| Long Spirit Level | 48-inch to 72-inch box level | Checks runs across multiple boxes | Verify vial accuracy before starting |
| Cabinet Screws | #8 x 2-1/2″ or 3″ washer-head | Anchors boxes to solid wall studs | Drive into center of framing members |
| Face Frame Clamps | Pony or Bessey cabinet clamps | Pulls frames flush and tight | Pad clamp jaws to protect wood paint |
| Wood Shims | Composite or premium cedar | Levels bases over floor low spots | Stack shims in opposing pairs |
| Ledger Board | Straight 1×4 pine lumber | Supports upper cabinets during hang | Level cleanly and screw into studs |
Having extra packs of composite shims on hand prevents job delays when tackling rough historic floors.
Pre-Install Prep: Floor Mapping and Stud Layout
Finding the Highest Floor Point and Benchmark Line
Almost every home subfloor features slight slopes, dips, or crowns. Do not start setting base cabinets on an unmapped floor.
Place your 8-foot spirit level or set up your cross-line laser across the floor to find this high point. Mark it on the floor with chalk. The highest point dictates your entire kitchen layout. Set all base boxes at the same marked height.
Snap a level line 34.5 inches above this high point for the top edge of standard base boxes. This snapped horizontal benchmark line is your universal guide across every cabinet wall. For planning comprehensive room dimensions, review our guide on kitchen cabinet design.
Locating and Marking Wall Studs
Finding your wall framing studs before lifting heavy cabinets saves time and frustration. Standard wall framing is built on sixteen-inch centers, though older homes sometimes use twenty-four-inch spacing.
Run your electronic stud finder along both upper and lower wall lines. Mark the center of each stud clearly with a pencil. Drive a small finish nail through the drywall at the marked spot to confirm that solid wood lies behind.
If your kitchen has metal stud walls, seek pro help. Metal framing demands special toggles and backing plates to resist pull-out.
Inspecting Drywall Plumbness and Wall Bows
Check your walls for inward bows, outward humps, and out-of-plumb corners. Place a long straightedge vertically against drywall surfaces to check for gaps. Use your level to check each wall corner for plumb and straight runs.
Take note of these wall shifts right on the drywall with pencil notes. If a wall bows inward by more than an inch, you may need to add shims behind the cabinet backs or scribe tall filler strips to close the gap. Check our guide on what to do with dead space behind the cabinets.
Step-by-Step Install: Wall Cabinets First
Why Pros Always Install Upper Cabinets First
Take time to remove all cabinet doors and pull-out drawers before lifting boxes into place. Lighter boxes reduce the risk of damage and make precise positioning far easier.
Pro cabinet builders almost always install upper wall cabinets before setting base cabinets. This leaves the kitchen floor fully open, allowing you to maneuver stepladders, platforms, and heavy upper boxes safely underneath without tripping.
Setting Temporary Ledger Boards
Setting a temporary wood ledger board makes hanging upper cabinets a simple one-person job. Measure 54 inches from your floor high point and snap a level line across the wall. This line marks the bottom edge of your upper cabinets, matching the standard 18-inch backsplash height.
Screw a straight 1×4 board into your wall studs right along this 54-inch line using three-inch cabinet screws. This ledger board acts as a bearing shelf. Rest the upper cabinet boxes on this ledge while you level and fasten them.
Fastening and Joining Upper Boxes
Begin hanging your upper cabinets starting from a corner cabinet or end cabinet. Lift the corner box onto the ledger board and slide it flush. Drive two cabinet screws through the solid upper hanging rail into marked stud centers.
Do not tighten the screws fully yet. This leaves room for minor adjustments. Lift the adjacent box into place and clamp the face frames together with cabinet clamps. Drill pilot holes through the frame edges and drive 1.25-inch trim head screws to lock the boxes flush.
Continue working along the wall, checking each box with your level after every addition. When the upper run is complete, remove the temporary ledger board and patch the small screw holes.
Step-by-Step Install: Base Cabinets
Starting from the Corner Base or Sink Base
Measure twice before cutting supply line and drain pipe holes through sink base cabinet backs. Mark pipe centers with a square and check for hidden electrical lines before cutting.
Once all upper cabinets are hung and the ledger boards are removed, begin setting your base cabinets. In straight galley layouts, start near the high spot. Set your sink base or primary anchor cabinet first. This box serves as your datum for the entire run.
If your kitchen has an L-shaped layout, begin at the inside corner cabinet. Corner bases set the angle for both intersecting cabinet runs.
Shimming Under Base Runners
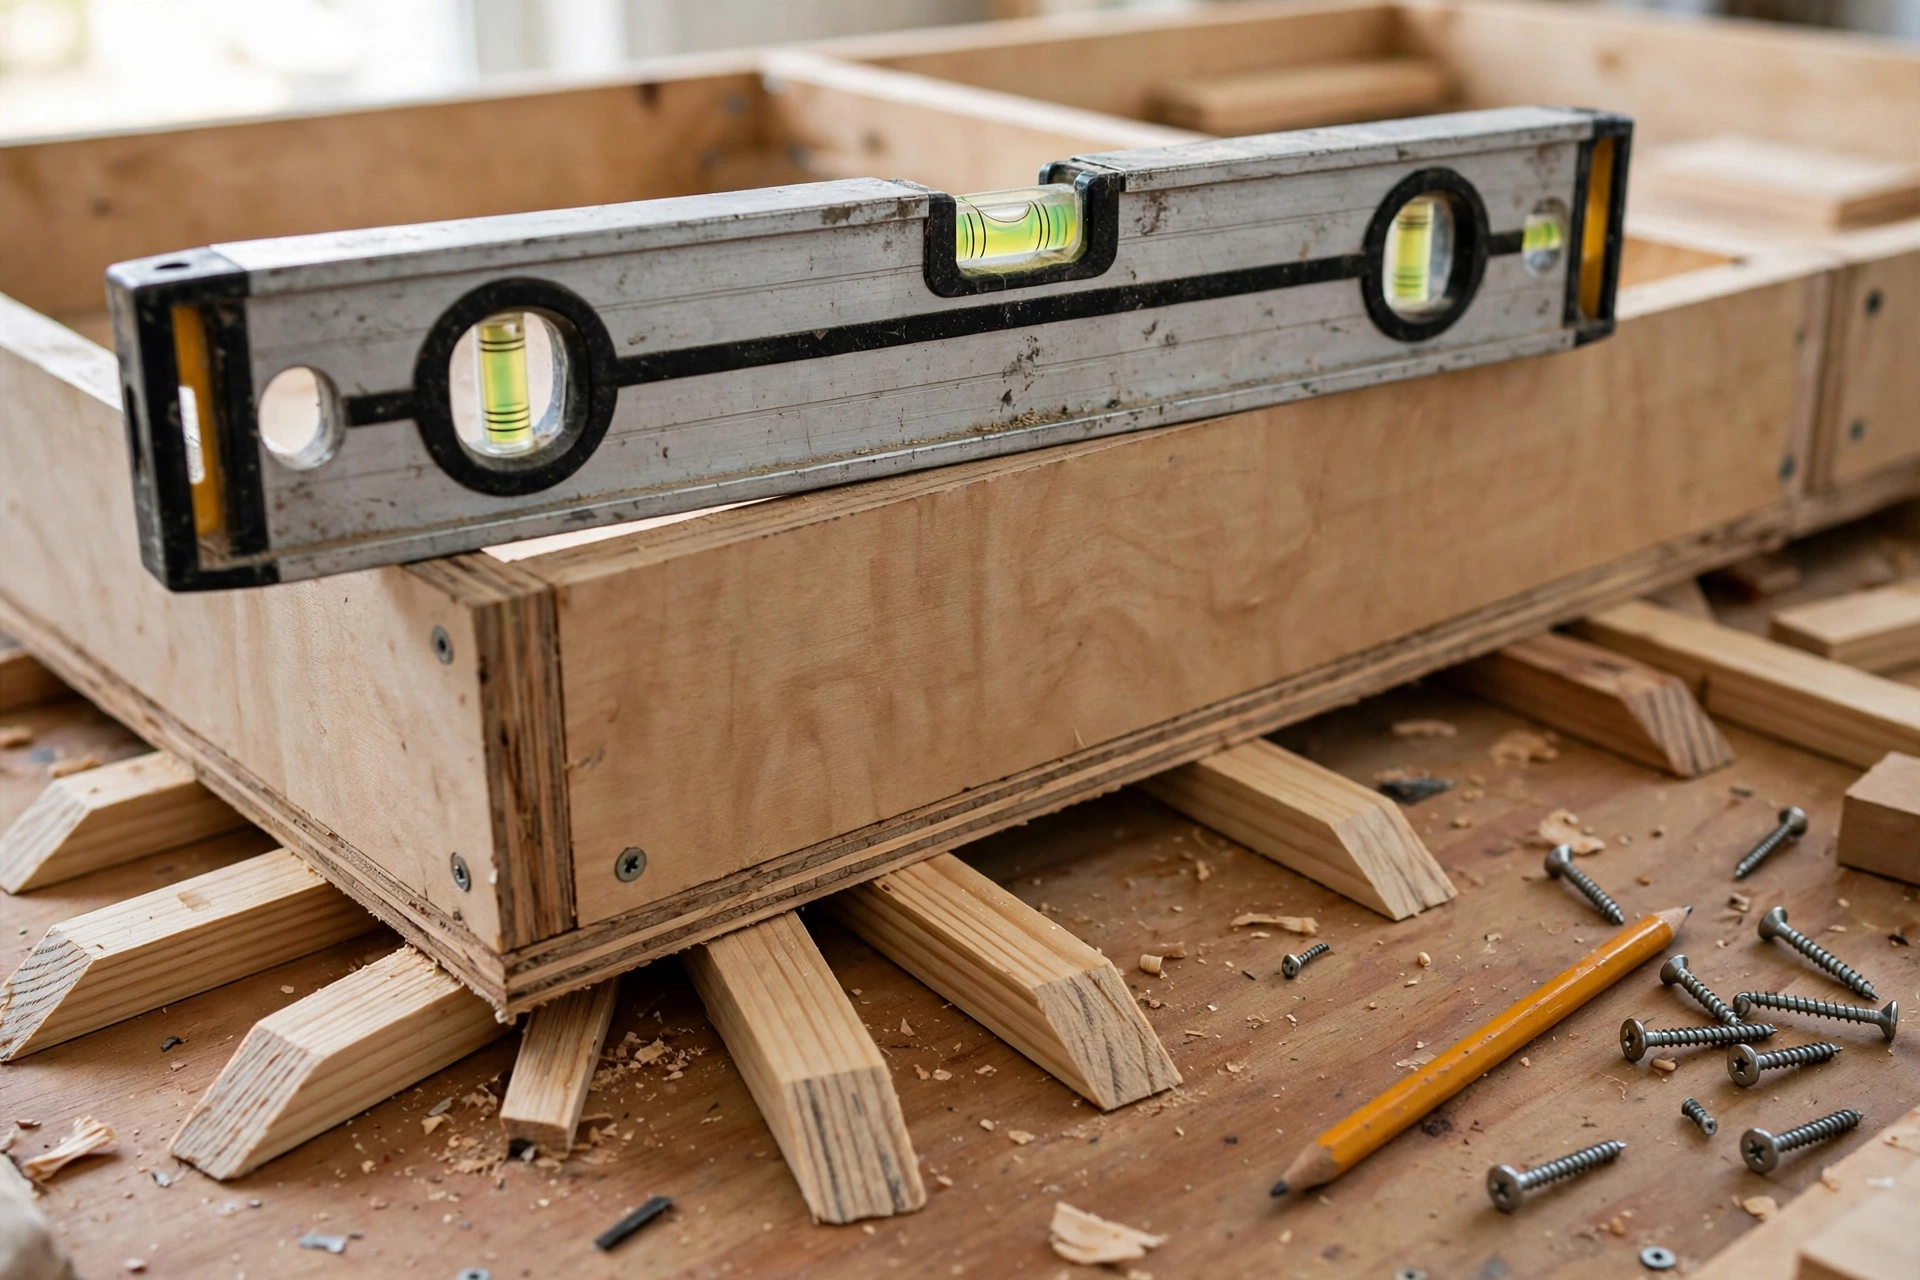
Leveling the first base cabinet in both directions is critical for the success of the entire kitchen. Set the plumb cabinet box on your marked high point and check it front-to-back and left-to-right with an eight-foot pro spirit level.
Always insert shims in opposing pairs. That way, the tapered wedges form a flat bearing pad under the box. Drive cabinet screws through the rear hanging rail and shims into studs only after the top edge aligns perfectly with the snapped benchmark line.
Check for floor dips under each cabinet runner. Use additional shim pairs to prevent boxes from rocking under counter loads.
Clamping and Screwing Face Frames
Position your second base cabinet adjacent to the first and check alignment across the front faces. Use face frame clamps to pull the frames flush at both the top and bottom rails.
Use a countersink drill bit to bore two pilot holes through the inner edge of one face frame into the neighboring frame. Drive 1.25-inch trim head screws into the pre-drilled pilots to lock the frames together. This creates a seamless, flat front across the cabinet run.
Do not glue the face frames together. Screws alone allow for future adjustments if hinges or door fronts need service.
Anchoring Base Boxes into Wall Studs
Anchor the leveled and joined base cabinets tightly to the wall framing. Check behind the cabinet backs for gaps before tightening. Fill any voids with wood shims so the box does not bow inward.
Drive two-and-half-inch washer-head cabinet screws through the rear hanging rail and shim right into marked stud centers. This locks the base run in place and supplies full support for heavy stone counters.
Never drive screws into drywall alone. Only wall studs provide the long-term pull-out resistance needed for loaded cabinets.
Scribing Filler Strips and Finished End Panels
Scribing Filler Strips to Wavy Drywall
Walls in both historic and new build homes are rarely dead plumb or cleanly flat. When a cabinet run meets an uneven wall or a slightly out-of-square corner, a gap forms between the cabinet edge and drywall.
Standard filler strips are three to six inches wide and match your door material. Clamp the filler strip in place against the cabinet face frame so it overlaps the drywall edge. Use a compass or scribe tool to trace the wall contour onto the strip edge.
After scribing the exact wall shape, remove the strip and trim it to the line. This leaves a gap-free joint that looks like custom millwork.
Cutting and Back-Beveling Filler Strips
Cut along your scribed pencil line using a jigsaw or a handheld track saw equipped with a fine-tooth blade. Keep the blade on the waste side of the line to preserve your scribed fit.
Test-fit the scribed filler strip against the wall and smooth any high spots using a block plane or a sanding block. Next, back-bevel the rear edge at about five degrees to ensure only the front edge touches the wall.
Apply a thin bead of matching cabinet caulk along the rear seam to seal the joint against moisture.
Setting Finished Accent End Panels
Exposed cabinet ends require accent finished panels that match your door style. Standard cabinet boxes show raw plywood or melamine edges on exposed sides. Finished end panels cover those raw edges and create a furniture-grade look.
Apply build adhesive to the back of the finished end skin and press it firmly against the cabinet side. Use temporary brad nails around the edges to hold the panel until the glue cures.
Check that panel corners align perfectly with the door fronts. Misaligned end panels are immediately visible and hard to fix after adhesive sets.
Common Cabinet Install Mistakes and How to Fix Them
Using Drywall Screws Instead of Cabinet Screws
The most dangerous mistake DIY buyers make is using drywall screws to hang kitchen cabinets. Drywall screws are brittle and snap without warning. Under the weight of dishes, glassware, and stone counters, these screws shear off and drop wall cabinets.
Always insist on sturdy cabinet screws made from heat-treated steel with heavy-duty washer heads. These screws bite deep into wall studs and distribute load across a wide washer surface. A dropped upper cabinet is an expensive repair and a serious safety hazard.
Over-Tightening Screws into Studs
Over-tightening wall screws without checking rear wall gaps is another common novice pitfall. When a cabinet back sits away from the wall, tightening screws pulls the box inward and bows the rear panel.
Always check the space behind the cabinet hanging rail before driving your screws. Check for gaps with a thin shim. Insert shims behind the hanging rail to fill gaps before final tightening.
Tighten screws gradually and check the face frame alignment after each quarter turn. A steady, controlled drive prevents warping and keeps reveals clean.
Rushing Counter Preparation
Failing to verify subtop flatness across the entire cabinet run before counter template day is a common mistake. Granite and quartz fabricators template your cabinet tops and cut stone to match.
Place your six-foot spirit level across adjacent cabinet tops in multiple directions to verify complete flatness. Check for dips, high spots, and twisted corners.
If you find a low spot greater than one-sixteenth inch, add shims under the cabinet tops. A flat, level subtop prevents stone cracks and uneven overhangs.
Door and Drawer Front Alignment Protocols
Adjusting European Concealed Hinges in Three Directions
Modern kitchen cabinets feature European concealed cup hinges that offer six-way directional adjustments. Learning these adjustments saves hours of frustrating trial and error.
Turn the front cam screw. This shifts the door left or right across the face frame opening. Turning the rear screw moves the door inward or outward to control door gaps. Adjusting the vertical screw raises or lowers the door height.
Check your reveal gaps with a coin or spacer after each adjustment. Aim for uniform gaps of one-eighth inch around every door front.
Aligning 5-Piece Drawer Fronts and Reveals
Achieving clean, uniform flat reveal lines across a bank of drawer fronts elevates your entire install. Inconsistent drawer gaps are the most visible flaw in cabinet installs.
Loosen the drawer box mounting screws slightly and tap the drawer front into alignment. Use plastic spacers to set steady 1/8-inch reveal gaps. Coins work well between stacked drawer fronts when spacer sets are missing.
Tighten the mounting screws gradually after setting the gap. Recheck all reveals after tightening, as screw torque can shift the front slightly.
Setting Soft-Close Dampers and Drawer Slides
Testing your drawer slide use ensures smooth, effortless glide before counter templating begins. Pull each drawer fully open and release it gently. Soft-close dampers should catch the drawer and pull it shut silently.
Check the release clips located beneath the front corners of each drawer box. Squeezing these clips releases the drawer from its slides for easy removal and cleaning.
If a drawer binds or sticks, check the slide alignment inside the cabinet box. Squeeze clips, remove the drawer, and inspect the slide mounting screws for proper seating.
Mounting Cabinet Knobs and Pulls with a Hardware Jig
Drilling hardware holes into finished cabinet doors is an irreversible step that demands absolute precision. A single misaligned hole ruins an expensive door front.
Clamp the hardware jig to your first door corner. Set the stop collars to your desired handle spacing and drill pilot holes through the jig guide.
Use the jig to drill all remaining door fronts. Hardware jigs ensure every handle sits at the exact same height and spacing across your kitchen.
Frequently Asked Questions About Installing Kitchen Cabinets
Should you install upper or lower cabinets first?
Always install upper wall cabinets before setting base cabinets. Setting uppers first leaves the floor open and lets you maneuver ladders safely. It also prevents damage to installed base cabinets from falling tools.
What screws should you use when installing kitchen cabinets?
Use two-and-half-inch or three-inch tough steel cabinet screws with washer heads for wall stud anchoring. Never use brittle black drywall screws to hang cabinets — they snap under load. Use 1.25-inch trim head screws to join face frames together.
How long does it take to install kitchen cabinets?
A standard ten-by-ten kitchen install with twelve to fifteen cabinet boxes typically takes two to three days for an experienced DIY team. Pro crews can complete the same job in one to two days.
Complex layouts with tall pantries, islands, and custom panels add an extra day. Always allow extra time for leveling, scribing, and hardware adjustments.
Do you put flooring down before installing kitchen cabinets?
Yes, setting finished hardwood, tile, or luxury vinyl plank before setting cabinets is standard practice. Finished floors provide a level surface and protect the subfloor beneath cabinets.
Install cabinets directly on subfloors only when using floating floors that need expansion gaps. Check your flooring manufacturer specs before deciding.
Editorial Note: This article has been researched, written, and fact-checked by our skilled kitchen remodeling team. Every guide is manually reviewed by our lead author to ensure accurate and reliable advice.