Homeowners routinely overpay by $1,500 to $4,000 on kitchen base cabinets by falling for aesthetic showroom staging while buying structurally deficient boxes. A 3-centimeter quartz countertop weighs 18 to 22 pounds per square foot; placing that load on 1/2-inch particleboard held by plastic corner gussets causes structural deflection within 3 to 5 years.
Follow this 8-step contractor buying protocol to verify engineering specs, decode supplier quotes, and secure maximum build quality per dollar.
1. Technical Data to Gather Before Contacting Suppliers
Do not visit a showroom or submit an online quote request without these 6 field specs in hand:
- Wall Triangulation Measurements: Measure every wall at 4 inches off the subfloor, 36 inches (finished counter height), and 84 inches (upper header line). Record the smallest number; older walls bow inward up to 1.25 inches across a 10-foot span.
- Floor High Point Datum: Use a 6-foot box level or rotary laser level to locate the absolute high point of the subfloor. Your base cabinet layout anchors here; all other cabinets are shimmed upward from this reference mark.
- Appliance Clearance Sheets: Document overall cabinet cutout widths plus appliance door swing radiuses and handle depths. A 36-inch French-door refrigerator requires 2.5 to 3 inches of clearance from an adjacent base cabinet filler to open 90 degrees for drawer removal.
- Plumbing & Drain Stacks: Measure centerlines of drain stubs and supply valves from the nearest corner wall. Standard sink base units (SB36) offer roughly 32 inches of clear interior basin width between side panels.
- Countertop Substrate Requirements: Quartz and granite slabs require perimeter box support with maximum unbraced spans under 24 inches.
- Hard Contingency Fund: Set aside exactly 15% of your total cabinet budget in an untouched reserve account for freight liftgate surcharges, scribe filler adjustments, and out-of-square wall shimming.
2. Run the 4 Showroom Physical Inspection Tests
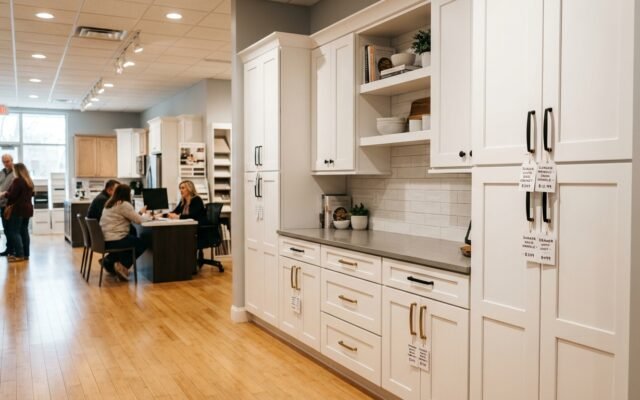
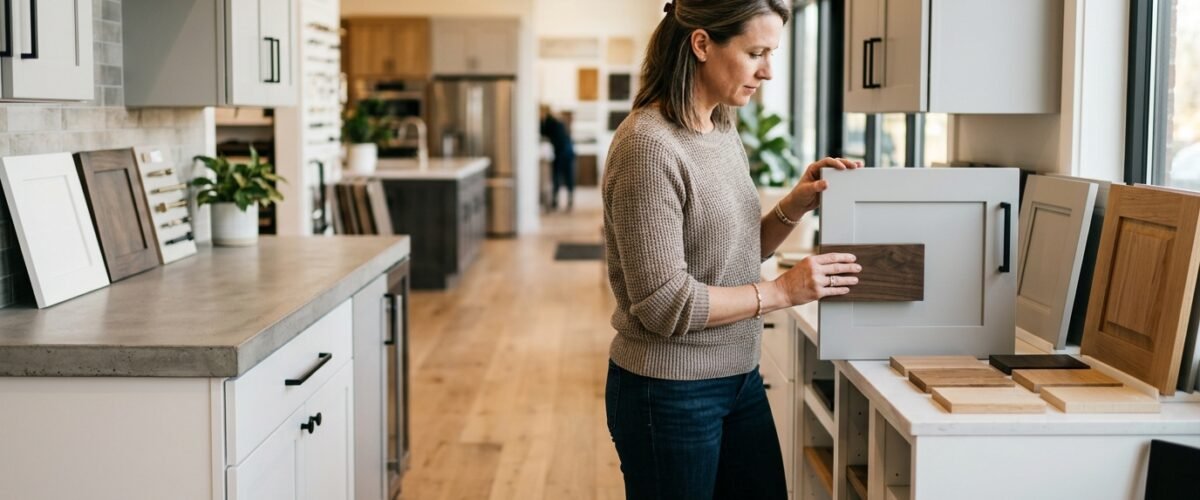
Never buy kitchen cabinets based on door sample displays. Walk to a floor display unit, open the doors, and execute these 4 diagnostic physical checks:
Test 1: The Back Panel Thumb Flex Check
Reach into the cabinet and press your thumb with 15 lbs of force against the center of the rear panel.
– Fail: The board flexes or yields. That is 1/8-inch or 1/4-inch hardboard/masonite stapled into an exterior frame rail. Hanging a full run of heavy base cabinets from a thin slide-in back panel risks wall pull-away under heavy stone loads.
– Pass: The panel remains completely rigid. That is a 1/2-inch or 3/4-inch full structural plywood back panel fastened directly through the cabinet sides.
Test 2: The Drawer Lateral Racking & Load Check
Pull the bottom drawer out to its full extension. Grip the front corners with both hands, push downward with 20 lbs of pressure, and shake the drawer side-to-side.
– Fail: The drawer box twists laterally by more than 1/4 inch, or the glides grind. Those are generic side-mount ball-bearing or epoxy-coated roller slides.
– Pass: Zero lateral racking; movement remains smooth and linear. Look underneath the drawer box for full-extension undermount slides stamped with Blum Tandem Plus 563H / 563F, Blum Movento (125-lb dynamic load rating), or Grass Dynapro.
Test 3: The Internal Corner Gusset Inspection
Look directly inside the top interior corners of the cabinet box.
– Fail: You see stamped triangular plastic brackets or stapled particleboard corner blocks. This indicates a box held square purely by mechanical fasteners that loosen under installation torque.
– Pass: You see 1/2-inch structural plywood stretchers running the full length of the front and rear top edges, joined to the cabinet sides via full-depth routed dado joints and pocket screws.
Test 4: The Chemical & Scratch Finish Check
On painted showroom displays, inspect the bottom edge of the base cabinet door directly beneath the sink or dishwasher opening.
– Fail: Paint shows hairline cracking along frame joints, soft edges, or a chalky white residue when scraped with a clean fingernail. That is air-dried pre-catalyzed lacquer.
– Pass: Hard, glass-smooth finish with completely sealed seams. That is factory-applied, 2-part acid-catalyzed conversion varnish, heat-cured in an oven. It resists household acetone, mustard, vinegar, and hot grease without softening.
3. Compare the 4 Cabinet Construction Tiers
Evaluate your kitchen’s structural requirements against this technical specification matrix:
| Construction Spec | Entry Stock (Big-Box) | Mid-Range RTA (Direct) | Semi-Custom Factory | Custom Cabinet Shop |
|---|---|---|---|---|
| Typical Cost / Linear Foot | $70 – $160 | $130 – $240 | $250 – $550 | $550 – $1,300+ |
| Box Core Material | 1/2″ Particleboard / MDF | 1/2″ 7-Ply Birch Plywood | 1/2″ or 3/4″ Plywood | 3/4″ Baltic Birch Plywood |
| Back Structural Panel | 1/8″ Hardboard + Rail | 1/2″ Structural Plywood | 1/2″ Structural Plywood | 3/4″ Structural Plywood |
| Drawer Construction | 1/2″ Stapled Particleboard | 5/8″ Solid Birch Dovetail | 5/8″ Hardwood Dovetail | 5/8″ Hard Maple Dovetail |
| Drawer Slide Spec | 3/4-Extension Side Mount | Full-Extension Undermount | Blum Tandem Soft-Close | Blum Movento Heavy-Duty |
| Industry Certification | Rarely Certified | Select Lines Certified | ANSI/KCMA A161.1 | Individual Shop Standards |
| Dimensional Increments | Fixed 3″ Steps Only | Fixed 3″ Steps Only | 1″ Width Modifications | 1/16″ Precision Tolerances |
| Production Lead Time | In-Stock or 7–14 Days | 5–12 Business Days | 4–8 Weeks | 8–16 Weeks |
For standard rectangular rooms with plumb corners, high-end all-plywood RTA cabinets match the structural performance of semi-custom lines at 40% to 50% lower cost.
4. Standard 10×10 Kitchen: Complete Bill of Materials (BOM)
Contractors price kitchens using a standard 10-foot by 10-foot L-shaped baseline (roughly 20 linear feet of cabinetry). Here is the exact SKU list and realistic component cost breakdown for an all-plywood, soft-close build:
| SKU Code | Description & Dimensions | Quantity | Typical Unit Cost | Total Cost |
|---|---|---|---|---|
| SB36 | 36″ Double-Door Sink Base Cabinet | 1 | $280 – $340 | $310 |
| LS36 | 36″ Corner Lazy Susan Base (Dual Turntable) | 1 | $380 – $490 | $435 |
| 3DB18 | 18″ 3-Drawer Base Cabinet (Heavy Pots/Pans) | 1 | $310 – $410 | $360 |
| B24 | 24″ Single-Door / Single-Drawer Base | 1 | $220 – $290 | $255 |
| B30 | 30″ Double-Door Base Cabinet | 1 | $260 – $340 | $300 |
| W3030 | 30″W × 30″H Wall Cabinet | 2 | $190 – $250 | $440 |
| W1830 | 18″W × 30″H Wall Cabinet | 1 | $140 – $190 | $165 |
| W3612 | 36″W × 12″H Over-Refrig Wall Cabinet | 1 | $160 – $220 | $190 |
| W3012 | 30″W × 12″H Over-Range Wall Cabinet | 1 | $140 – $190 | $165 |
| BF3 | 3″ × 34.5″ Base Filler Strips | 2 | $35 – $65 | $100 |
| TK8 | 8-Foot Finished Matching Toe Kick Skin | 2 | $30 – $55 | $85 |
| BEP | 3/4″ Finished Flush Base End Panels | 2 | $65 – $95 | $160 |
| FREIGHT | LTL Residential Freight with Hydraulic Liftgate | 1 | $250 – $450 | $350 |
| TOTAL | Complete 10×10 Material Package | — | — | $3,315 |
5. Demand an Itemized BOM Quote (The 6 Line-Item Traps)
Never accept a quote that displays a single lump-sum figure like “Kitchen Cabinet Package: $7,200”. Unscrupulous suppliers inflate margins or deliver missing components on installation morning. Demand an itemized line-by-line quote and audit these 6 elements:
- Finished End Panels vs. Unfinished Raw Box Sides: Standard cabinet box exteriors feature unfinished wood veneer or raw kraft paper. If an end run is exposed, you must purchase a 3/4-inch matching end panel ($65–$95) or specify factory flush-finished ends.
- Toe Kick Boards: Cabinet boxes ship with recessed raw structural bases. You require matching 8-foot finished toe-kick skin strips ($30–$55 each) to cover the rough framing across the entire run.
- Filler Strips & Scribe Mold: Stock widths come in 3-inch increments. You will need at least two to four 3-inch base filler strips ($35–$65 each) to clear door trim, prevent drawer handles from striking adjacent ovens, and bridge out-of-plumb wall gaps.
- Hardware Mechanism Disclosures: Verify that the quote specifies the exact slide brand. Lines that say “soft-close glides” without stating Blum, Grass, or Hettich frequently substitute unbranded $8 imported slides with high failure rates.
- Roll-Out Tray Clearances: If ordering internal roll-out pantry or pot trays, confirm whether doors require 110-degree zero-protrusion hinges. Standard 90-degree hinges leave the door blocking the slide path, scraping the finished wood face whenever a tray is pulled.
- LTL Freight Surcharges: Freight companies deliver pallets via 53-foot tractor-trailers. If you live on a residential street with no commercial loading dock, verify that your quote includes a Residential Delivery Fee ($75–$120) and a Hydraulic Liftgate Service Fee ($65–$110). If omitted, the carrier will drop the pallet at the freight terminal or demand cash at your curb.
6. How to Coordinate Lead Times with Job-Site Demolition
A kitchen remodel operates on strict trade sequencing: Demolition → Rough Framing → Rough Plumbing & Electrical → Drywall Hang & Tape → Cabinet Installation → Countertop Template & Fabrication → Flooring / Finish Trim.
Follow this scheduling timeline to avoid costly contractor stand-by delays:
┌────────────────────────────────────────────────────────────────────────┐
│                        PROJECT SEQUENCING TIMELINE                     │
├─────────────────┬──────────────────────────────────────────────────────┤
│ Week 1          │ Finalize layout, verify floor datum, order cabinets.  │
├─────────────────┼──────────────────────────────────────────────────────┤
│ Weeks 2–4       │ Order in factory transit. Begin demolition and       │
│                 │ rough MEP (mechanical, electrical, plumbing).        │
├─────────────────┼──────────────────────────────────────────────────────┤
│ Week 5          │ Cabinets arrive on site. Inspect pallets for damage. │
│                 │ Drywall taping and primer coat complete.             │
├─────────────────┼──────────────────────────────────────────────────────┤
│ Week 6          │ Base cabinet installation, leveling, stud anchoring. │
├─────────────────┼──────────────────────────────────────────────────────┤
│ Week 7          │ Stone countertop digital laser template measured.   │
├─────────────────┼──────────────────────────────────────────────────────┤
│ Weeks 8–9       │ Countertop fabrication. Appliance hookup & trim.     │
└─────────────────┴──────────────────────────────────────────────────────┘
Contractor Rule: Never swing a sledgehammer to demolish your existing kitchen until your new cabinet order has physically shipped from the warehouse and you possess a verified freight tracking bill of lading (BOL).
7. The LTL Delivery Protocol: How to Inspect Freight Pallets
Kitchen cabinets ship via Less-Than-Truckload (LTL) motor freight on shrink-wrapped wooden pallets. Freight damage claims are denied if you sign the carrier’s Delivery Receipt without notation.
Execute this 4-point receiving checklist before the driver departs:
- Count Every Box Against the BOL: Verify that the physical piece count matches the exact number of cartons listed on the delivery bill. If the bill lists 22 cartons and you count 21, write “Missing 1 Carton – Shortage” directly across the driver’s signature sheet.
- Inspect Every Carton Corner: Plywood boxes dropped on pallet edges sustain crushed face frames. Examine all 8 corners of every carton for ripped cardboard, crushed strapping, or punctured shrink wrap.
- Photograph Damaged Packaging Before Moving: Take wide and close-up photographs of any torn cardboard while the carton rests on the truck liftgate or curb.
- Mandatory Delivery Receipt Endorsement: If any carton shows creasing or impact, write: “Received Subject to Concealed Damage Inspection – Box Damaged on [SKU Name]”. Never sign a clean receipt under pressure from a hurried driver. You have 48 hours to file concealed damage claims with most manufacturers.
8. Cabinet Buying Traps and How to Prevent Them
| Common Buying Trap | Job-Site Consequence | Correct Contractor Specification |
|---|---|---|
| Ordering 15″ Wide Base Units | Narrow interior width (12″) wastes space and holds almost nothing | Combine spaces into wider 30″ or 36″ 2-door units or specify a dedicated vertical tray divider or pull-out spice unit |
| Skipping Refrigerator Fillers | Fridge doors strike adjacent cabinet pulls, preventing vegetable crispers from sliding out | Install a minimum 2.5″ or 3″ base filler strip between the refrigerator return panel and adjacent cabinet run |
| 1/8″ Masonite Back Panels | Fasteners pull through backing under stone countertop dead loads (400+ lbs) | Demand 1/2″ minimum full plywood backs fastened with GRK #8 × 2-1/2″ cabinet washer-head screws into wall studs |
| Stapled Drawer Bottoms | Drawer bottoms sag and detach under heavy cast iron skillet loads | Specify 3/8″ plywood bottoms fully captured in 4-sided dado grooves |
| Ignoring Floor High Point | Cabinets installed below high point force shimming countertops, creating ugly 1″ gaps | Locate floor high point with rotary laser level first; baseline entire run from that exact elevation |
Frequently Asked Questions
What is the minimum acceptable box thickness for base cabinets?
1/2-inch structural 7-ply birch or hardwood plywood is the baseline minimum for cabinet sides, bottoms, and backs. Avoid 3/8-inch panels. If you plan to install heavy 3cm granite or concrete countertops, 3/4-inch plywood provides superior structural rigidity and eliminates mid-span shelf deflection.
How do I know if cabinet hardware is genuine Blum?
Extend the drawer fully and look at the orange or gray plastic locking clips underneath the front bottom corners. Genuine Blum glides feature the stamped “Blum” logo and part numbers (such as 563H or 563F) directly on the zinc-plated steel rails and locking devices.
What does ANSI/KCMA A161.1 certified mean?
It is the national performance standard established by the Kitchen Cabinet Manufacturers Association. Certified cabinets undergo 14 structural, mechanical, and finish tests, including a 500-lb shelf load test, a 25,000-cycle drawer endurance test, and a 24-hour chemical exposure test against common household acids and solvents.
Is particleboard ever acceptable for kitchen base cabinets?
Particleboard (furniture core board) performs adequately in dry, climate-controlled environments for dry storage cabinets. However, it should never be used beneath kitchen sinks, adjacent to dishwashers, or in humid basements. Even minor plumbing seepage causes particleboard edges to swell by 20% to 40%, an irreversible structural failure that forces complete box replacement.
What screws should be used to anchor base cabinets to wall studs?
Never use standard drywall screws; their brittle carbon steel shafts snap under shear stress. Use specialized #8 or #10 cabinet screws with built-in washer heads (such as GRK Fasteners or FastCap PowerHead screws), measuring 2-1/2 to 3 inches in length to ensure at least 1-1/2 inches of penetration into solid 2×4 wall studs.