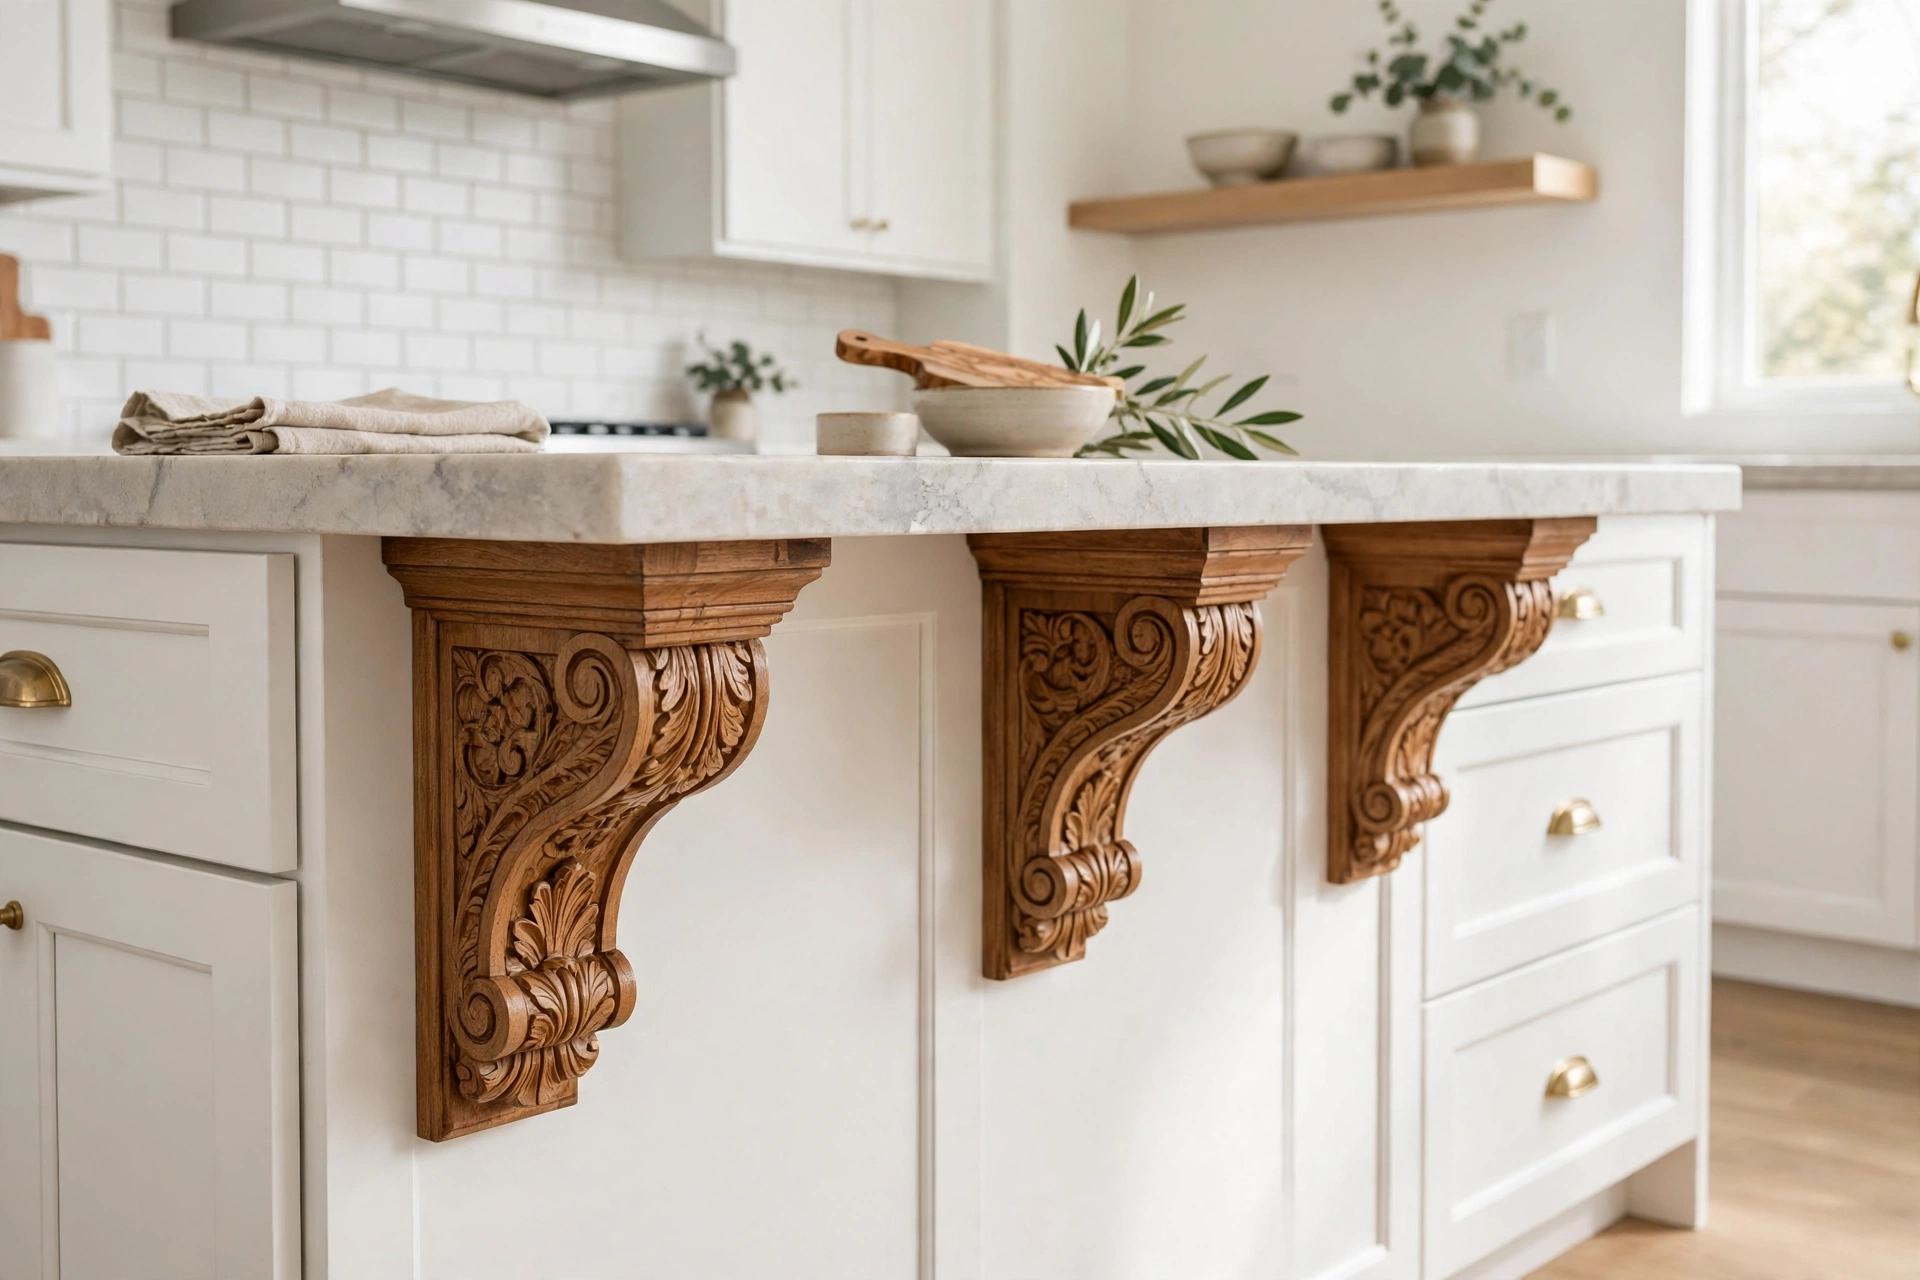
Kitchen cabinet corbels provide visual weight, architectural depth, and structural support under floating countertop overhangs and wall cabinet runs. In fact, installing kitchen cabinet corbels upgrades standard factory cabinetry into custom furniture while protecting heavy stone surfaces. Most kitchen renovations require brackets projecting across two thirds of the overhang depth. Consequently, understanding proper sizing, load ratings, and secure framing attachment ensures your remodel stays structurally sound and visually balanced.
What Are Kitchen Cabinet Corbels and Why Install Them
Historically, corbels served as heavy masonry projection stones supporting exterior stone balconies. In modern residential cabinetry, a corbel is a triangular architectural bracket installed beneath horizontal surfaces. Specifically, you will frequently see them installed directly beneath upper wall cabinets, range hoods, and deep breakfast bar overhangs.
Architectural Balance Under Wall Cabinets
First, upper wall cabinets can look top-heavy when terminating abruptly against open backsplash tile. Adding decorative corbels creates a tapered transition connecting upper boxes to base countertops. Therefore, this downward visual line anchors the entire wall and makes standard factory boxes feel like bespoke millwork.
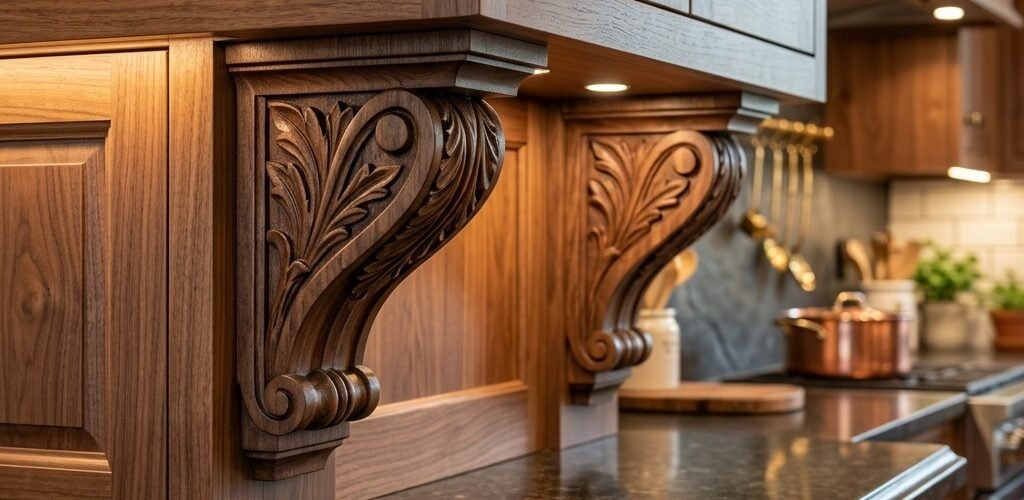
In addition, corbels frame focal points across primary working zones. For example, placing paired brackets under cabinets flanking a cooktop draws the eye toward that cooking area. This detail works especially well with solid wood kitchen cabinets, because matching hardwood profiles creates a continuous furniture look.
Structural Countertop Overhang Support vs Decorative Accent
Homeowners often confuse purely decorative trim brackets with true load-bearing corbels. Decorative corbels are lightweight moldings secured with finish nails or keyhole slots. While these decorative pieces add historic charm, they cannot carry significant downward weight.
In contrast, structural corbels carry downward vertical loads ranging from 150 to 500 pounds per bracket. When you install heavy 3cm granite or quartz breakfast bars, cantilevered stone acts as a heavy lever arm. Without rigid support beneath wide overhangs, downward pressure from leaning elbows or heavy groceries will crack brittle slabs.
4 Primary Types of Kitchen Cabinet Corbels
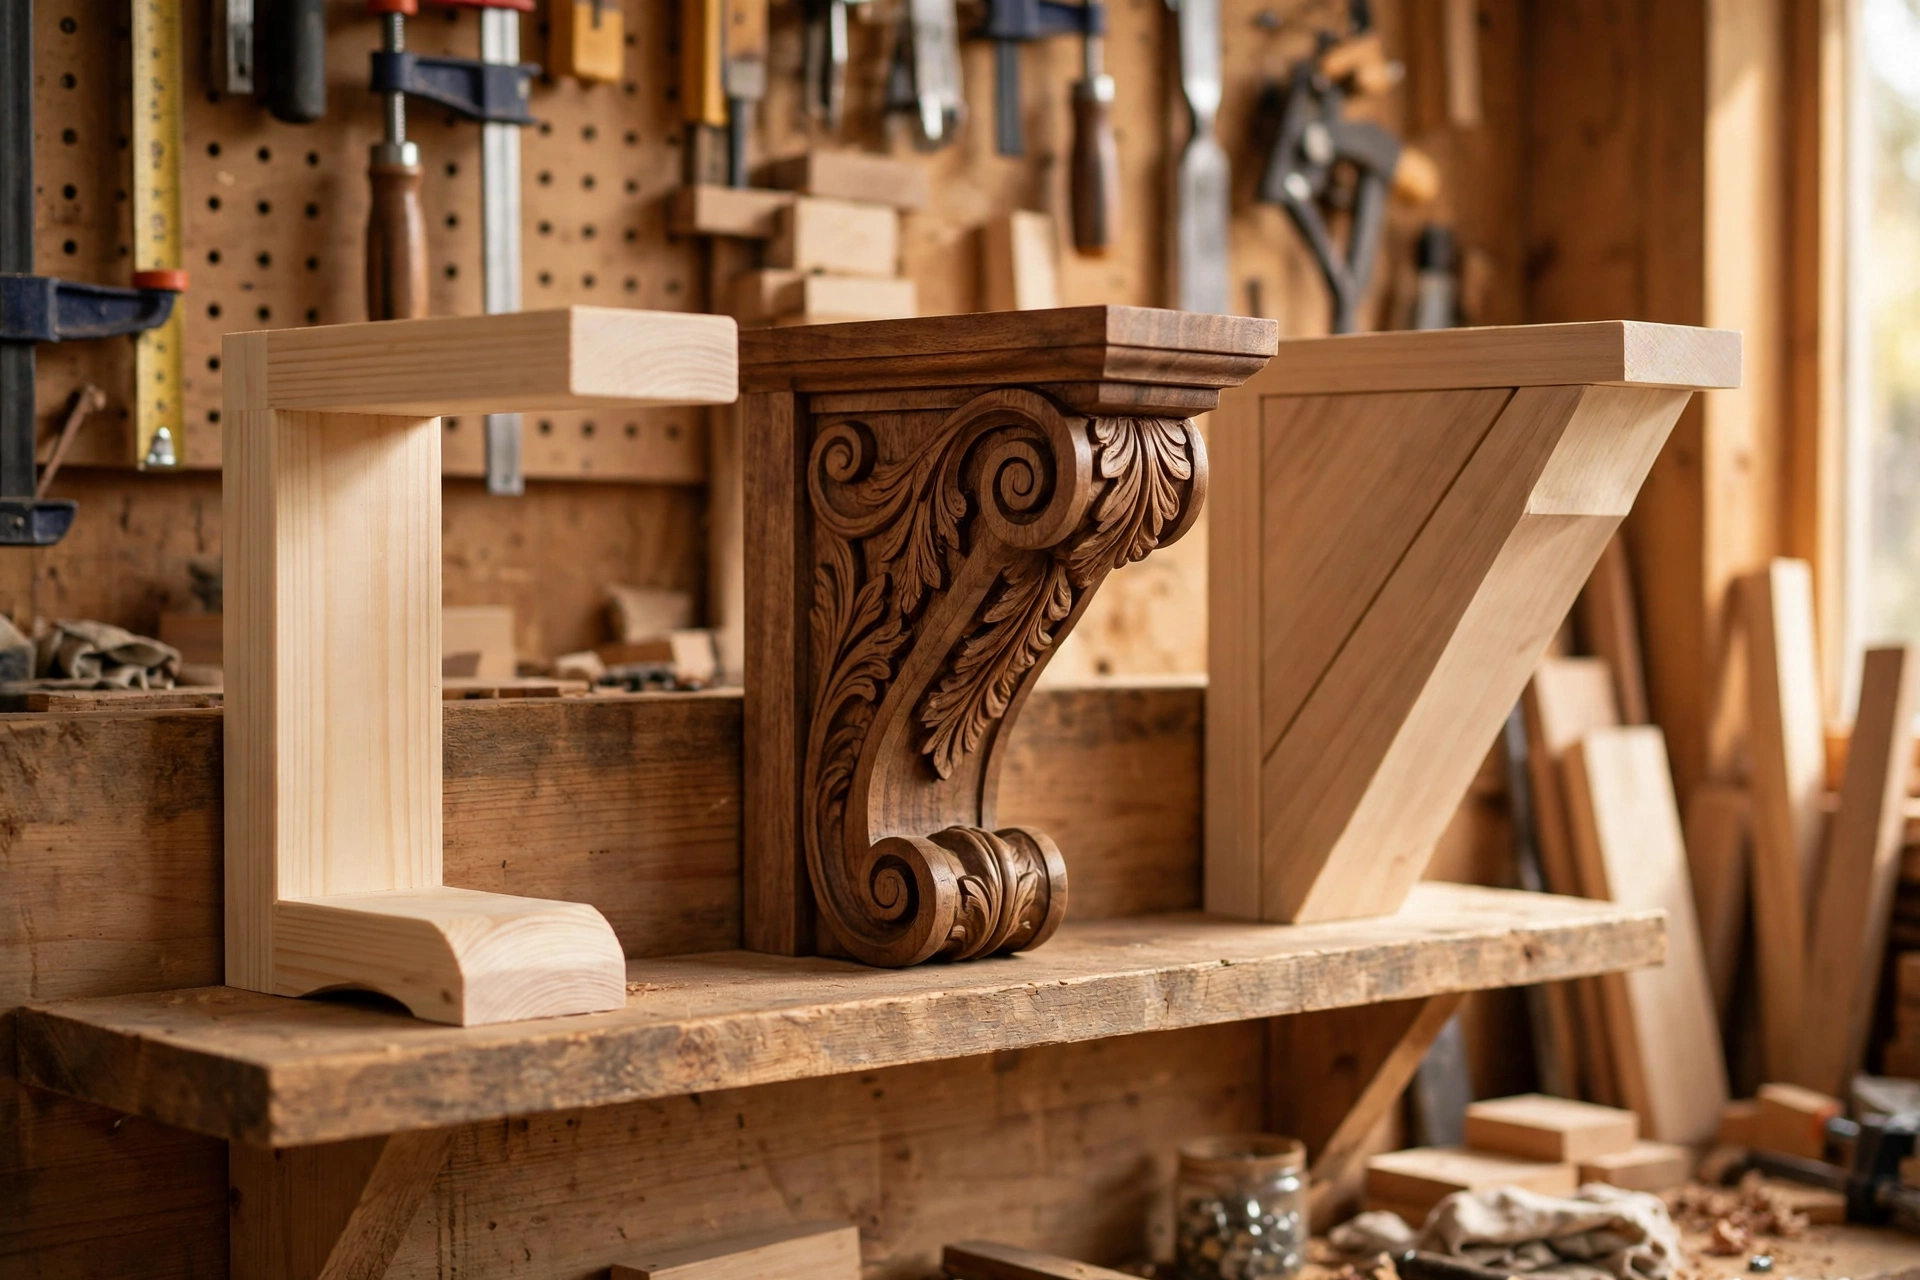
Selecting the right corbel depends on your budget, finishing plans, and structural load requirements. Manufacturers produce corbels from distinct raw materials, ranging from hand-carved hardwoods to industrial cold-rolled steel. Consequently, each material offers specific advantages depending on where you plan to install it.
Solid Hardwood Carved Corbels (Oak, Maple, Cherry)
Solid hardwood corbels remain the gold standard for traditional kitchens and custom cabinetry builds. Craftsmen carve these brackets from dense lumber species including hard maple, red oak, white oak, and cherry. Because solid timber features continuous grain structures, hardwood brackets deliver dependable vertical compression strength.
Moreover, solid wood accepts custom penetrating stains, glazes, and clear conversion varnishes effortlessly. This compatibility makes hardwood essential when you want an exact stain match to existing finished cabinet doors. For instance, you can check current prices on Amazon for paired hardwood brackets carved in popular profiles.
Polyurethane and High-Density Urethane Corbels (Rot-proof, lightweight)
High-density urethane and molded polyurethane offer a cost-effective alternative to hand-carved timber. Manufacturers pour liquid polyurethane into silicone molds captured from antique carved originals. Consequently, urethane captures intricate acanthus leaves, egg-and-dart moldings, and deeply undercut scrolls at roughly half the cost of hand-carved wood.
Additionally, high-density polyurethane is entirely waterproof and rot-proof. It will never crack, swell, or split when exposed to steam from electric kettles or boiling pasta pots. However, polyurethane corbels lack tensile strength. Therefore, browse options at Home Depot for primed urethane profiles intended for painted wall cabinet accents rather than stone support.
Metal Bracket and Wrought Iron Core Corbels (High load capacity)
When maximum load capacity is your priority, heavy-duty steel and wrought iron brackets are unmatched. Fabricated from 1/4-inch or 3/8-inch cold-rolled steel, structural metal corbels carry between 300 and 500 pounds each. Consequently, they support deep breakfast bar overhangs with complete rigidity.
Furthermore, steel brackets provide exceptional structural support while taking up minimal legroom under island overhangs. While bulky wood brackets can bump seated knees, sleek metal gussets preserve open leg clearance. Therefore, many modern homeowners choose black powder-coated iron brackets to complement industrial or modern farmhouse aesthetics.
Mission, Acanthus, and Traditional Profile Styles
Corbel designs fall into three primary aesthetic categories that reflect distinct historical design movements. First, Mission and Craftsman corbels feature clean 45-degree angles, flat faces, and simple chamfered edges. These straightforward lines pair naturally with Shaker cabinet doors and uncluttered contemporary kitchen layouts.
Second, Traditional and Classical corbels showcase sweeping S-curves, scrolled volutes, and layered acanthus leaf carvings. These ornate brackets complement raised-panel cabinetry, crown moldings, and formal French country designs. Finally, you can explore corbel selections at Wayfair to find the ideal architectural match for your kitchen trim.
| Corbel Material | Weight Capacity | Best Application | Moisture Resistance | Finishing Option | Average Cost |
|---|---|---|---|---|---|
| Solid Hardwood (Maple/Oak) | 150 to 250 lbs | Countertop overhangs and wall cabinet ends | Moderate (requires sealer) | Stain, paint, or clear coat | $45 to $160 each |
| High-Density Polyurethane | 0 to 10 lbs (Decorative) | Upper wall cabinets and range hood trim | High (100% waterproof) | Acrylic latex paint only | $20 to $65 each |
| Heavy-Duty Structural Steel | 300 to 500+ lbs | Deep quartz, granite, and concrete islands | High (powder-coated finish) | Powder coat or enamel | $35 to $110 each |
| Steel-Reinforced Wood Hybrid | 300 to 450 lbs | Heavy stone overhangs with custom wood look | Moderate (wood sleeve) | Stain or paint to match | $80 to $220 each |
Standard Corbel Sizing and Proportions Chart
Choosing incorrectly sized corbels ruins both kitchen ergonomics and visual proportions. Brackets that are too small look like cheap afterthoughts and fail to support cantilevered stone safely. Conversely, oversized brackets crowd barstools, strike seated knees, and overpower delicate cabinet lines.
Height, Width, and Projection Rules (The 2/3 Countertop Rule)
When supporting horizontal countertops, always follow the established 2/3 rule of cantilever support. Specifically, the horizontal projection of your corbel must extend across at least two-thirds of the total overhang depth. For example, a 12-inch island overhang requires a corbel projection measuring at least 8 inches.
Following this rule leaves no more than 4 inches of unsupported stone edge along the outside boundary. Because brittle stone can snap when weight concentrates along an unsupported lip, limiting cantilever exposure prevents slab breakage. Next, pair an 8-inch projection with a vertical height of 12 to 16 inches for balanced proportions.
Upper Cabinet Underside Clearance Requirements
Sizing rules differ significantly when mounting corbels beneath upper wall cabinets. Standard kitchen layouts leave 18 inches of clear vertical space between countertops and upper wall boxes. Therefore, installing massive brackets here will severely compromise usable counter space.
Instead, limit under-cabinet corbels to a maximum vertical height of 6 to 9 inches. Likewise, restrict horizontal projection to 2.5 to 4 inches forward from the wall or light rail. Also, ensure the top width of your corbel matches the bottom rail of your cabinet frame for an integrated appearance.
Step-by-Step Installation of Kitchen Cabinet Corbels
Installing corbels securely requires patient layout, sharp tools, and solid mechanical fastening. While decorative moldings require only light anchors, structural brackets require direct connection to the framing skeleton. Following correct installation steps prevents loose hardware, split wood, and sagging surfaces.
Step 1: Locating Wall Studs and Face Frame Anchors
First, use an electronic stud finder to identify the center of 2×4 framing studs behind drywall. When installing corbels beneath upper wall cabinets, position each bracket directly below the vertical stile of the cabinet face frame. This alignment transfers downward pressure into solid structural hardwood rather than flexible sheet goods.
Next, mark your mounting locations clearly using low-tack painter tape and a sharp pencil. Check that your layout lines are plumb using a 24-inch spirit level. If supporting an island overhang where internal studs do not align, secure solid 2×4 blocking inside the cabinet back first.
Step 2: Keyhole Slot Mounting vs Pocket Screws
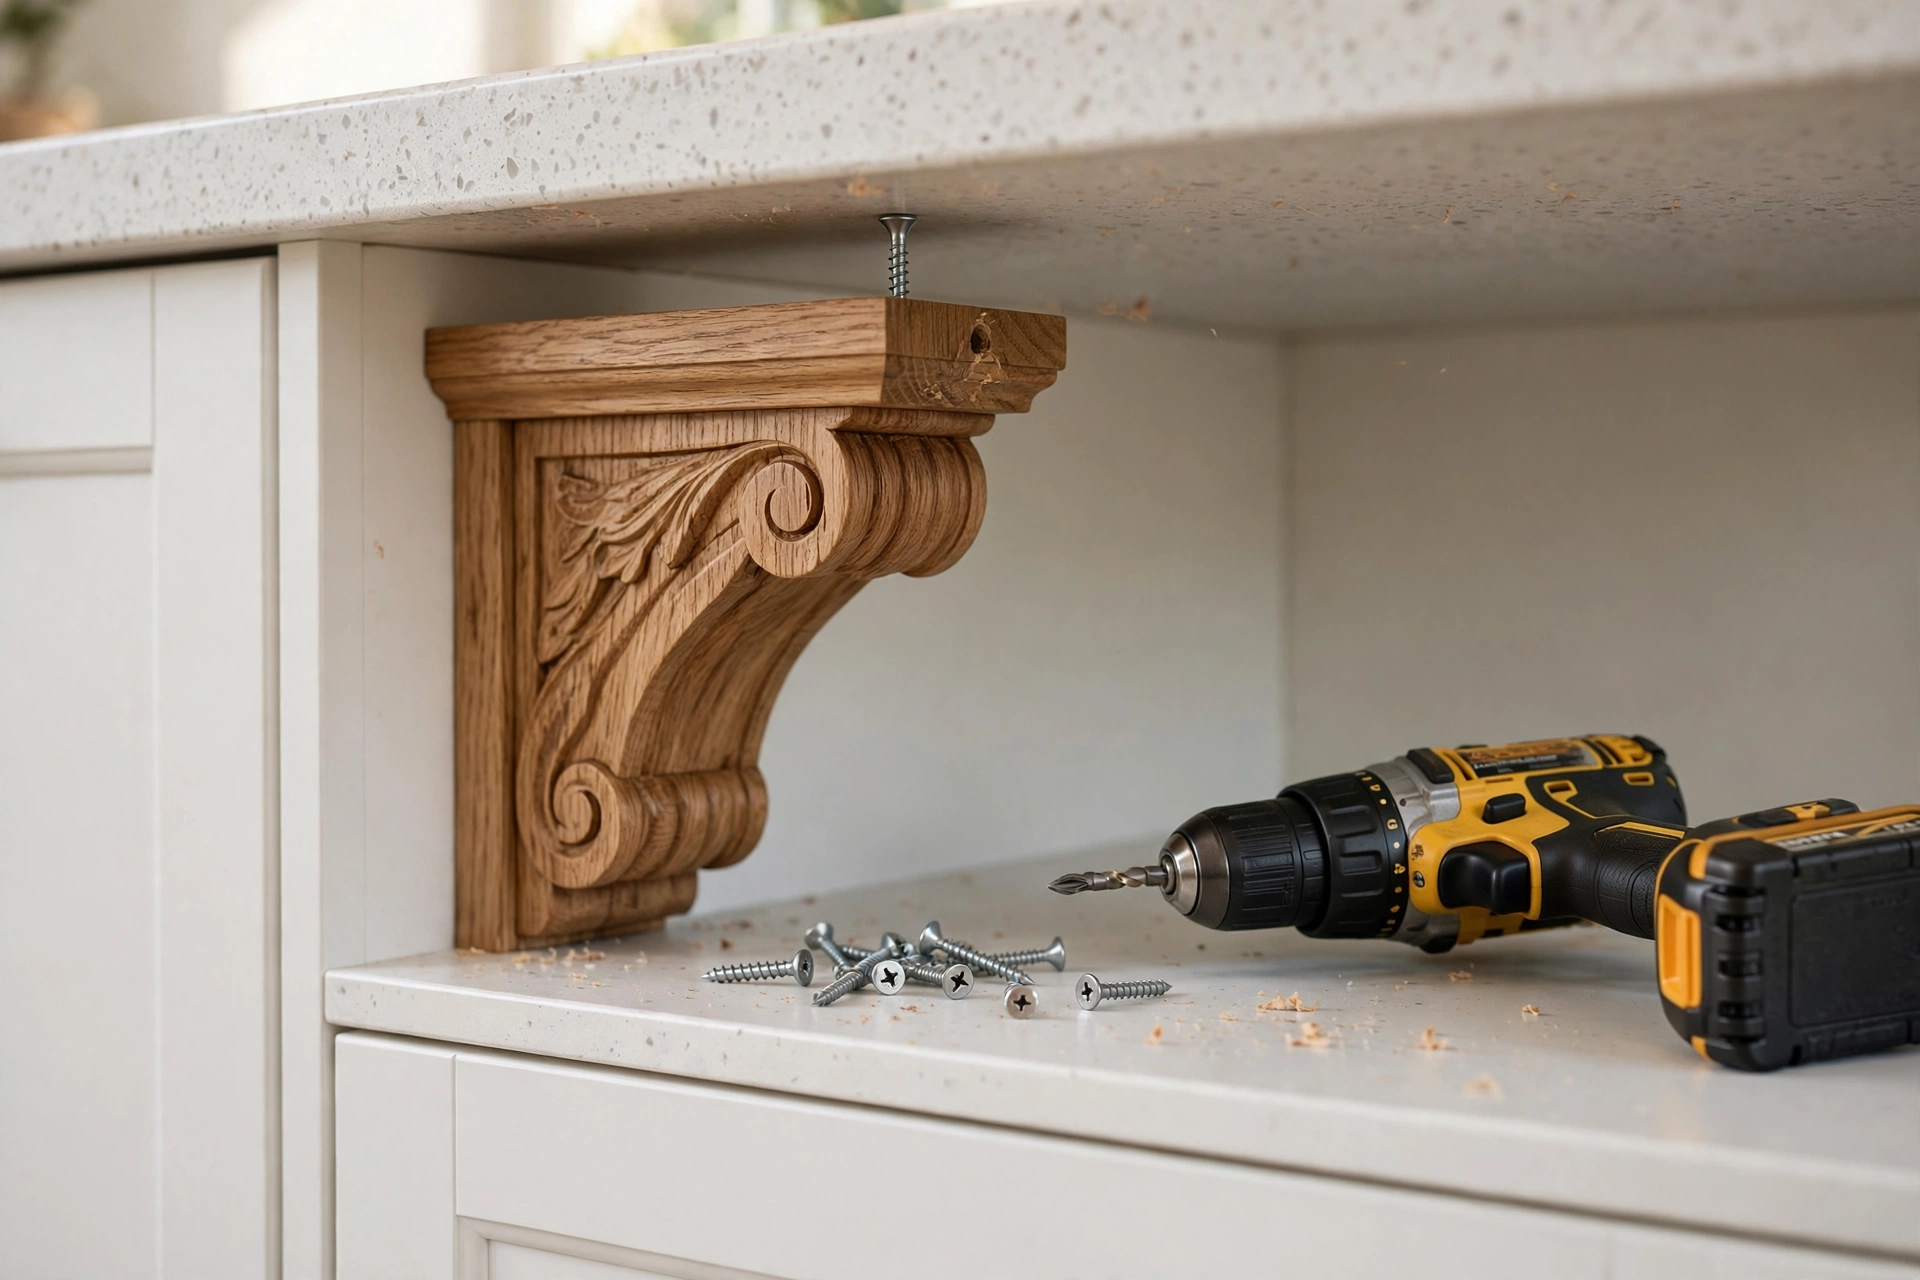
Decorative corbels frequently come with factory-installed steel keyhole slots routed into their rear surface. To mount these, drive heavy pan-head screws into the wall framing, leaving the screw heads protruding roughly 1/8 inch. Then, slide the corbel down onto the screw heads until it locks tightly against the wall surface.
However, keyhole slots are unsuitable for heavy load-bearing island brackets. For structural installations, cabinetmakers use pocket hole screws or drive fasteners directly from inside the cabinet box. In addition, always apply a bead of high-strength polyurethane construction adhesive along the back edges for permanent stability.
Step 3: Counter-Boring and Concealing Fasteners With Wood Plugs
When fastening corbels from the front or bottom face, you must conceal all screw heads cleanly. Start by drilling a 3/8-inch counter-bore hole roughly 3/8 inch deep into the wood using a sharp Forstner drill bit. Then, drill a centered pilot hole through the remaining wood to prevent splitting.
Next, drive your structural timber screws firmly through the pilot hole until the screw head seats against the bottom. Once locked tight, place wood glue into the counter-bore recess and insert a matching hardwood plug. Finally, trim the plug flush with a Japanese pull saw and sand smooth before staining.
Kitchen Island Overhang Support Guidelines
Kitchen islands serve as the bustling social hub of modern homes, hosting casual family meals and entertaining guests. However, heavy stone countertops cantilevered over island seating areas create dangerous tipping hazards if engineered poorly. Applying clear structural guidelines protects both your stone investment and your family.
When Are Corbels Structurally Mandatory for Quartz and Granite
The Natural Stone Institute establishes rigorous engineering guidelines for cantilevered natural stone slabs. For standard 3cm granite, marble, and quartz, any countertop overhang exceeding 10 inches requires structural bracket support. If your stone measures 2cm thick, any overhang exceeding 6 inches mandates mechanical support.
Therefore, planning adequate support for kitchen island base cabinets is an essential phase of any kitchen design. Standard breakfast bars provide 12 to 16 inches of overhang for comfortable seating. At these dimensions, installing heavy-duty corbels or concealed steel plates is an absolute structural requirement.
Spacing Corbels Across Countertop Overhangs (Every 24 to 36 Inches)
Proper spacing ensures downward weight distributes evenly across your island cabinetry framing. Specifically, you should install corbels every 24 to 36 inches on center along the entire length of the countertop overhang. For particularly heavy 3cm granite or concrete slabs, sticking to 24-inch spacing delivers maximum peace of mind.
Additionally, position the outermost corbels between 3 and 6 inches inward from the finished ends of the countertop slab. Setting outer brackets slightly back prevents them from interfering with end-panel decorative moldings. Finally, verify that your bracket layout leaves at least 24 inches of clear knee room per barstool.
Common Mistakes When Adding Cabinet Corbels
Even seasoned DIY remodelers make avoidable errors when selecting and fastening kitchen corbels. Avoiding these three frequent pitfalls will save you from damaged cabinetry, broken countertops, and mismatched aesthetic trim.
Attaching Solely to Thin 1/4-Inch Plywood Cabinet Backs
The most catastrophic installation mistake is fastening load-bearing corbels directly into thin 1/4-inch island backer skins. Most standard factory base cabinets feature thin plywood or hardboard backs designed purely as dust barriers. Screws driven into these thin sheets will pull out instantly under light downward pressure.
Instead, always provide solid interior blocking behind the thin finished back panel. Fasten 2×4 framing lumber securely between internal cabinet corner posts and bottom stretchers before installing the corbels. In fact, driving structural screws into solid 2×4 framing ensures your corbel holds hundreds of pounds safely.
Choosing Corbels That Project Past the Countertop Edge
Another common mistake involves buying corbels with excessive horizontal projection. A corbel should never extend past the outer edge of the countertop slab. Brackets that stick out past the overhang look awkward, catch clothing, and create painful bumps for walking hips.
Instead, maintain a setback of 2 to 4 inches between the corbel tip and the outer stone edge. For example, a 12-inch countertop overhang pairs perfectly with an 8-inch corbel projection. This setback provides ample cantilever support while tucking the bracket neatly out of harm way.
Ignoring Finish Matching Between Cabinet Box and Corbel
Finally, many homeowners order raw unfinished wood corbels and assume matching their existing cabinet finish is straightforward. However, raw bare timber absorbs stains and topcoats differently than factory-applied conversion varnishes. If you apply dark walnut stain to raw oak, it may turn out significantly darker than your factory-finished oak cabinets.
To avoid glaring color mismatches, always request finish touch-up kits or custom stain formulas from your original cabinet manufacturer. Before applying finish to new corbels, test stain on an inconspicuous spot or matching scrap wood. Applying a pre-stain wood conditioner helps prevent blotchy stain absorption on soft woods like pine, maple, and birch.
Frequently Asked Questions About Kitchen Cabinet Corbels
How much weight can kitchen cabinet corbels support?
Solid hardwood corbels support between 150 and 250 pounds each when anchored into solid framing lumber. Heavy-duty structural steel brackets carry 300 to 500 pounds each. In contrast, lightweight polyurethane corbels are purely decorative and support less than 10 pounds without structural framing assistance.
Do quartz countertops always need corbels for overhangs?
Quartz countertops need structural corbels or hidden steel brackets whenever overhangs exceed 10 inches on 3cm slabs. For 2cm quartz slabs, overhangs exceeding 6 inches mandate mechanical support. This structural support prevents sudden stress fractures caused by downward leverage along the cabinet edge.
What is the 2/3 rule for sizing corbels?
Specifically, the 2/3 rule states that a corbel horizontal projection must extend across two-thirds of overhang depth. For instance, a 12-inch island overhang requires a corbel projecting at least 8 inches. Consequently, this leaves no more than 4 inches of unsupported stone edge.
Can corbels be added to existing finished kitchen cabinets?
Yes, you can easily add corbels to finished cabinetry using pocket screws, keyhole mounting plates, or exterior fastener plugs. However, screws must penetrate solid internal framing or added structural backing blocks rather than anchoring solely into thin decorative panels.
Are polyurethane corbels strong enough to hold granite?
No, polyurethane corbels lack the tensile strength required to support heavy granite slabs. Under heavy stone loads, urethane foam will crush, crack, or deform. You should only use polyurethane corbels as decorative trim, relying instead on solid hardwood or steel brackets for structural support.