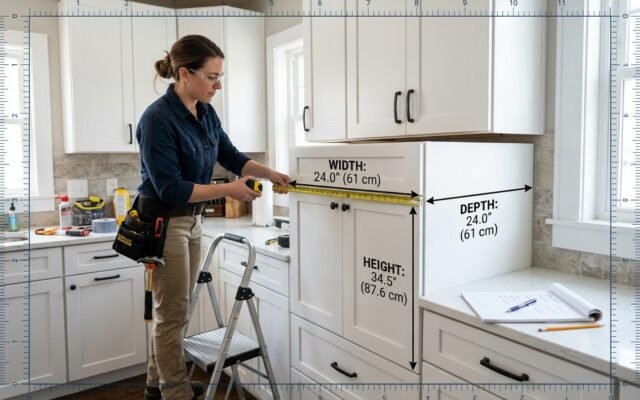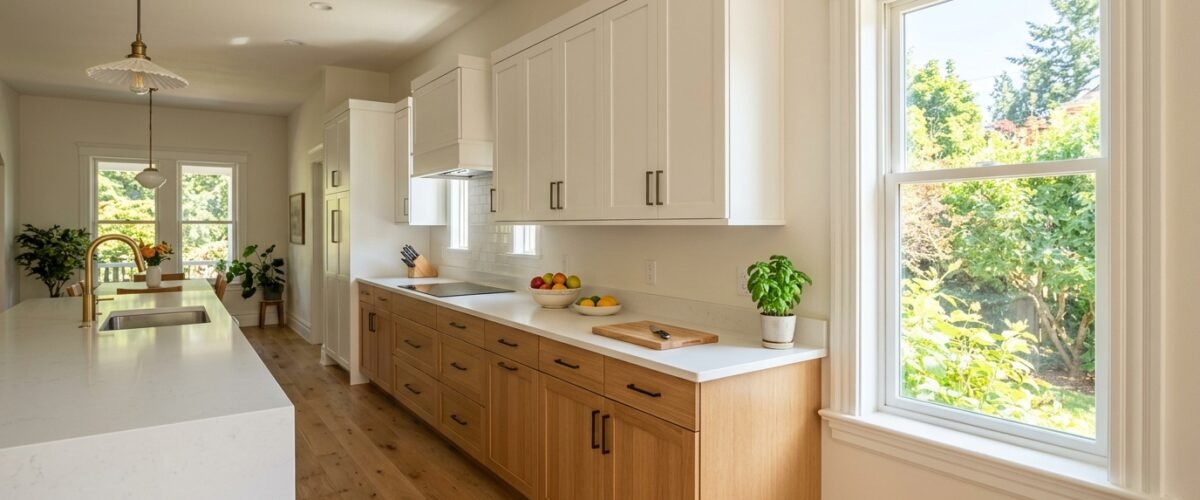
Kitchen wall cabinets require a minimum clearance of 2 to 3 inches between the cabinet face frame and the outer edge of the window casing trim. If your cabinets feature top crown molding or projection door pulls, increase that spacing to 3 to 4 inches. Leaving this reveal gap prevents door hinges and knobs from bashing into the window jamb and leaves room for proper casing paint lines.
I have inspected hundreds of DIY kitchen installs where homeowners pushed their upper cabinets right up flush against the window trim. It looks cramped on day one, blocks natural daylight from hitting your countertops, and guarantees your cabinet doors will never swing open past 90 degrees. Getting this spacing right before you drill into your wall studs saves hours of frustration.
Quick Clearance & Spacing Specifications
Use these minimum job-site dimensions when laying out cabinets around any exterior window opening:
| Measurement Point | Minimum Clearance | Recommended Clearance | Critical Conflict to Check |
|---|---|---|---|
| Wall Cabinet to Window Casing | 1.5 inches | 2.5 to 3.0 inches | Drywall paint reveal & door swing arc |
| Crown Molding to Casing | 0.5 inches | 1.5 inches | Miter return overhang hitting trim |
| Countertop to Window Apron | 1.0 inch | 2.0 inches | 1.5-inch counter overhang overlap |
| Window Stool Height from Subfloor | 36.5 inches | 38.0 inches | Base cabinet 34.5-inch + 1.5-inch stone top |
| Blind Corner Pull-Out Clearance | 3.0 inches | 4.5 inches | Handle striking perpendicular window trim |
1. The Window Casing Reveal Rule
Never mount a cabinet box touching the outer edge of window casing. Standard residential window casing measures between 2.25 and 3.5 inches wide. When you butt a 12-inch or 14-inch deep wall cabinet directly against that casing, the cabinet creates a dark shadow tunnel across the glass.
Leave a minimum 2 to 3-inch margin of bare drywall between the outer casing edge and the side panel of your wall cabinet. This gap is called the trim reveal. It creates visual symmetry around the window, allows natural morning daylight to wash across your backsplash, and gives your painter clean cut-in lines when rolling walls.
2. Crown Molding Termination & Projection
Crown molding projects outward from the top of the cabinet box by 1.5 to 3.5 inches depending on the profile. If your wall cabinet sits 2 inches from your window casing, standard 3-inch cove crown will extend directly into your window trim.
You have two clean installation solutions for crown molding near a window:
- The 45-Degree Miter Return: Terminate the crown molding on the side panel 1 inch before the face frame edge by cutting a self-returning 45-degree miter back into the cabinet side.
- Widen the Wall Reveal: Calculate the total projection of your selected crown molding, then set your cabinet box placement so the molding ends at least 1/2-inch away from the window casing.
3. Countertop Overhang & Window Stool Conflicts
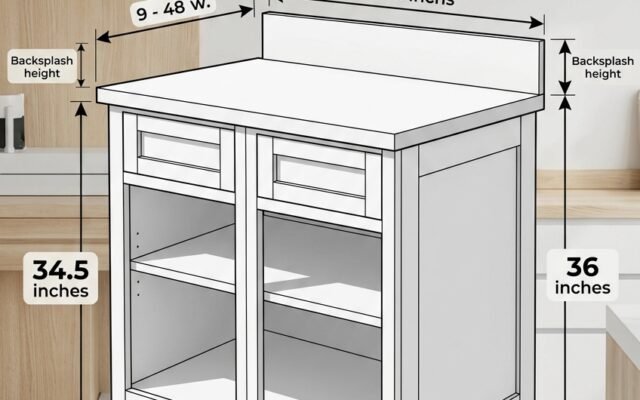
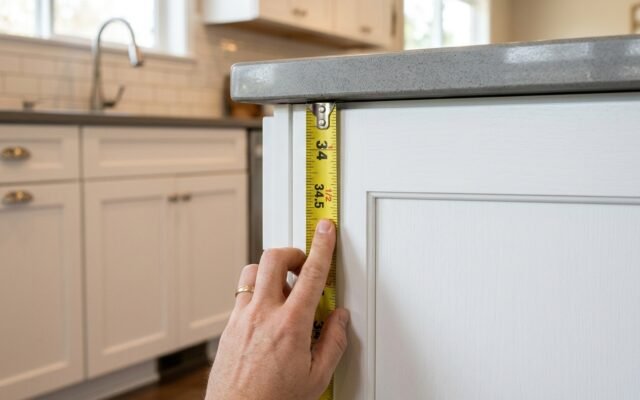
Standard kitchen base cabinets stand 34.5 inches tall without a top. A standard quartz, granite, or solid wood countertop adds 1.5 inches of thickness, placing your finished counter height at exactly 36 inches above your subfloor.
Measure the distance from your subfloor to the bottom of your window sill stool. If your window stool sits below 36.5 inches, a standard base cabinet run cannot pass underneath without blocking the window or trapping the stool. If you are ordering new replacement windows during a remodel, spec rough window openings with sills at 38 to 40 inches above finished floor level. This gives you 2 to 4 inches of backsplash clearance behind the sink faucet.
4. Door Swing & Hardware Clearance
Modern concealed cabinet hinges, like the Blum Clip Top Blumotion 110, swing open through a 110-degree arc. If your cabinet door opens toward the window wall, decorative bar pulls and handles will strike your window casing or drywall before the door fully extends.
Install a 1.5-inch or 2-inch wide filler strip between your wall cabinet and the adjacent wall, or hinge the door so it opens away from the window opening. Alternatively, snap on a 90-degree hinge angle restriction clip. Blum makes plastic restriction clips (part #78Z55300) that slide directly into the hinge cup, locking door travel at 86 degrees to protect your window casing from gouges.
Base Cabinets vs. Wall Cabinets Near Windows
Base cabinets follow different spatial rules than wall cabinets when interacting with windows.Kitchen base cabinets form your functional work surface and sink anchor. Wall cabinets dictate visual light and headspace.
When positioning base cabinets beneath a window, center the sink base cabinet on the window glass rather than the outer frame. Homeowners look through the glass panes while prepping food or washing cookware. If your cabinet carcass aligns with the exterior frame but your sink is 2 inches off-center from the center mullion, the layout looks crooked.
For upper wall cabinets, symmetry on both sides of the window matters far more than cabinet width. If you have 30 inches of wall space on the left of the window and 36 inches on the right, do not force a 30-inch cabinet on the left and a 36-inch cabinet on the right directly touching the window. Instead, center identical 24-inch or 27-inch cabinets on each side and absorb the remaining wall differences with end panels or open floating shelves.
Solutions for Cramped Window Layouts
If your kitchen footprint leaves less than 2 inches of space between your cabinet run and the window, use one of these four proven contractor layout hacks:
- Transition to Open Floating Shelves: End your closed wall cabinets 12 to 18 inches away from the window, and span the remaining gap with two thick wood floating shelves. Shelves allow light to pass through completely and prevent the heavy boxed-in sensation of solid doors.
- Use a 45-Degree Angled End Cabinet: An angled end wall cabinet tapers back toward the wall surface, reducing the frontal projection next to the window casing from 12 inches down to 6 inches.
Run Scribe Molding as a Stop Bead: If tight room dimensions force a cabinet within 1 inch of a window, use a flat 1/4-inch scribe strip to seal the seam cleanly, preventing dirt from falling into an unpaintable gap.
Install a Flush Recessed Window Casing: Replace bulky 3.5-inch colonial casing with flat 1.5-inch square craftsman casing or a drywall returns (kerf edge) to gain 2 full inches of breathing room.
The 5-Minute Dry-Fit Check
Before driving cabinet mounting screws through your cabinet hanging rails and into wall studs, perform this physical job-site verification:
-
- Snap a Chalk Line for Level: Find the highest point on your floor and mark your 34.5-inch base cabinet reference line and 54-inch wall cabinet ledger line.
Mark Window Casing Boundaries:
-
- Scribe pencil lines showing the exact outer boundary of your window casing, including the top header trim.
Hold Up the Crown Sample:
Take an 8-inch scrap piece of your top crown molding and hold it against the upper corner of your wall cabinet box.
- Measure the remaining gap to the window trim line.
- Test the Full Door Swing: Open the cabinet door to 90 and 110 degrees with your selected handle held against the screw holes. Verify the pull clears the window apron trim by at least 1/2-inch.
Frequently Asked Questions
Can a kitchen cabinet touch window trim?
No. Cabinets should never touch window trim. Maintain at least a 1.5 to 3-inch gap between the cabinet frame and the window casing to allow for paint touch-ups, crown molding overhang, and door hardware clearance.
How far should upper cabinets be from a kitchen window?
Upper wall cabinets should sit 2.5 to 3 inches away from the outer edge of the window casing. In small kitchens, 1.5 inches is the absolute minimum if you use flat filler strips and compact crown molding.
What if my kitchen window sill is lower than 36 inches?
If the window sill sits below standard 36-inch finished counter height, do not run standard base cabinets beneath it. Either raise the window framing, step the countertop down into a low banquette or desk height (30 inches), or stop the cabinet run before the window opening.
How do you terminate crown molding next to a window?
Cut a 45-degree miter return that wraps the crown profile back into the side panel of the cabinet. This caps the decorative profile cleanly before it reaches the window casing line.
Do I need a filler strip between a cabinet and a window wall?
Yes. A 1.5-inch to 2-inch filler strip is essential if a cabinet door opens toward a window wall or trim. The filler prevents the door pull from denting the casing and allows the door to swing open past 90 degrees for shelf access.